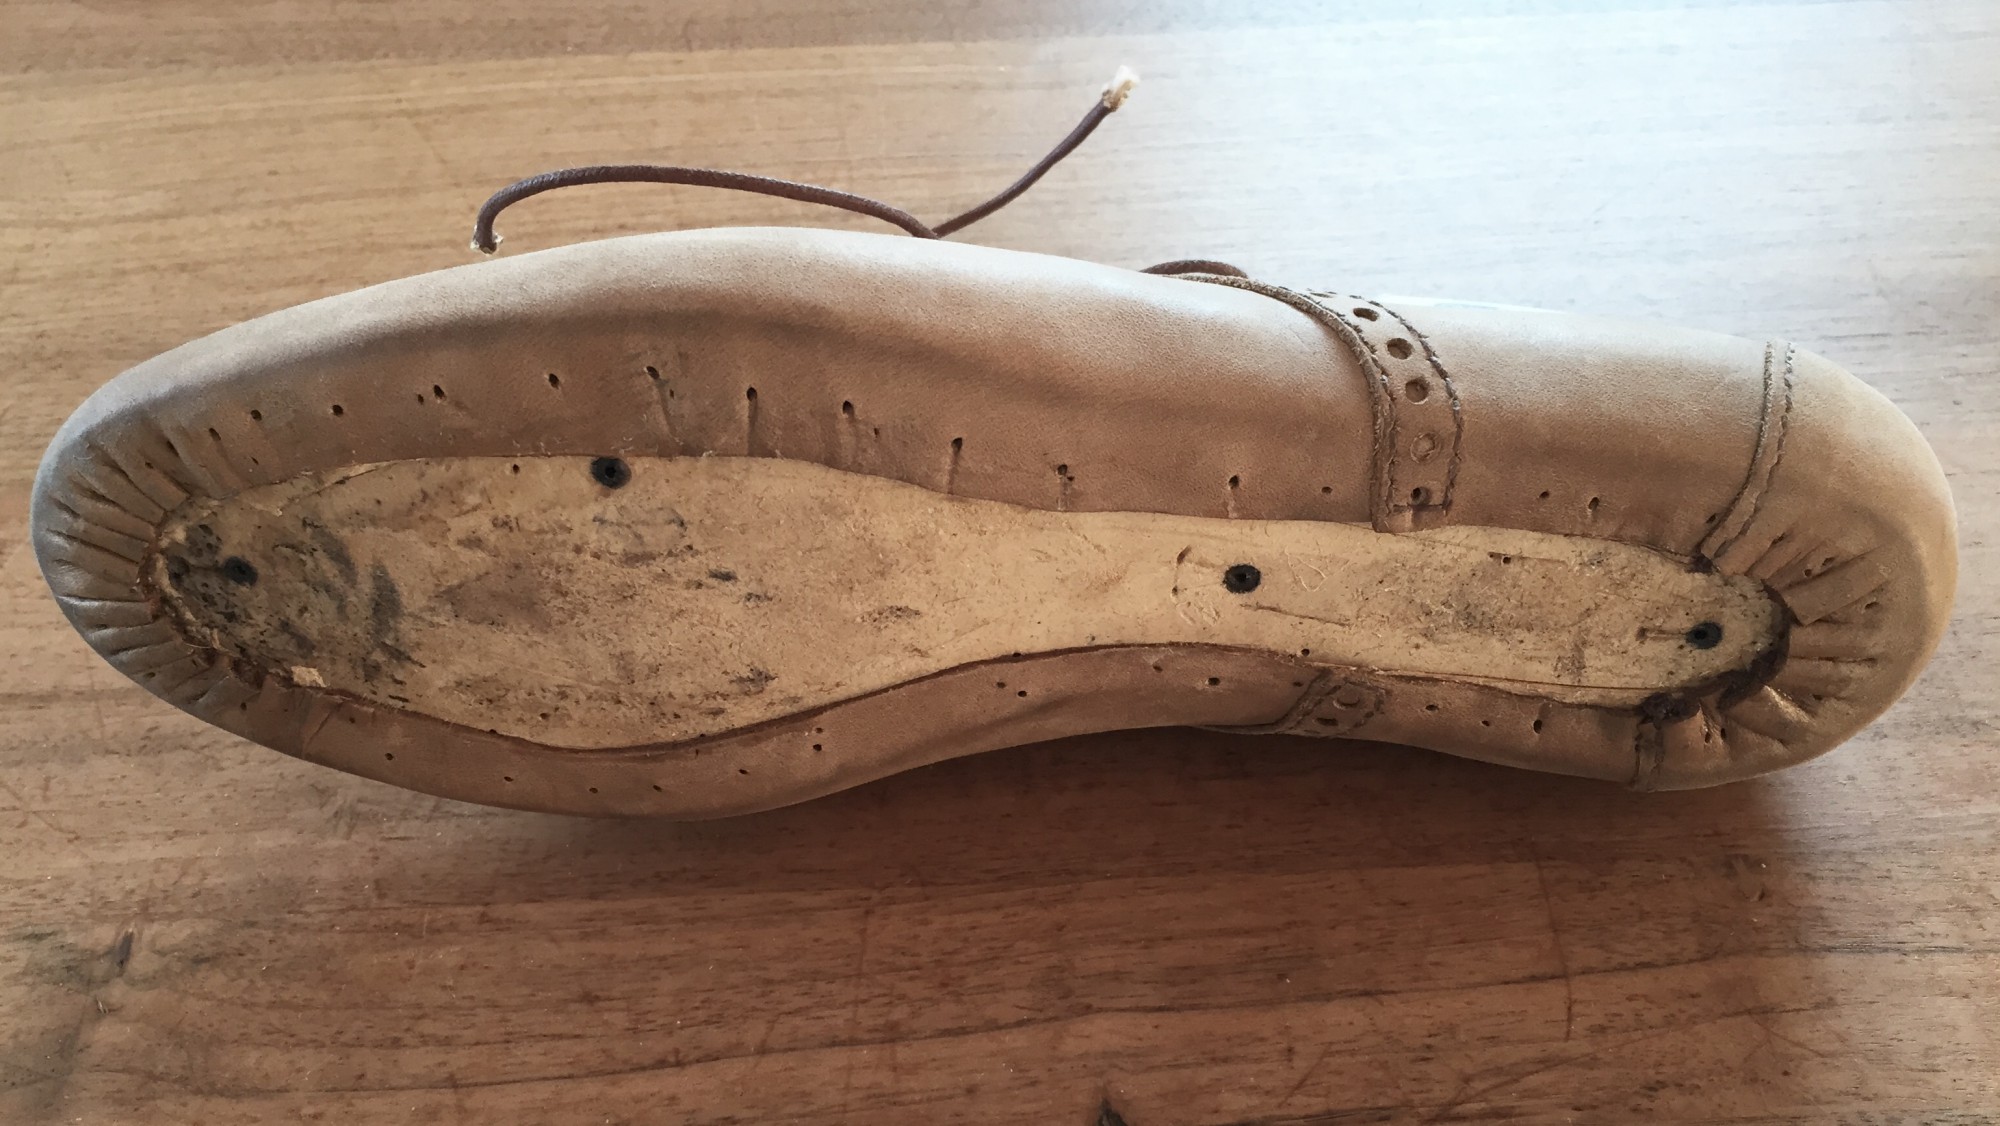
 Overlæderet læstes en sidste gang og limes fast under dæksålen med kraftig kontaktlim. Efter tørring tages sømmene ud og folderne ved hæl og tå skærfes væk med skomagerkniven.
After the final lasting of the upper, the edges are glued to the insole with contact cement. After drying, the nails are removed and the excess leather is skived away at heel and toe.
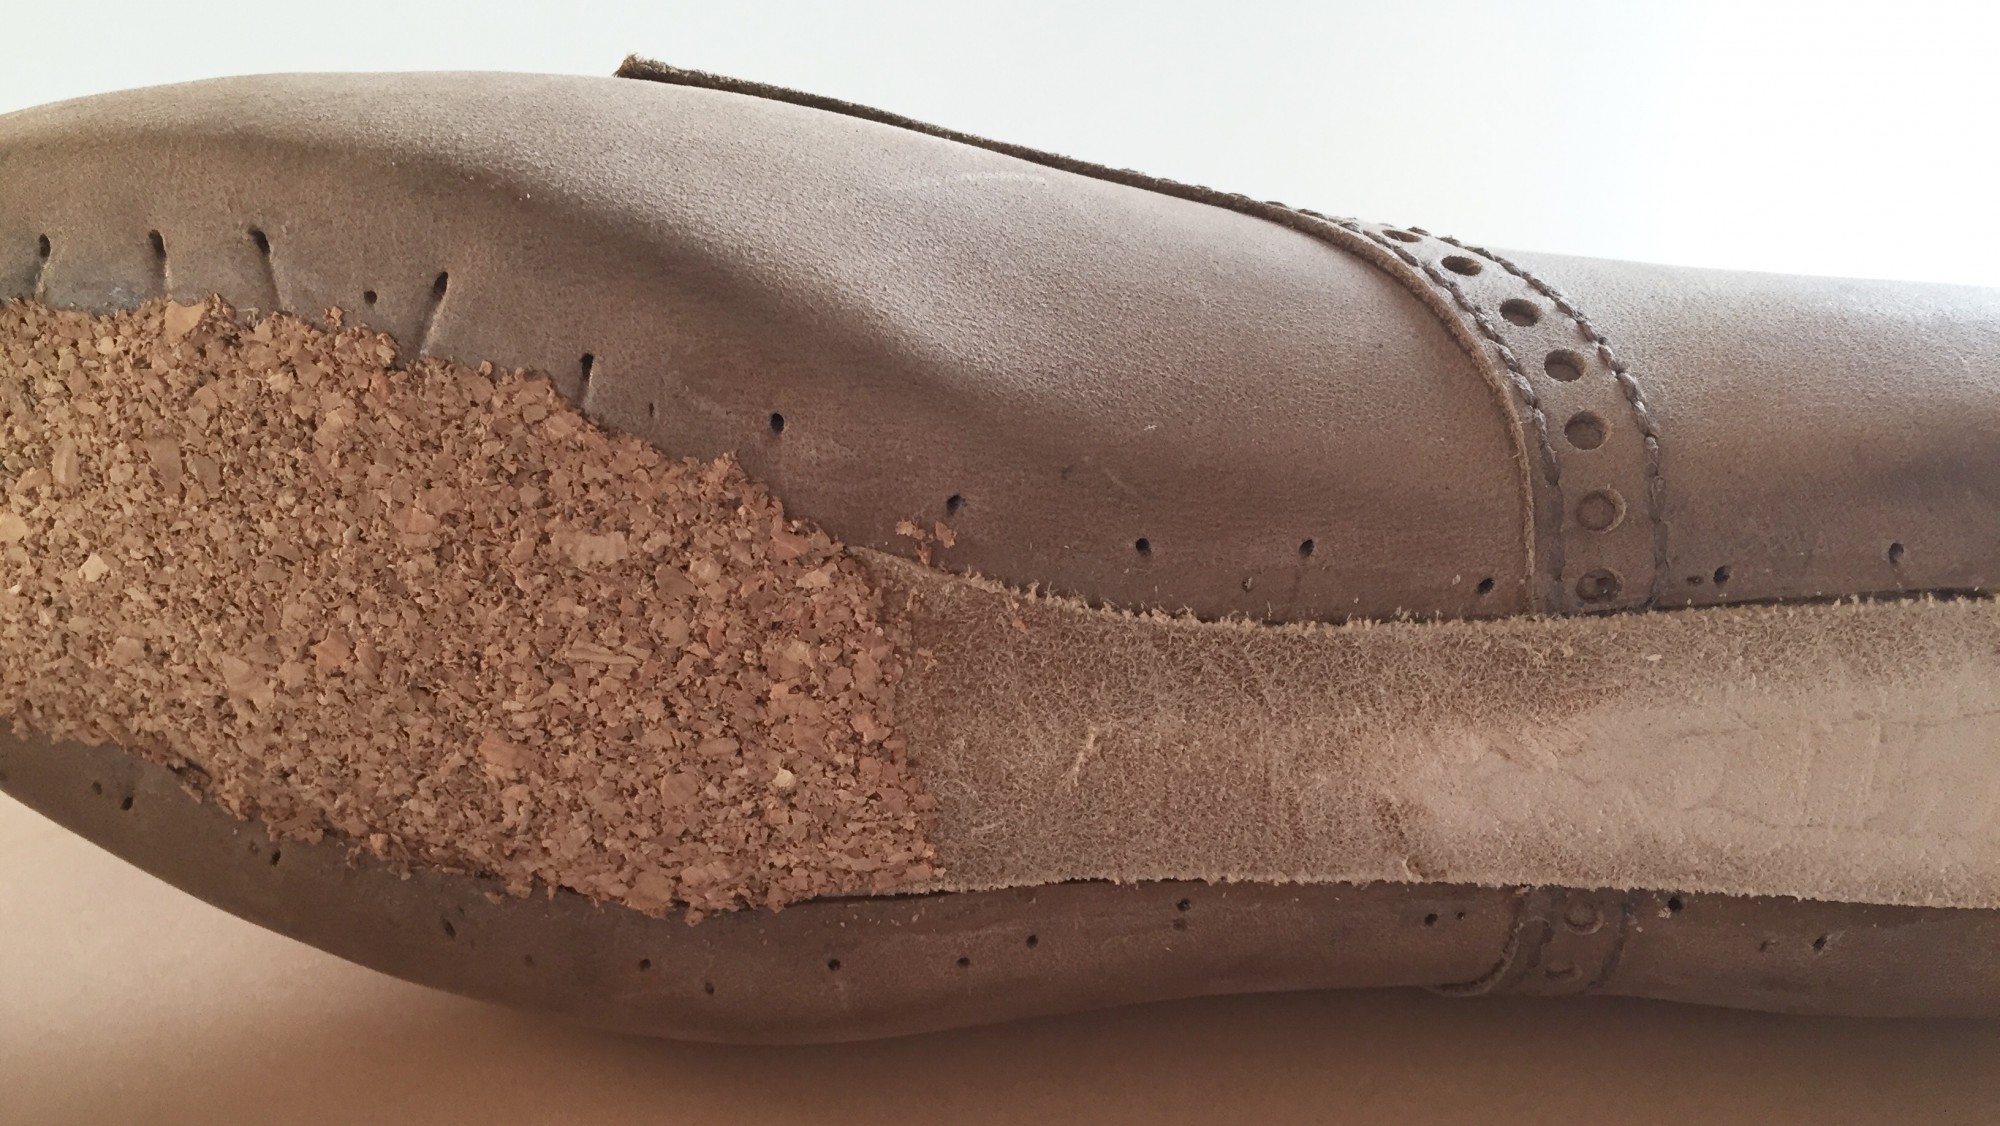 Gelenken, hvis funktion er at afstive svangen, kan enten laves i metal, træ eller som i dette tilfælde i læder. Et stykke sålelæder skæres til så det passer i mellemrummet. Kanterne skærfes så de passer i tykkelsen med kanten på overlæderet. Gelenken limes på. Forfoden fyldes ud med kork, som limes på og skærfes til.
The shank, which works as a reinforcement of the arch, can be made of either metal, wood or as in this case, leather. A piece of sole leather is cut to fit the open space. The edges are skived to match the thickness of the upper leather edges. The shank is glued in place. The front foot is filled with cork, which is glued on and skived to fit.
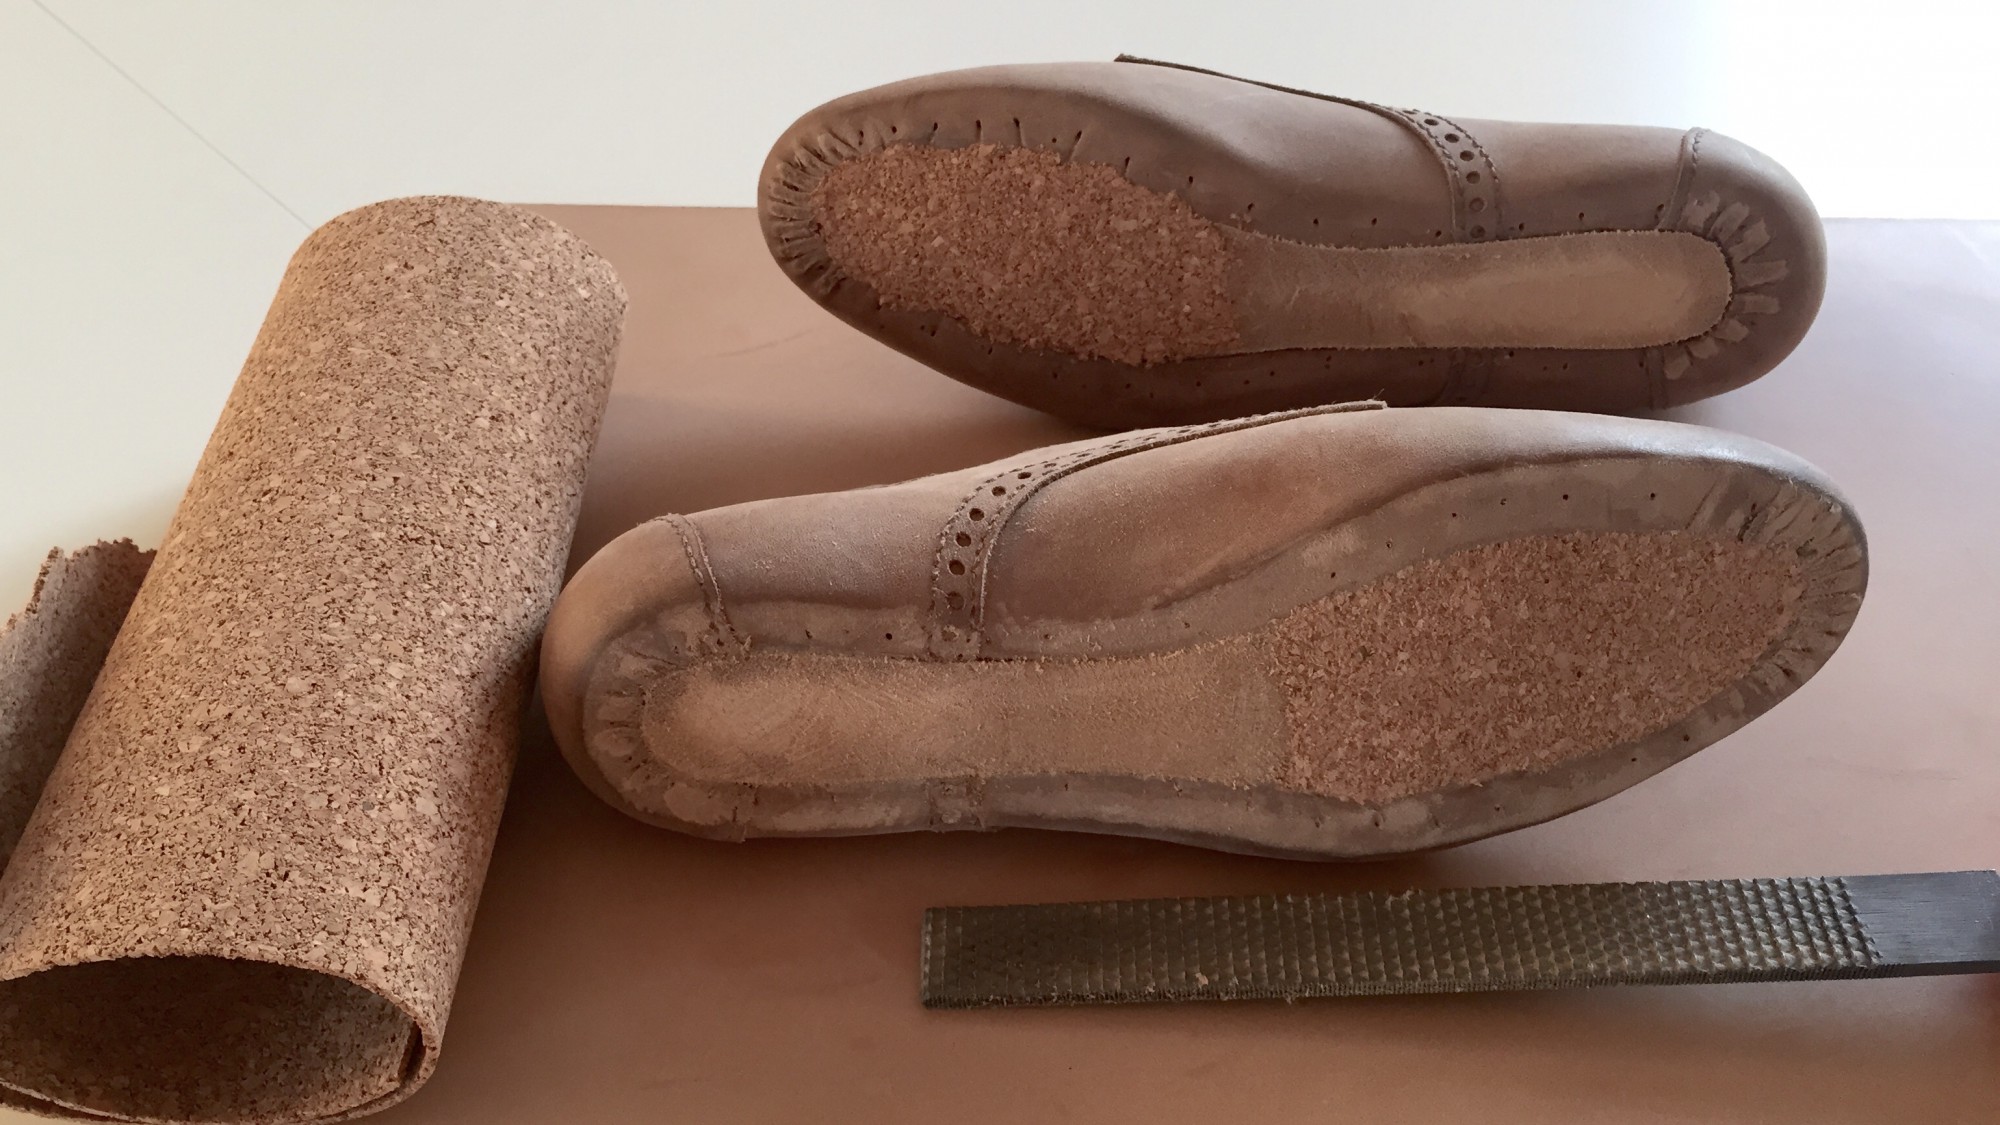 Til sidst files det hele til så der efterlades en jævn flade til sålen.
Finally everything is smoothed out with a rasp to prepare for the sole.