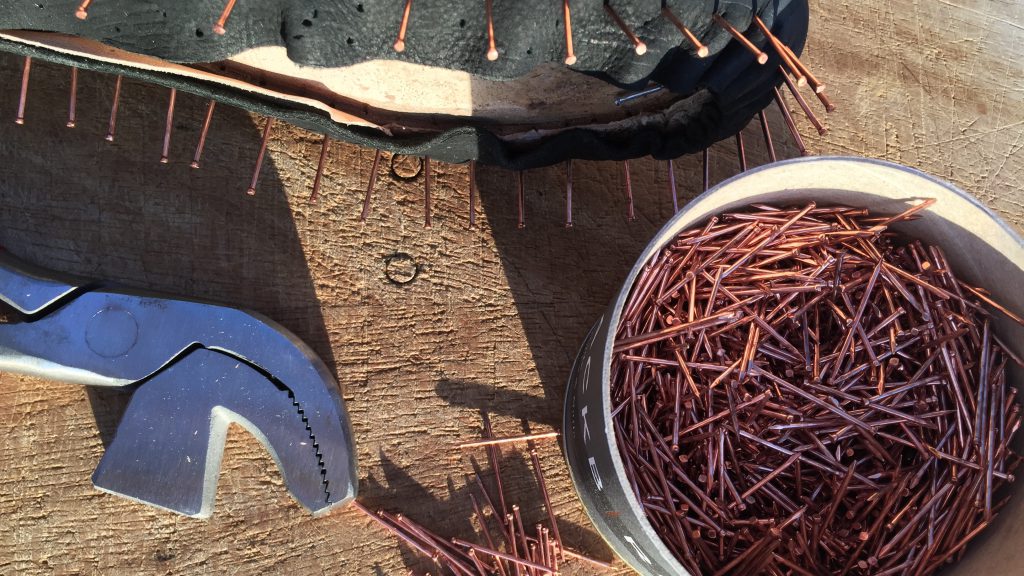
 I have really been looking forward to lasting my boots and breaking in my new beautiful lasting nails. It might seem a bit geeky to obsess about the aesthetics of something as practical as nails, and actually it wasn’t until I saw these copper plated lasting nails on Instagram, I realized that I would not be able to live without fabulous nails. Blackbird is a series of products, specially develoved for hand shoemaking and other creative purposes. I have acquired a selection of their many different nails, in various metals and shapes, that I am just waiting to find a purpose for using. My first experience with the slender lasting nails is really positive. They are easy to work with as they have a good length without bending too easy. And did I mention how beautiful they look?
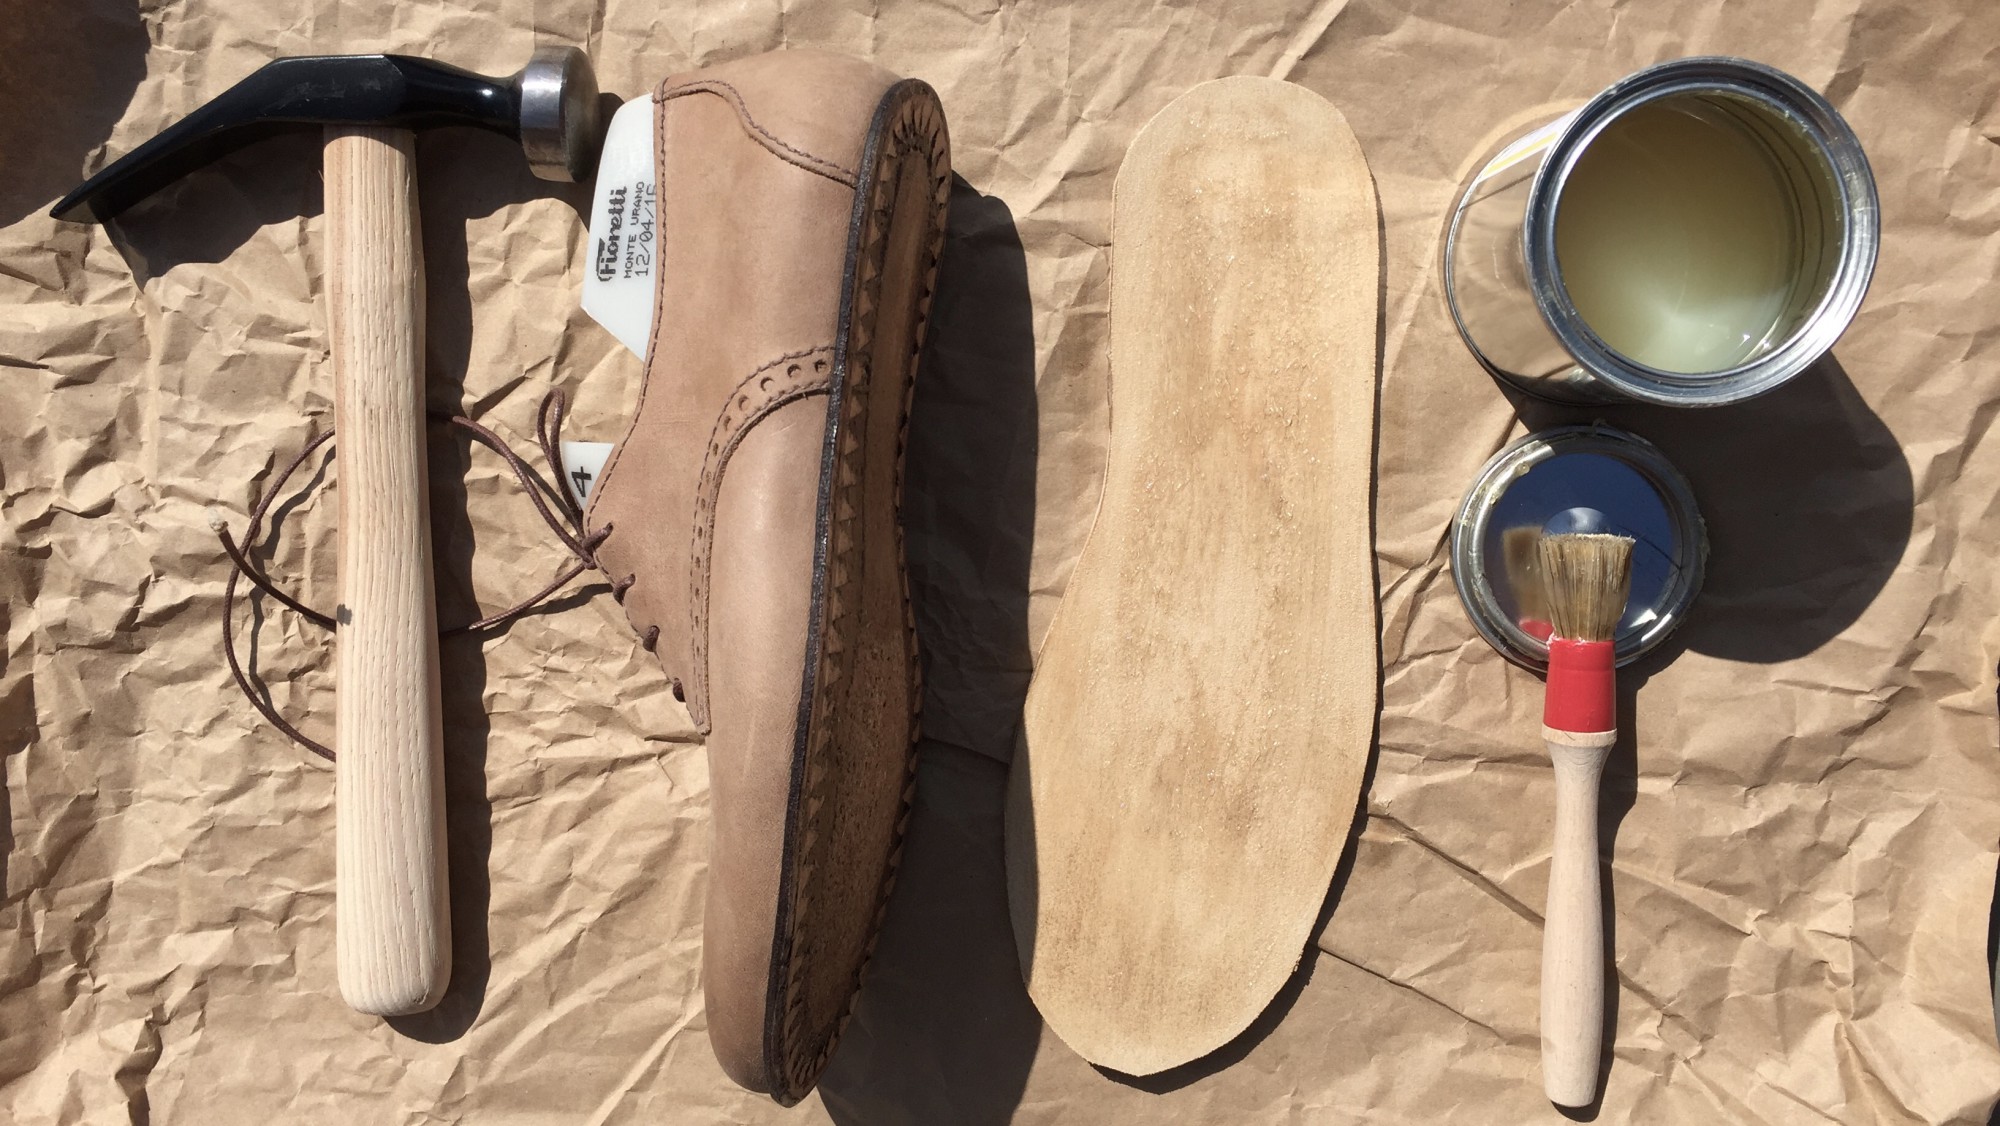
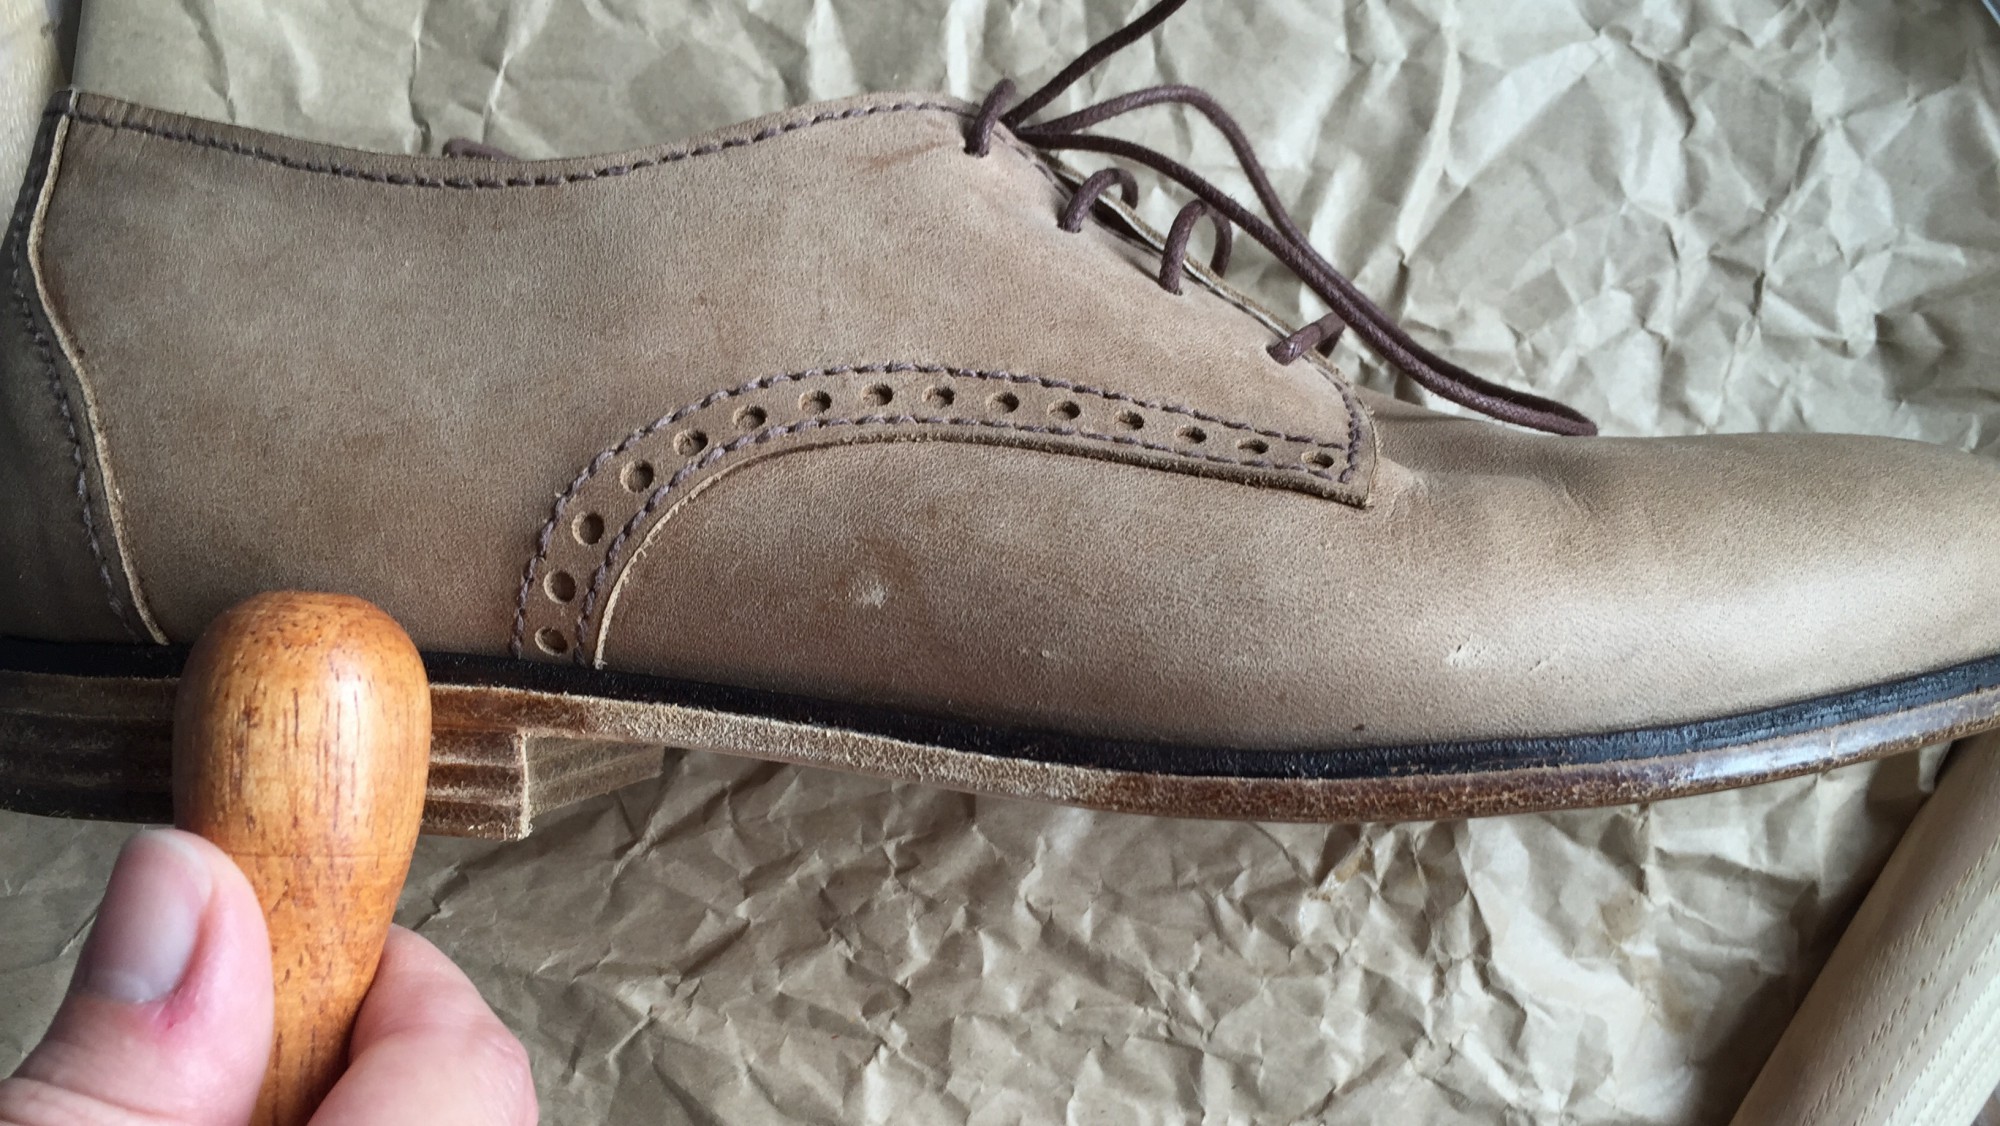
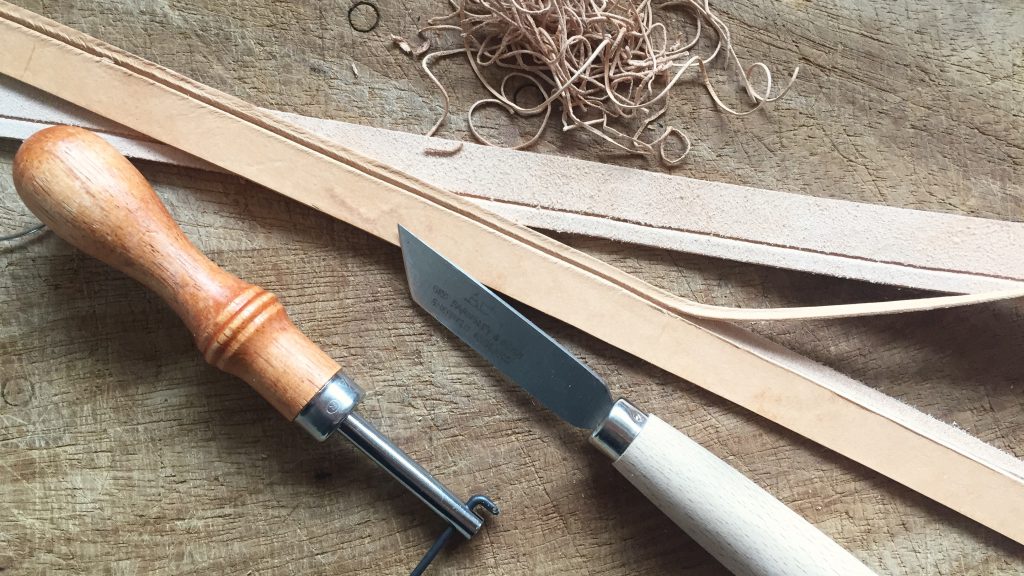 I prepare the welt by skiving the edge at one side and cutting a groove on the other. They are left to soak in water for a couple of hours to soften them.
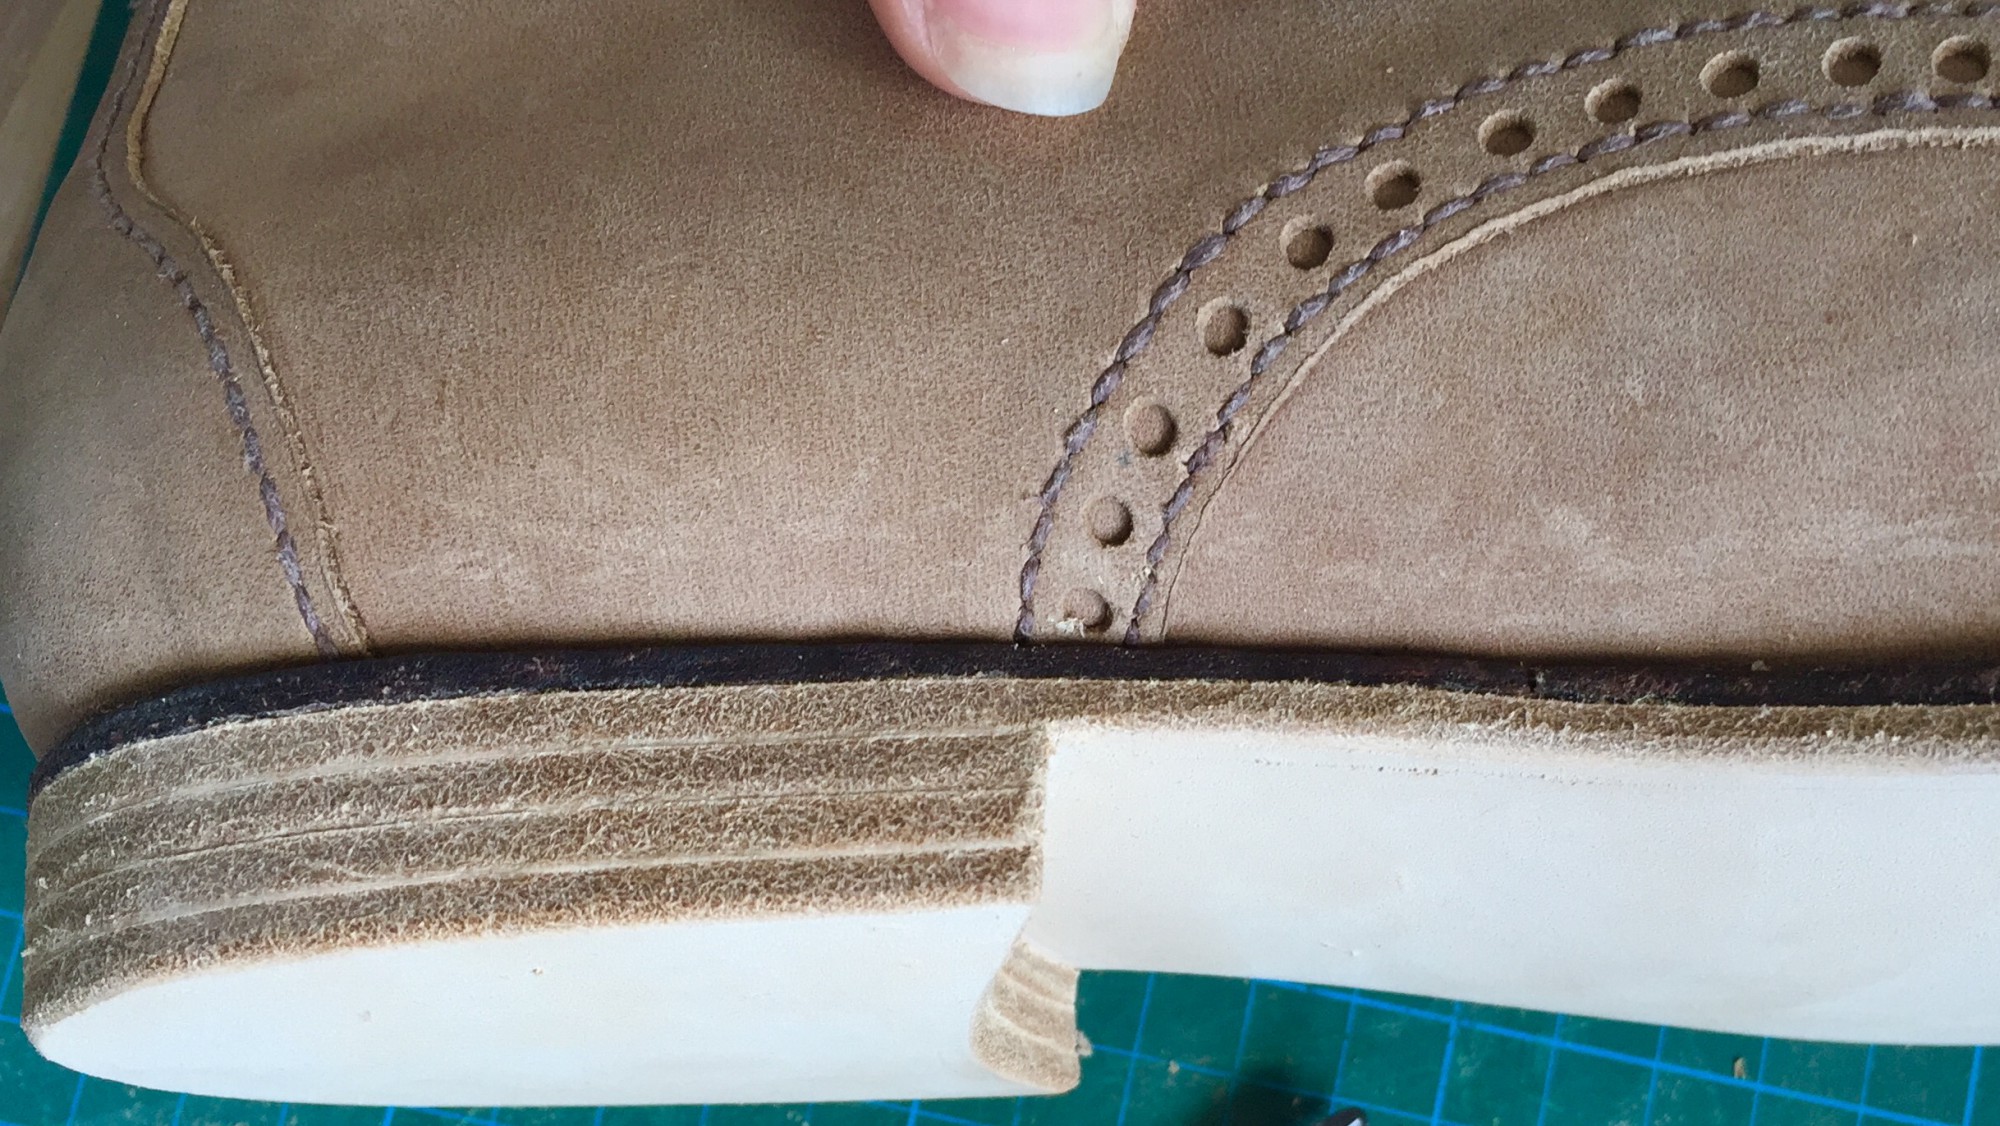
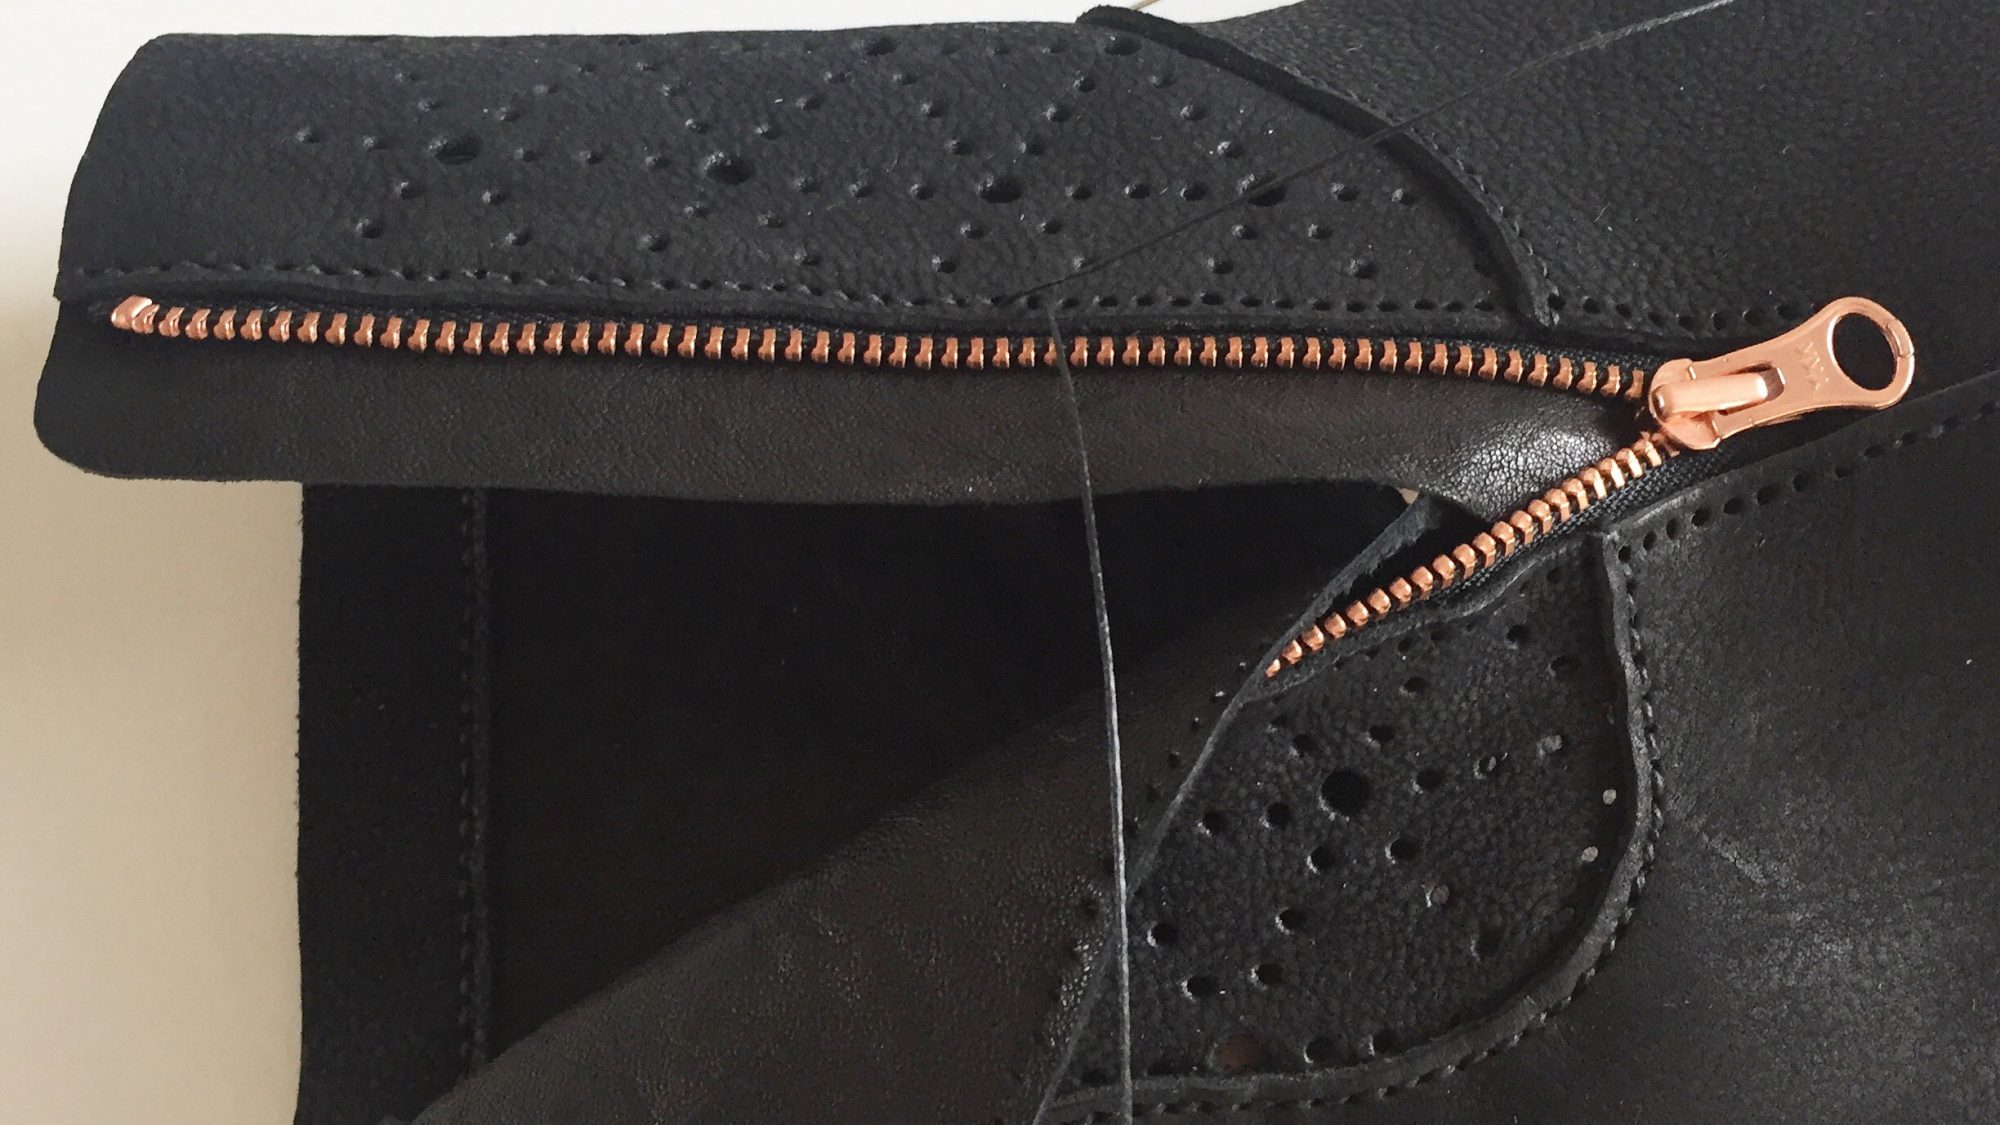
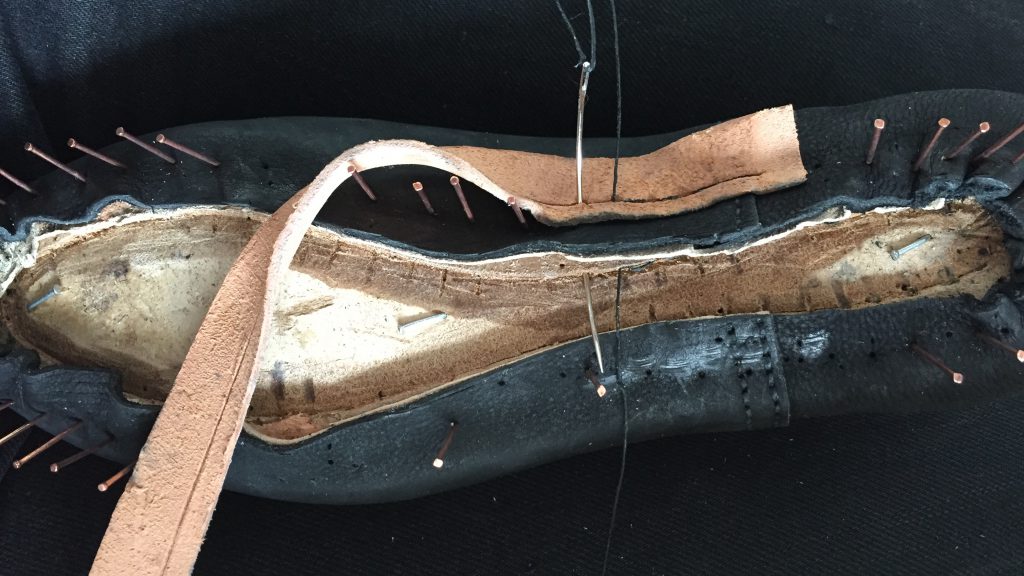 The holes in the holdfast are refreshed with a curved awl, at the same time making a hole in the upper and the welt. All parts are sewn together using two curved needles.
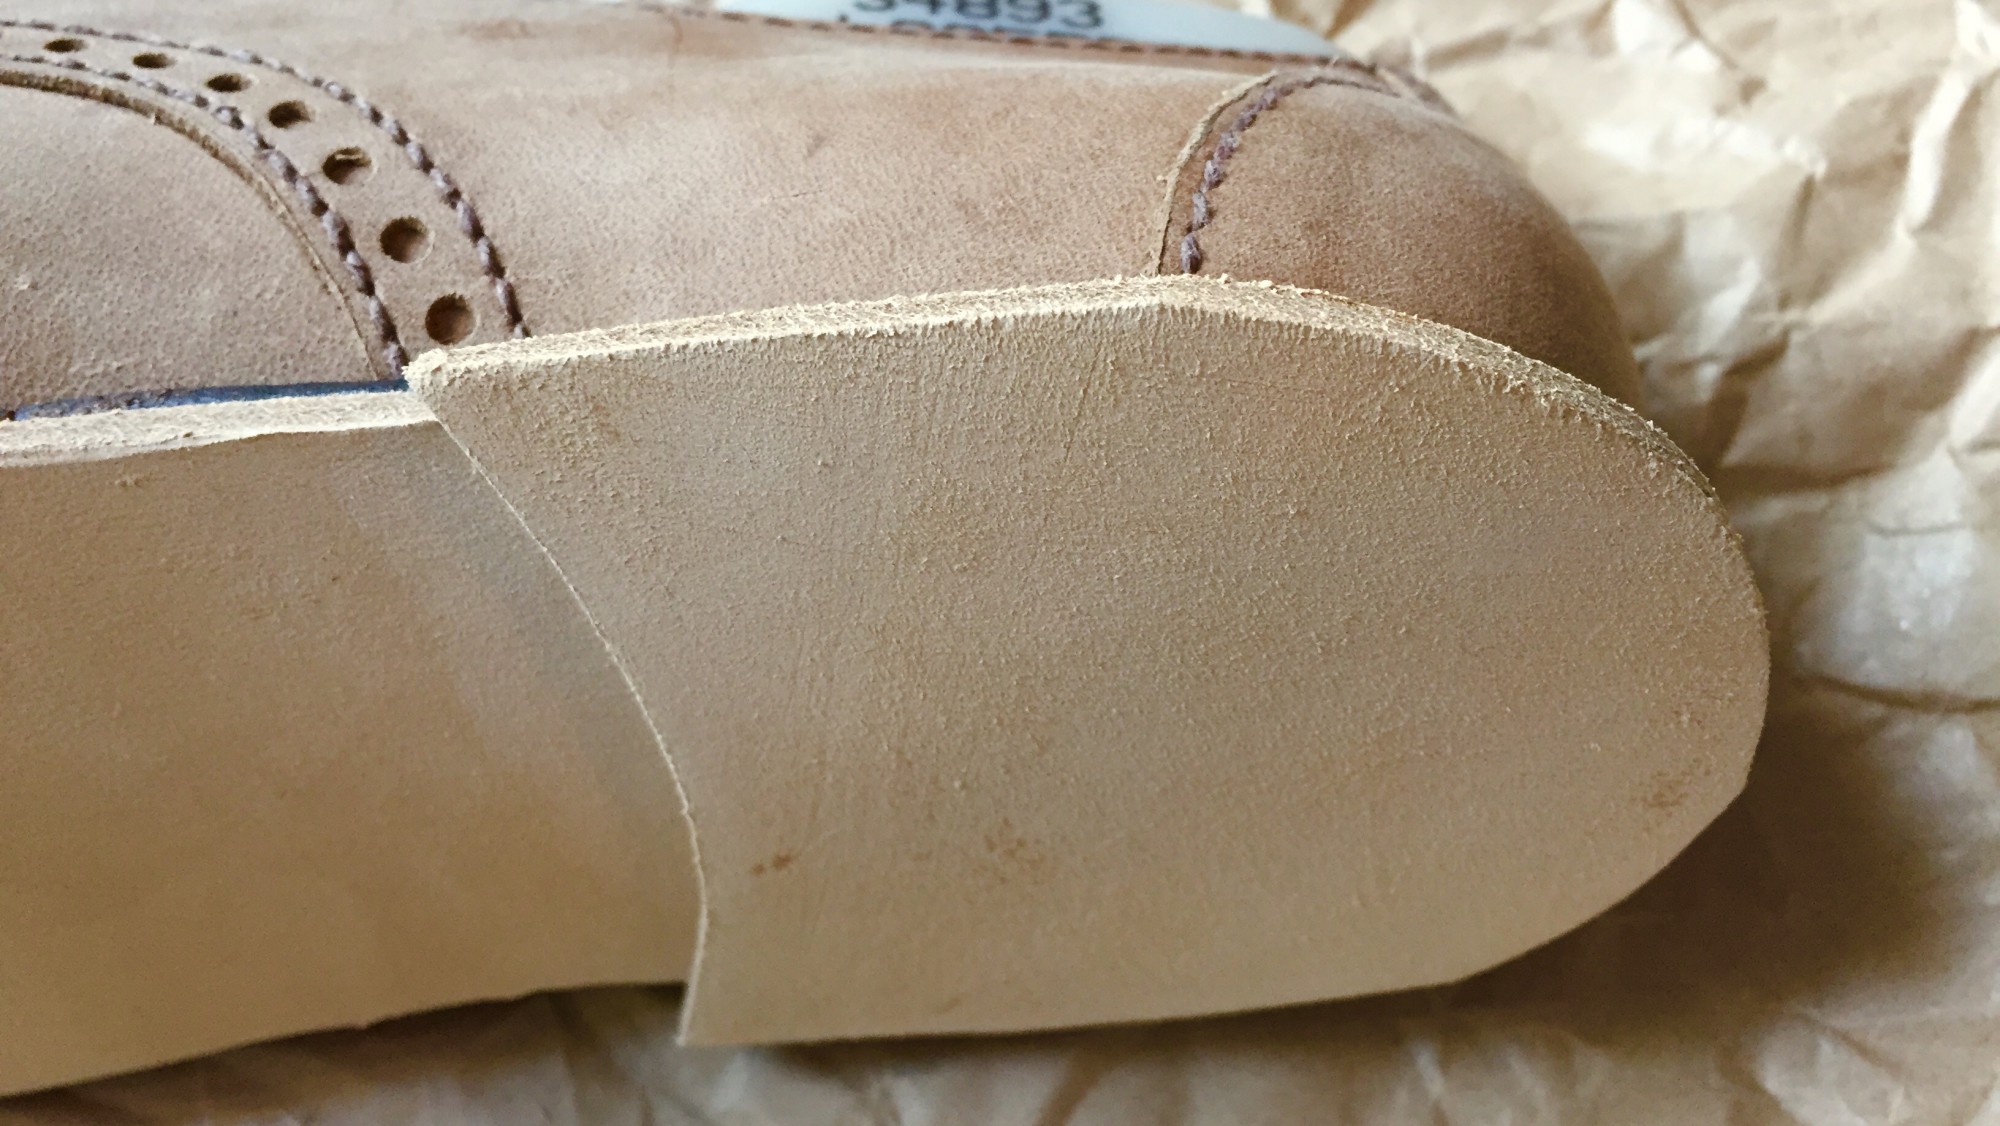
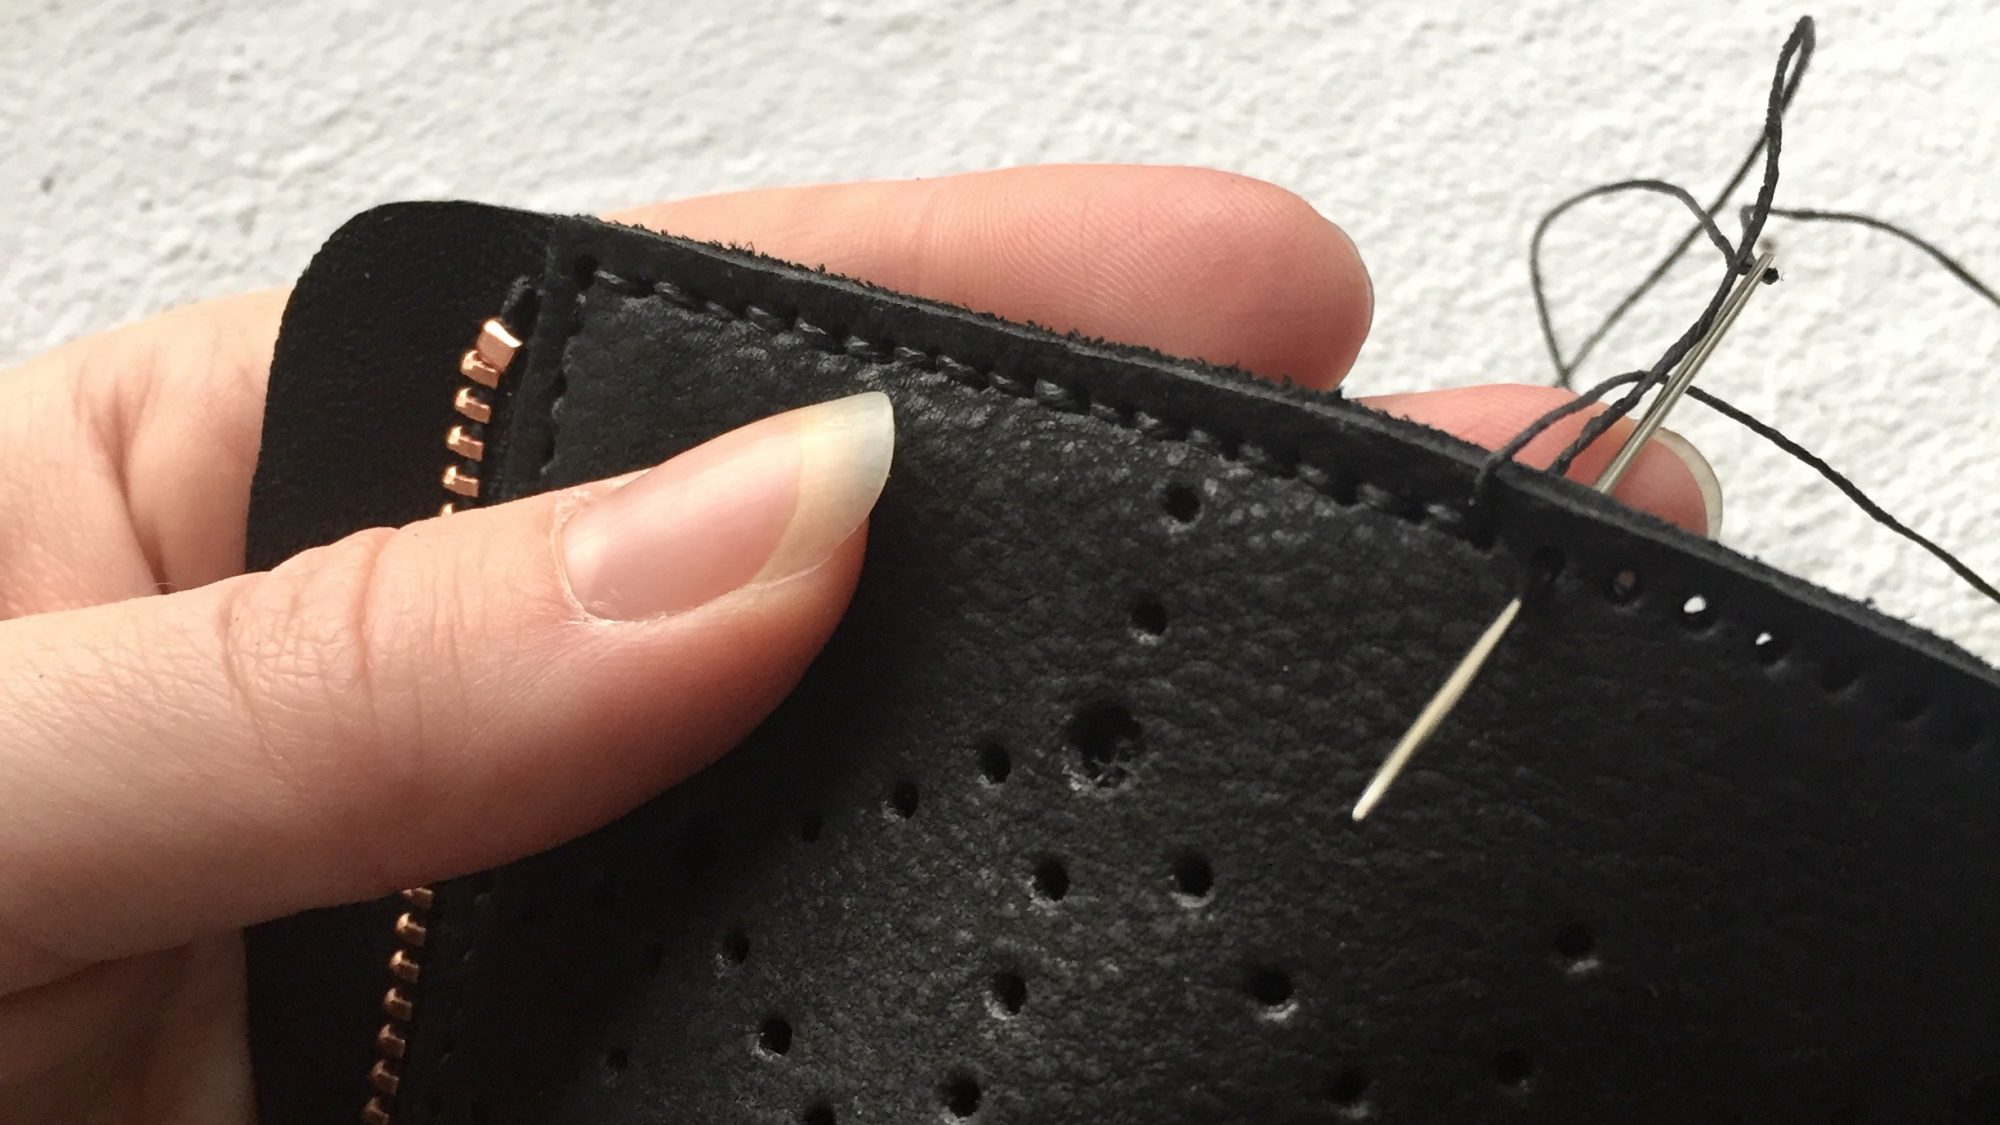
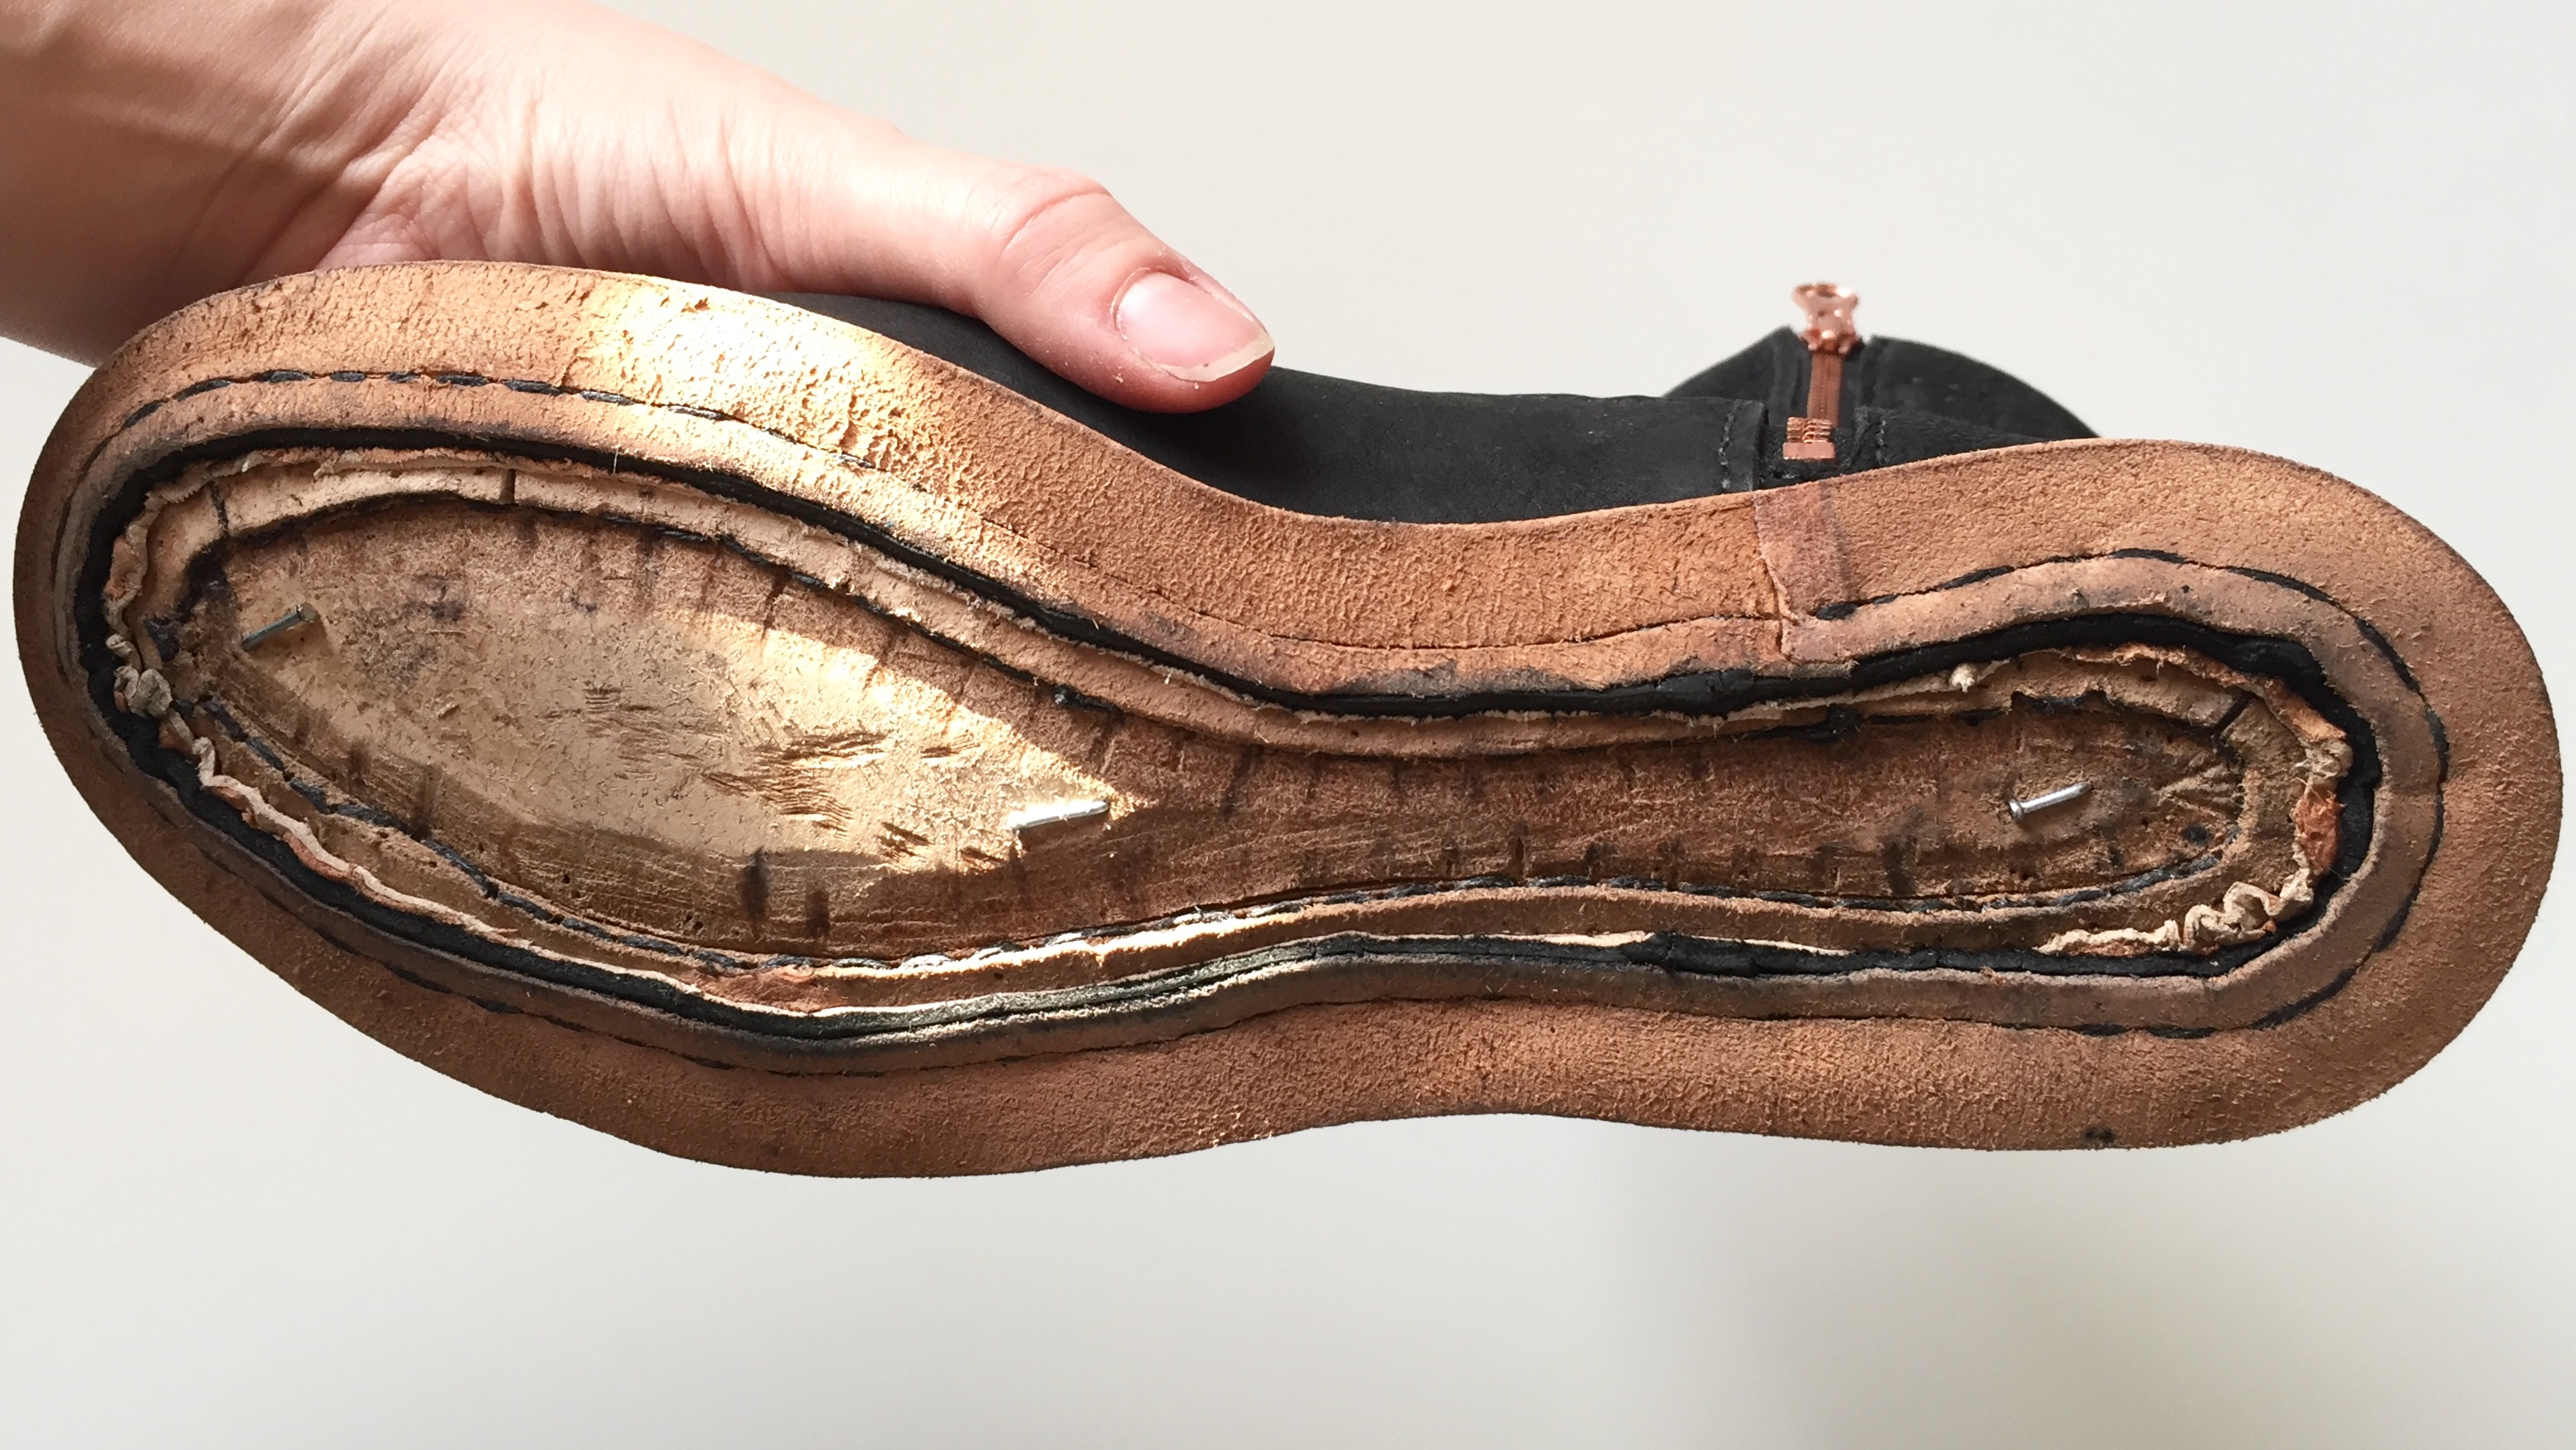 Finished welting. It was a tough job, but I am very satisfied. I kept getting better along the way, so I think my second boot will be a little bit easier.
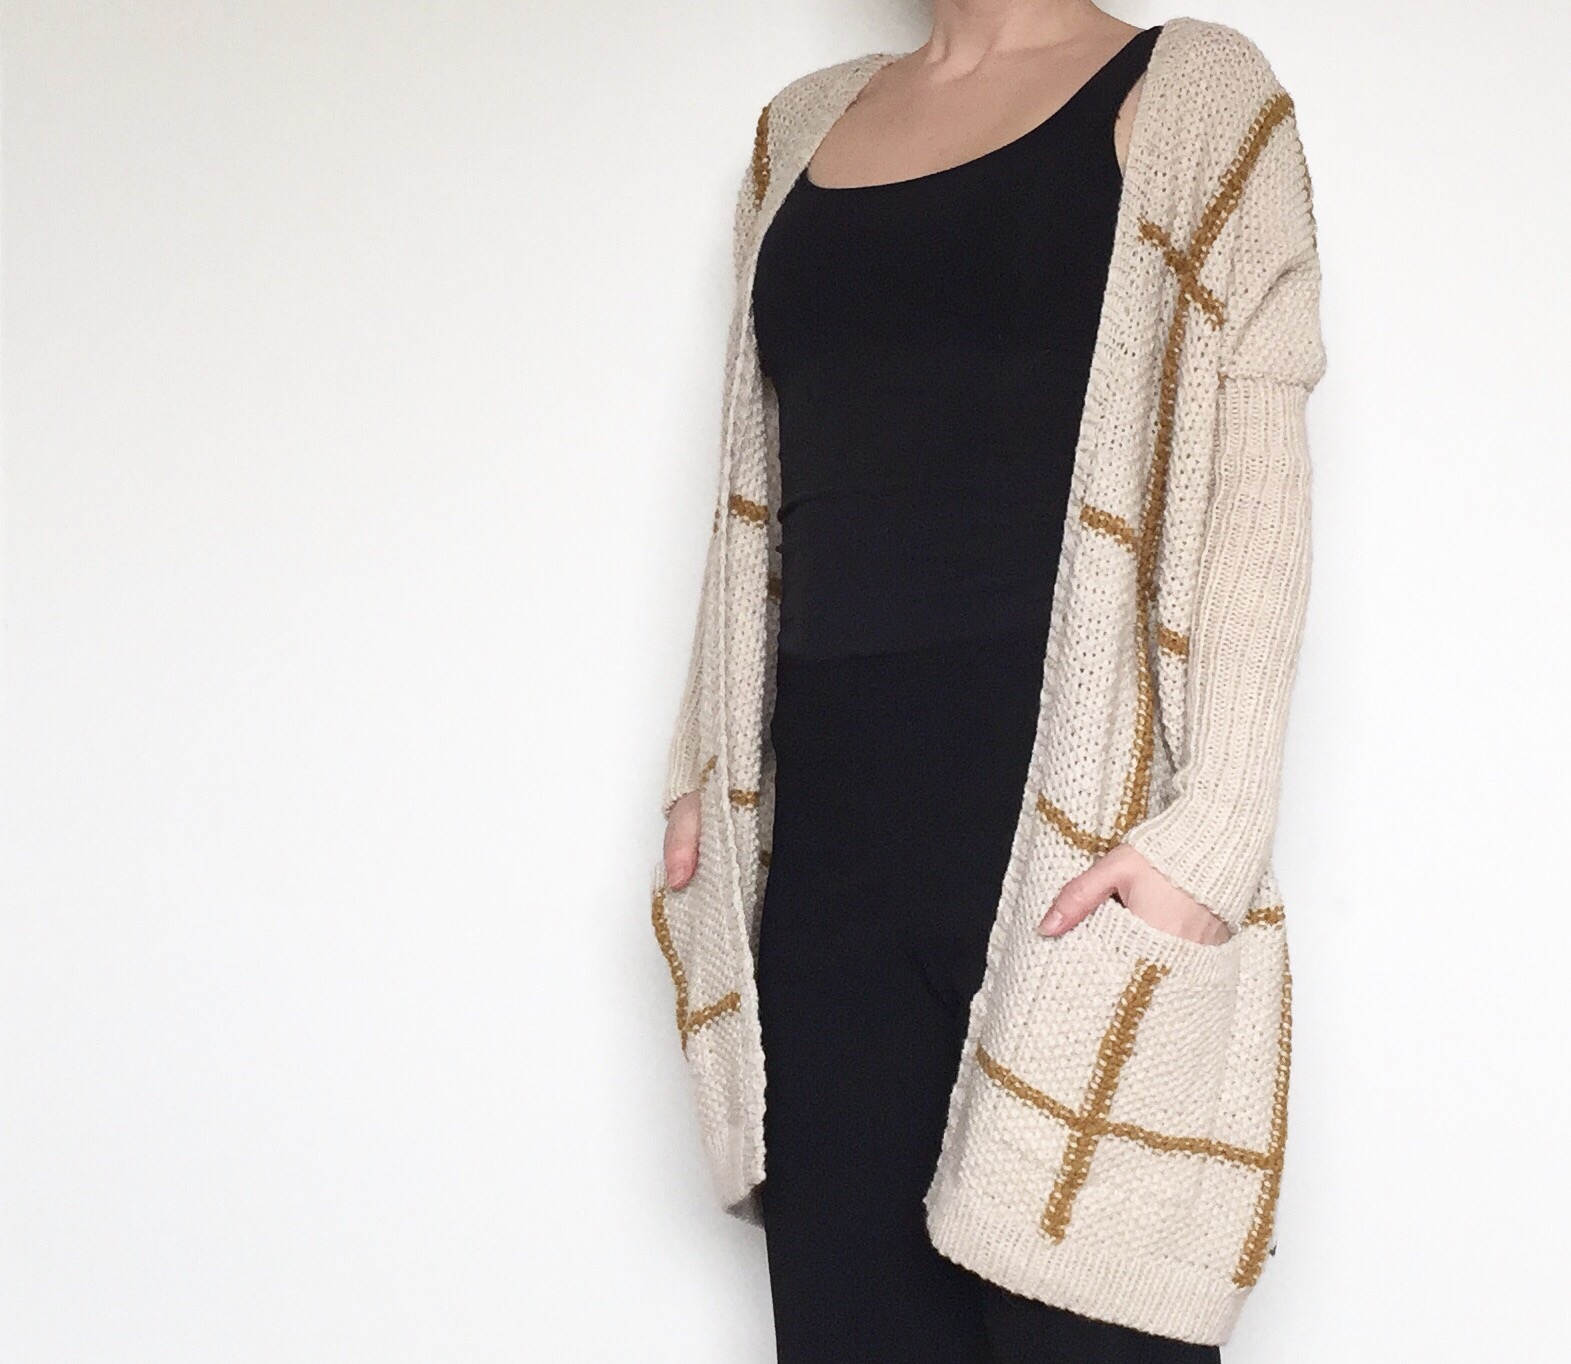 And the final cardigan. The slim sleeves makes a great contrast to the oversize body and the dropped sleeves. I think I am gonna move into this one for the next couple of months when the weather is very shifting and maybe just as an alternative jacket for the cool spring mornings. Finally a video of the Italian bind off that I have used for both sleeves, pockets and the long rib selvedge. This is my absolut favourite for 1X1 rib for its elasticity and sharp looking edge.
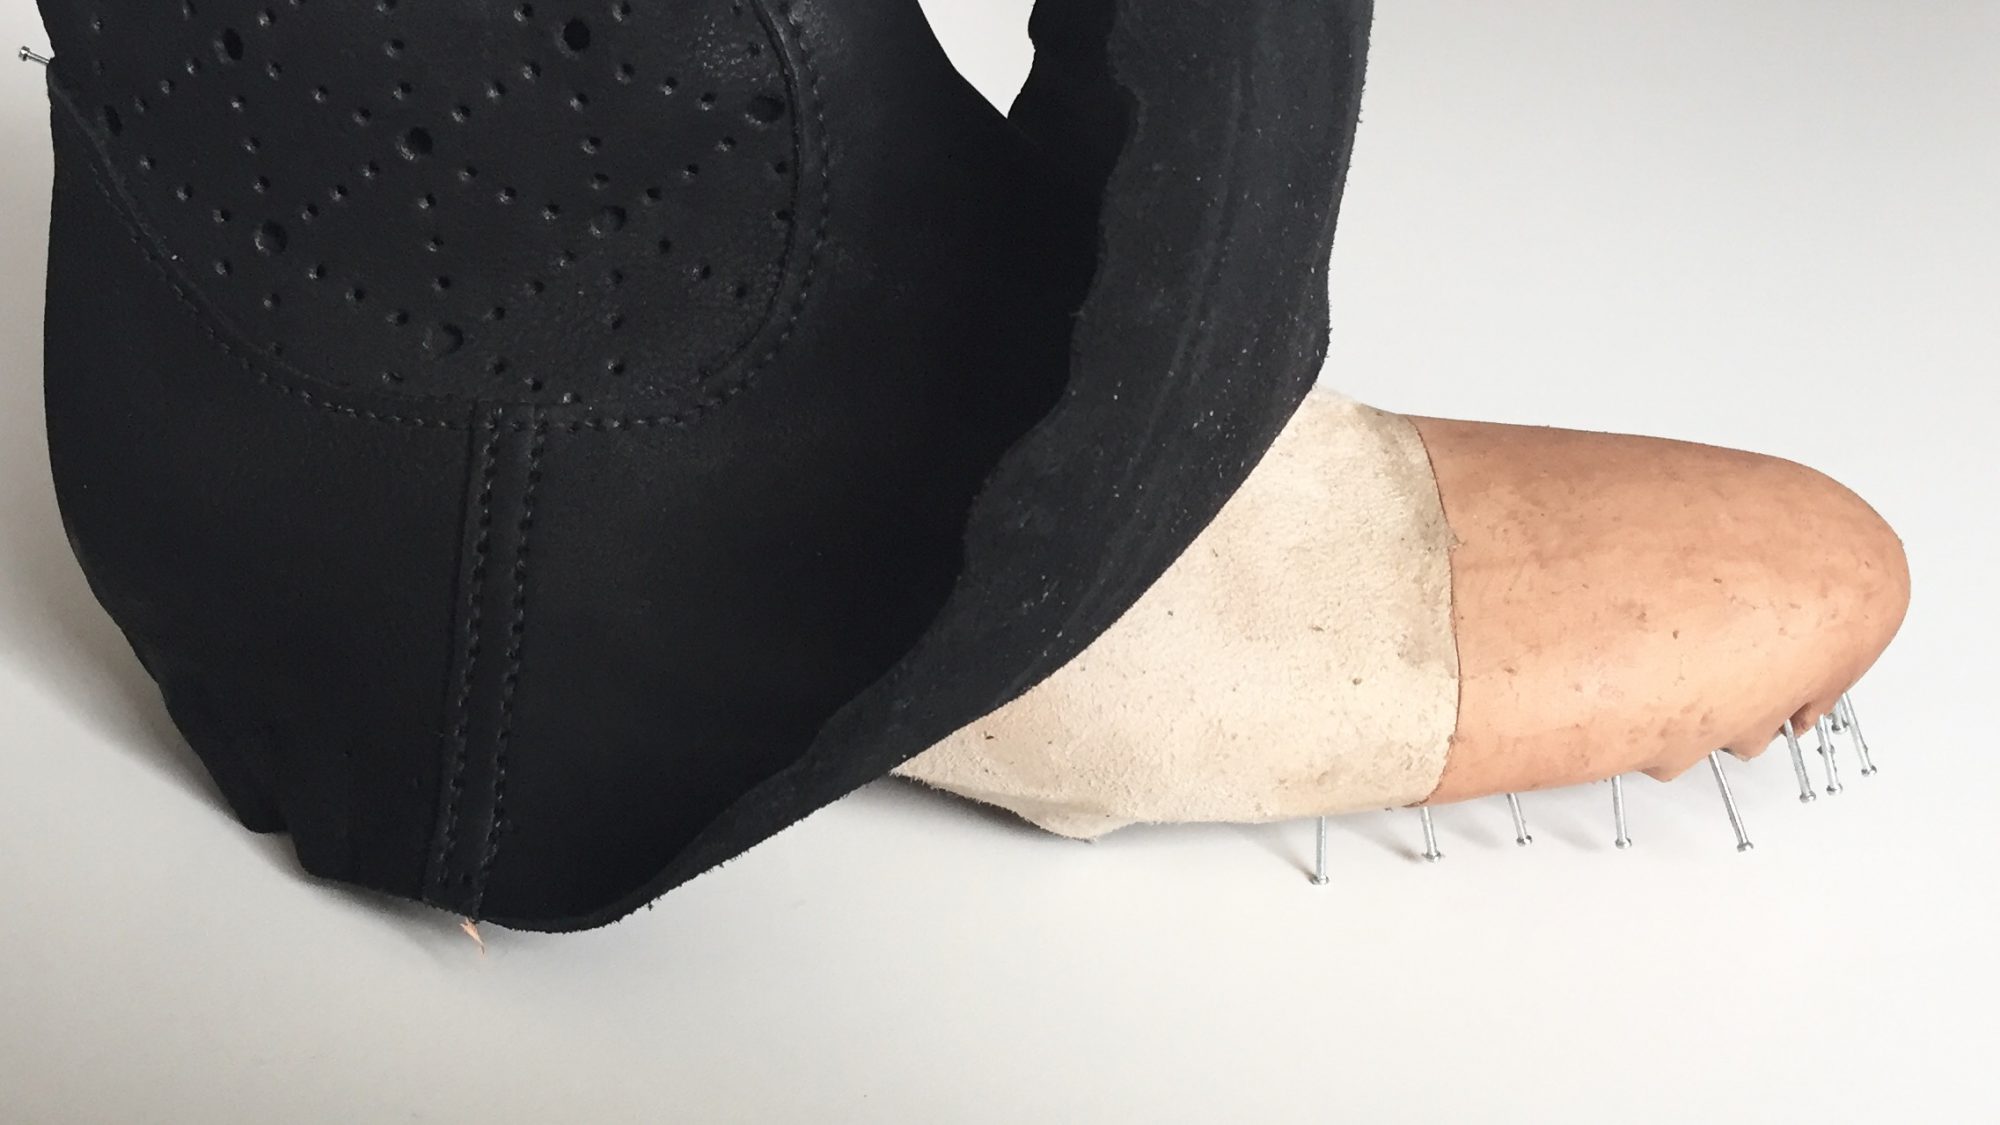
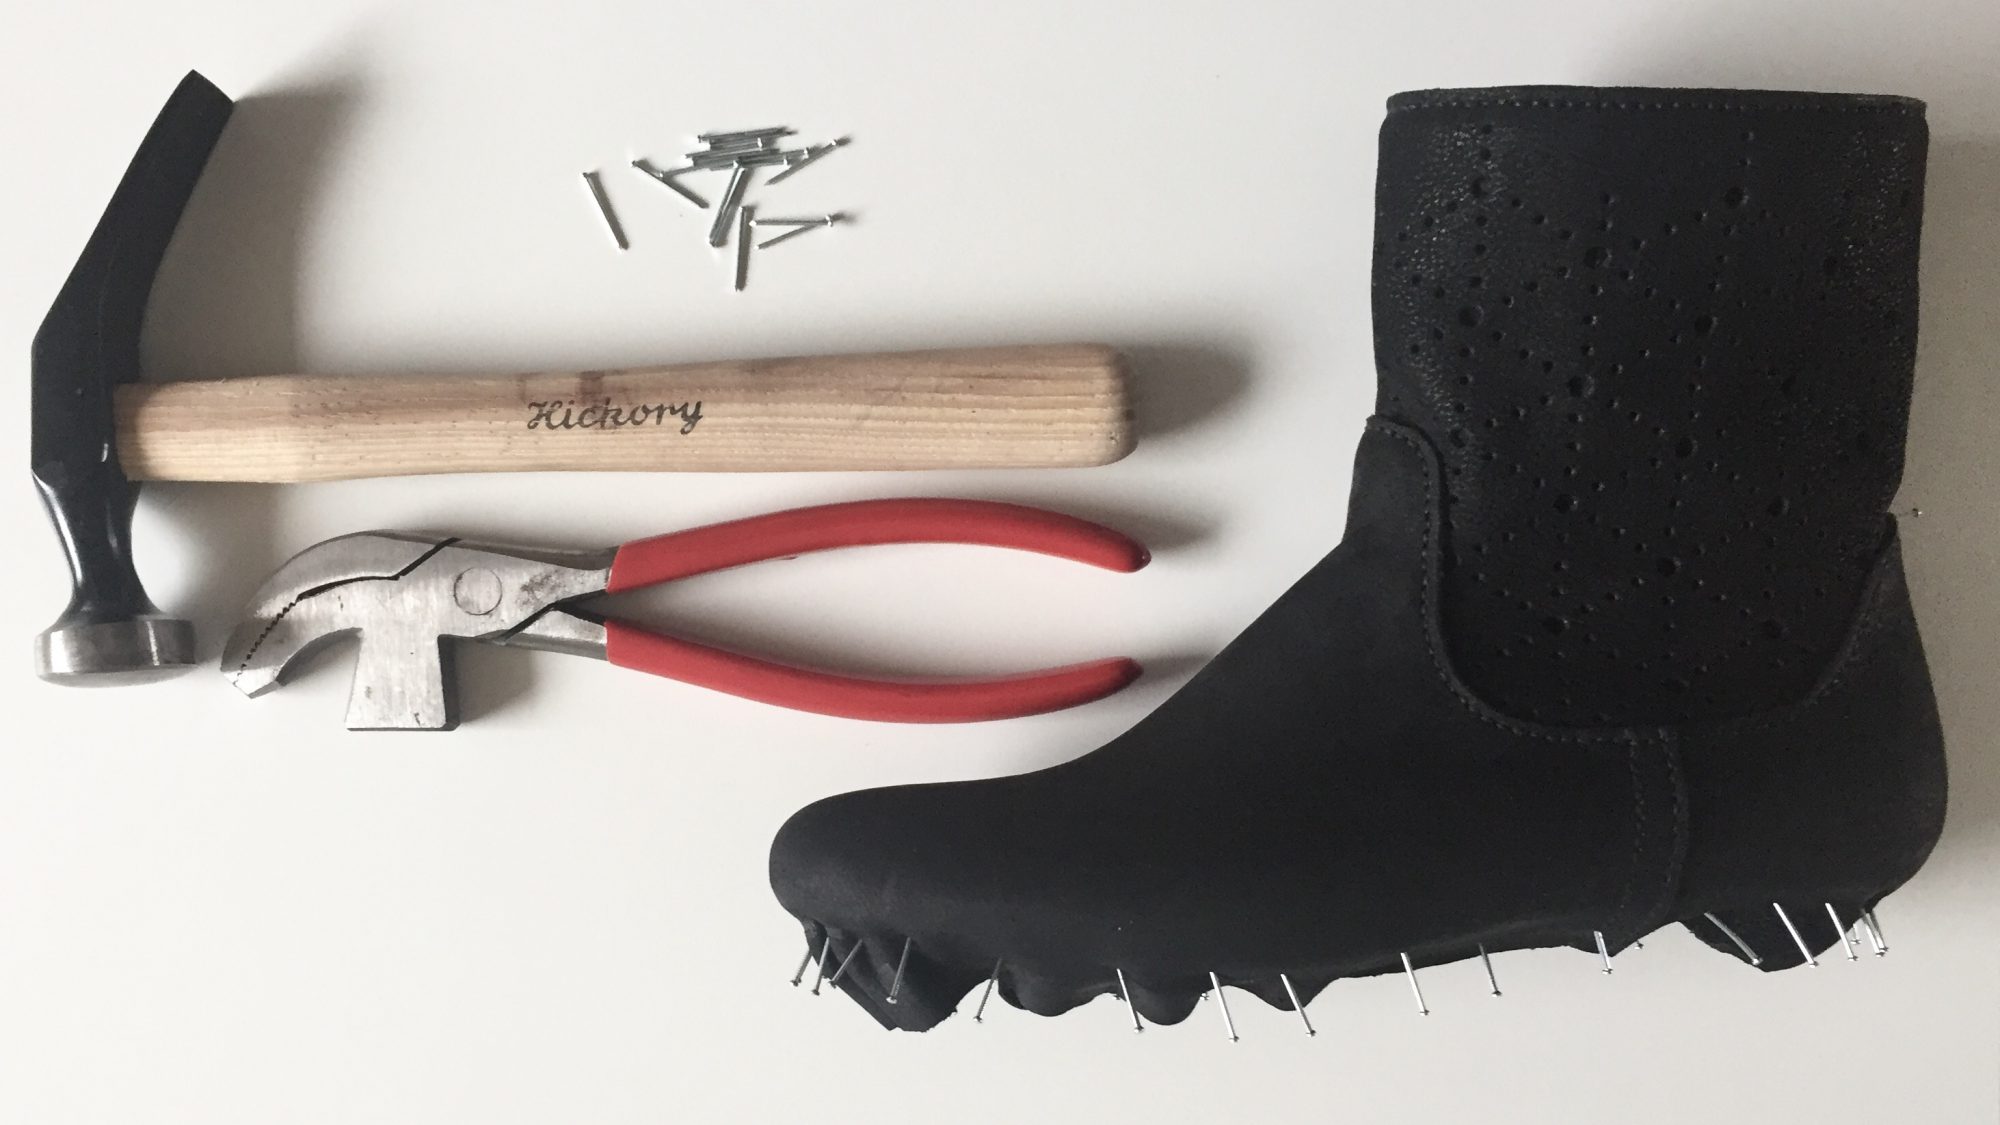 Now that the uppers are sewn and the insoles prepared, it is time for the first lasting. The upper is moistened to make the leather more flexible, and using the shoemakers pliers, it is pulled in shape over the instep, heel and toe. This will be the first and roughest of the lastings, so the nails are placed a little bit further apart than I intend to do on the final. The boots are then left to dry until next day.
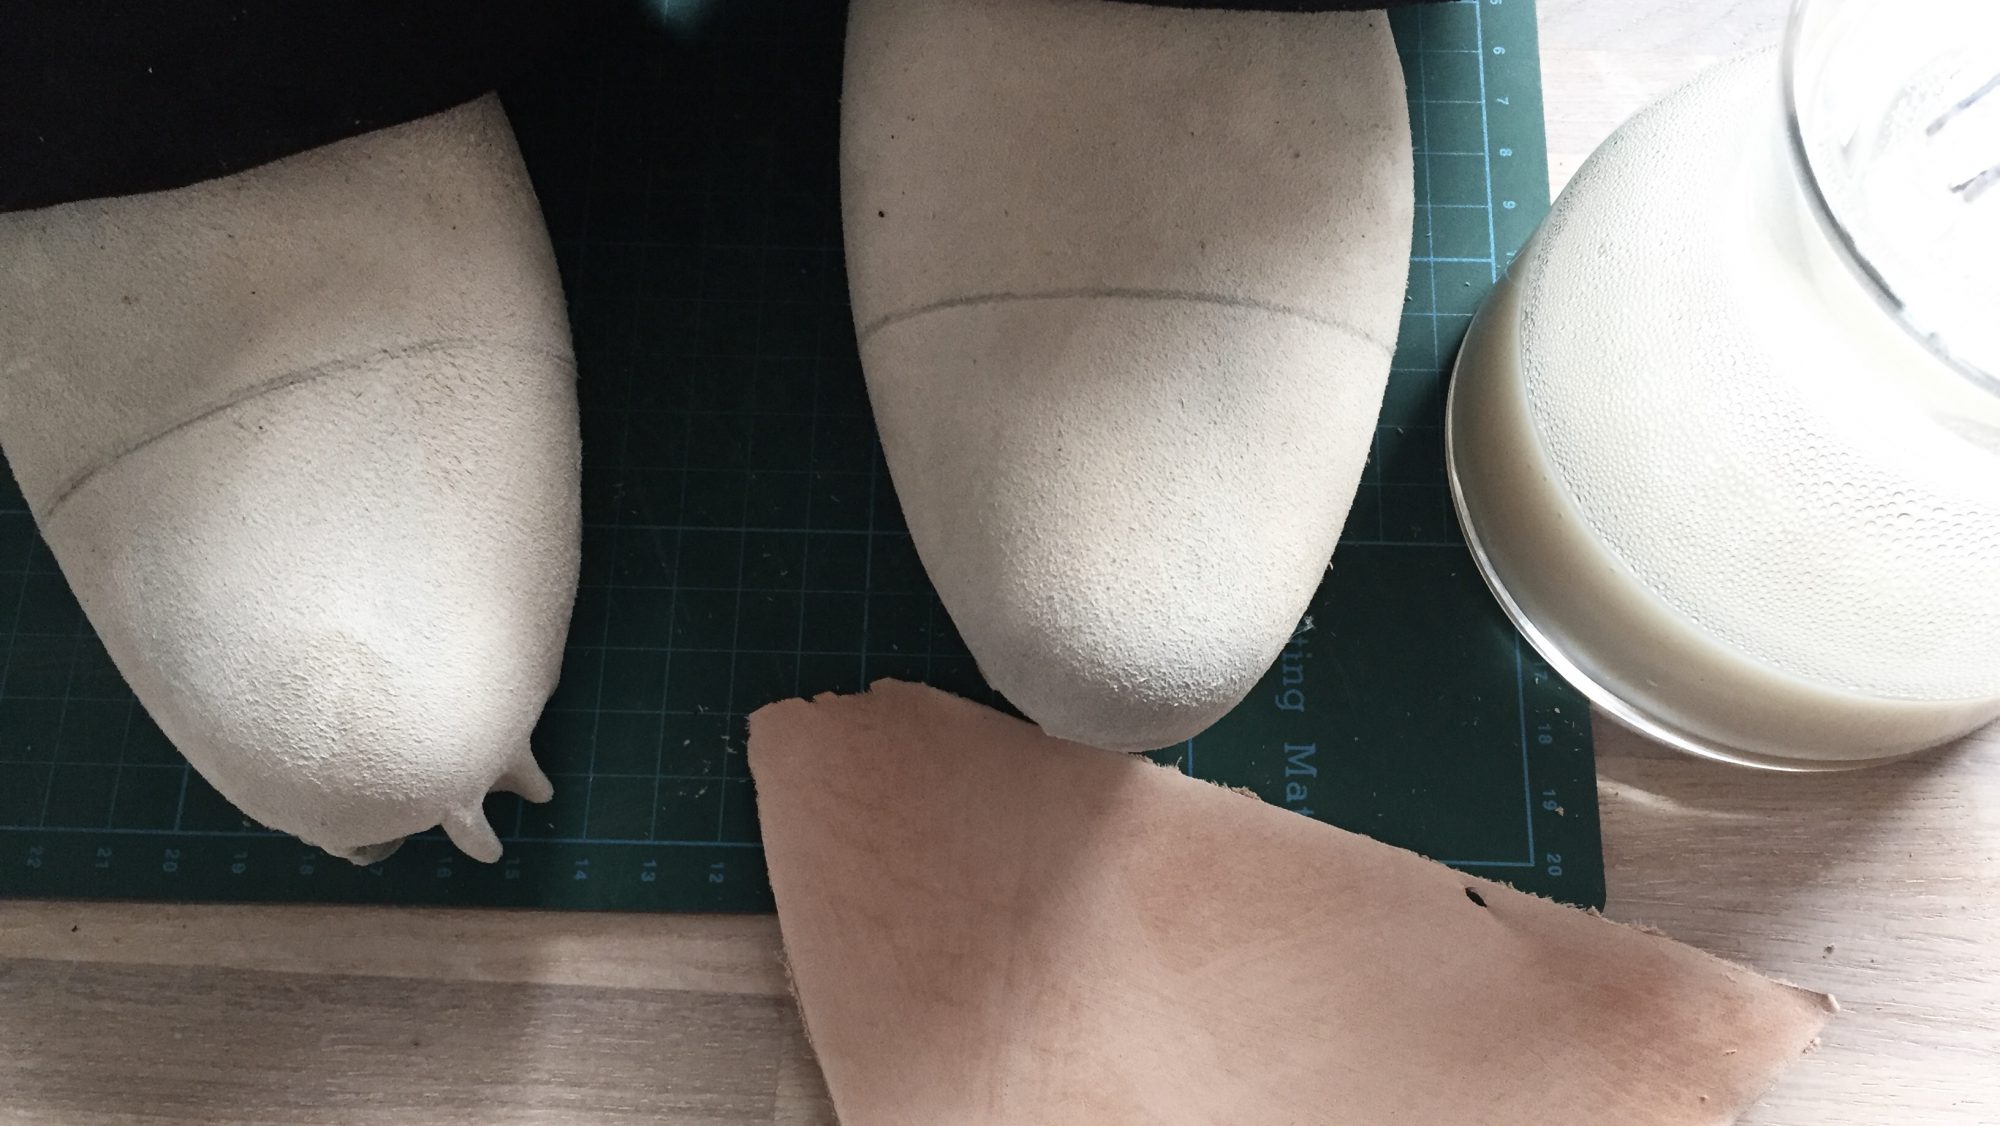
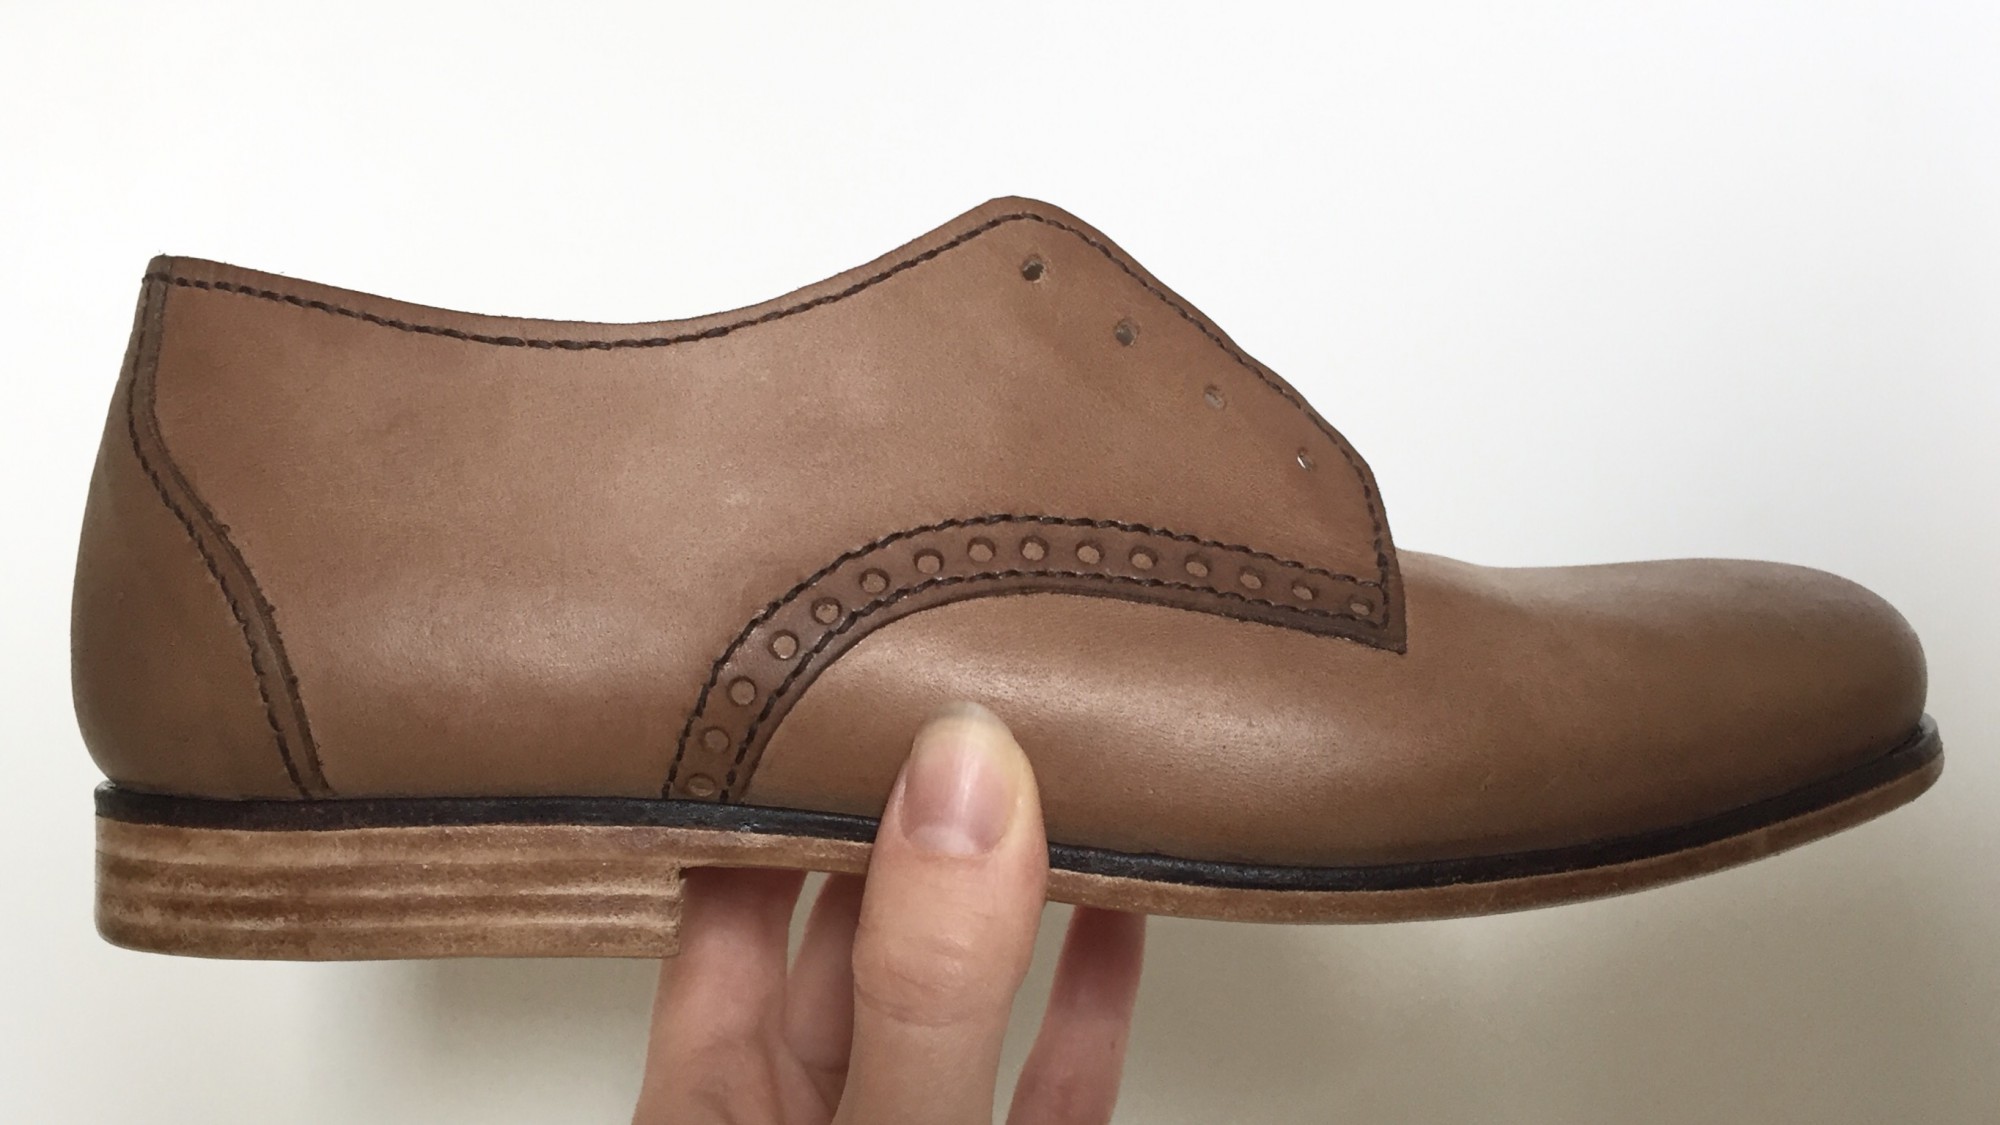
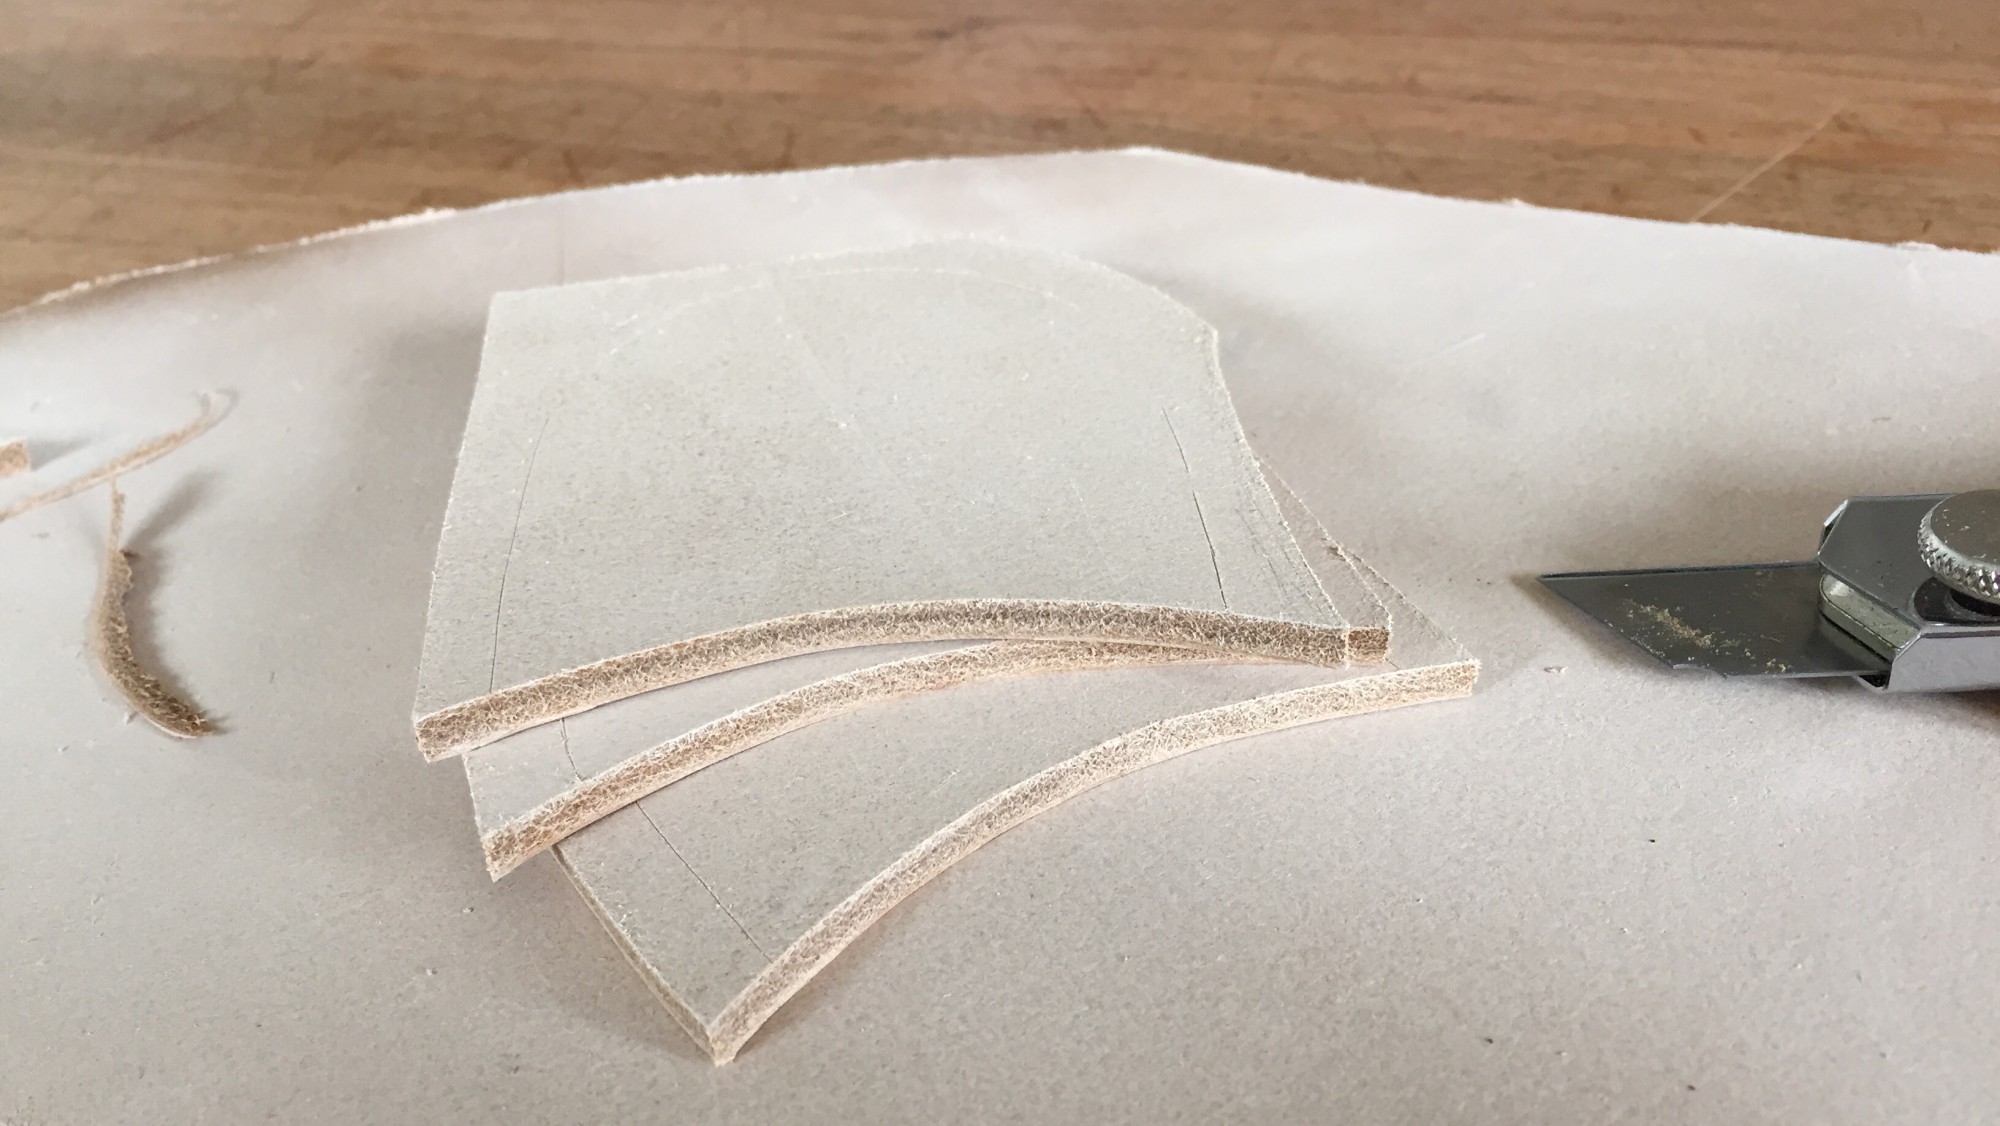
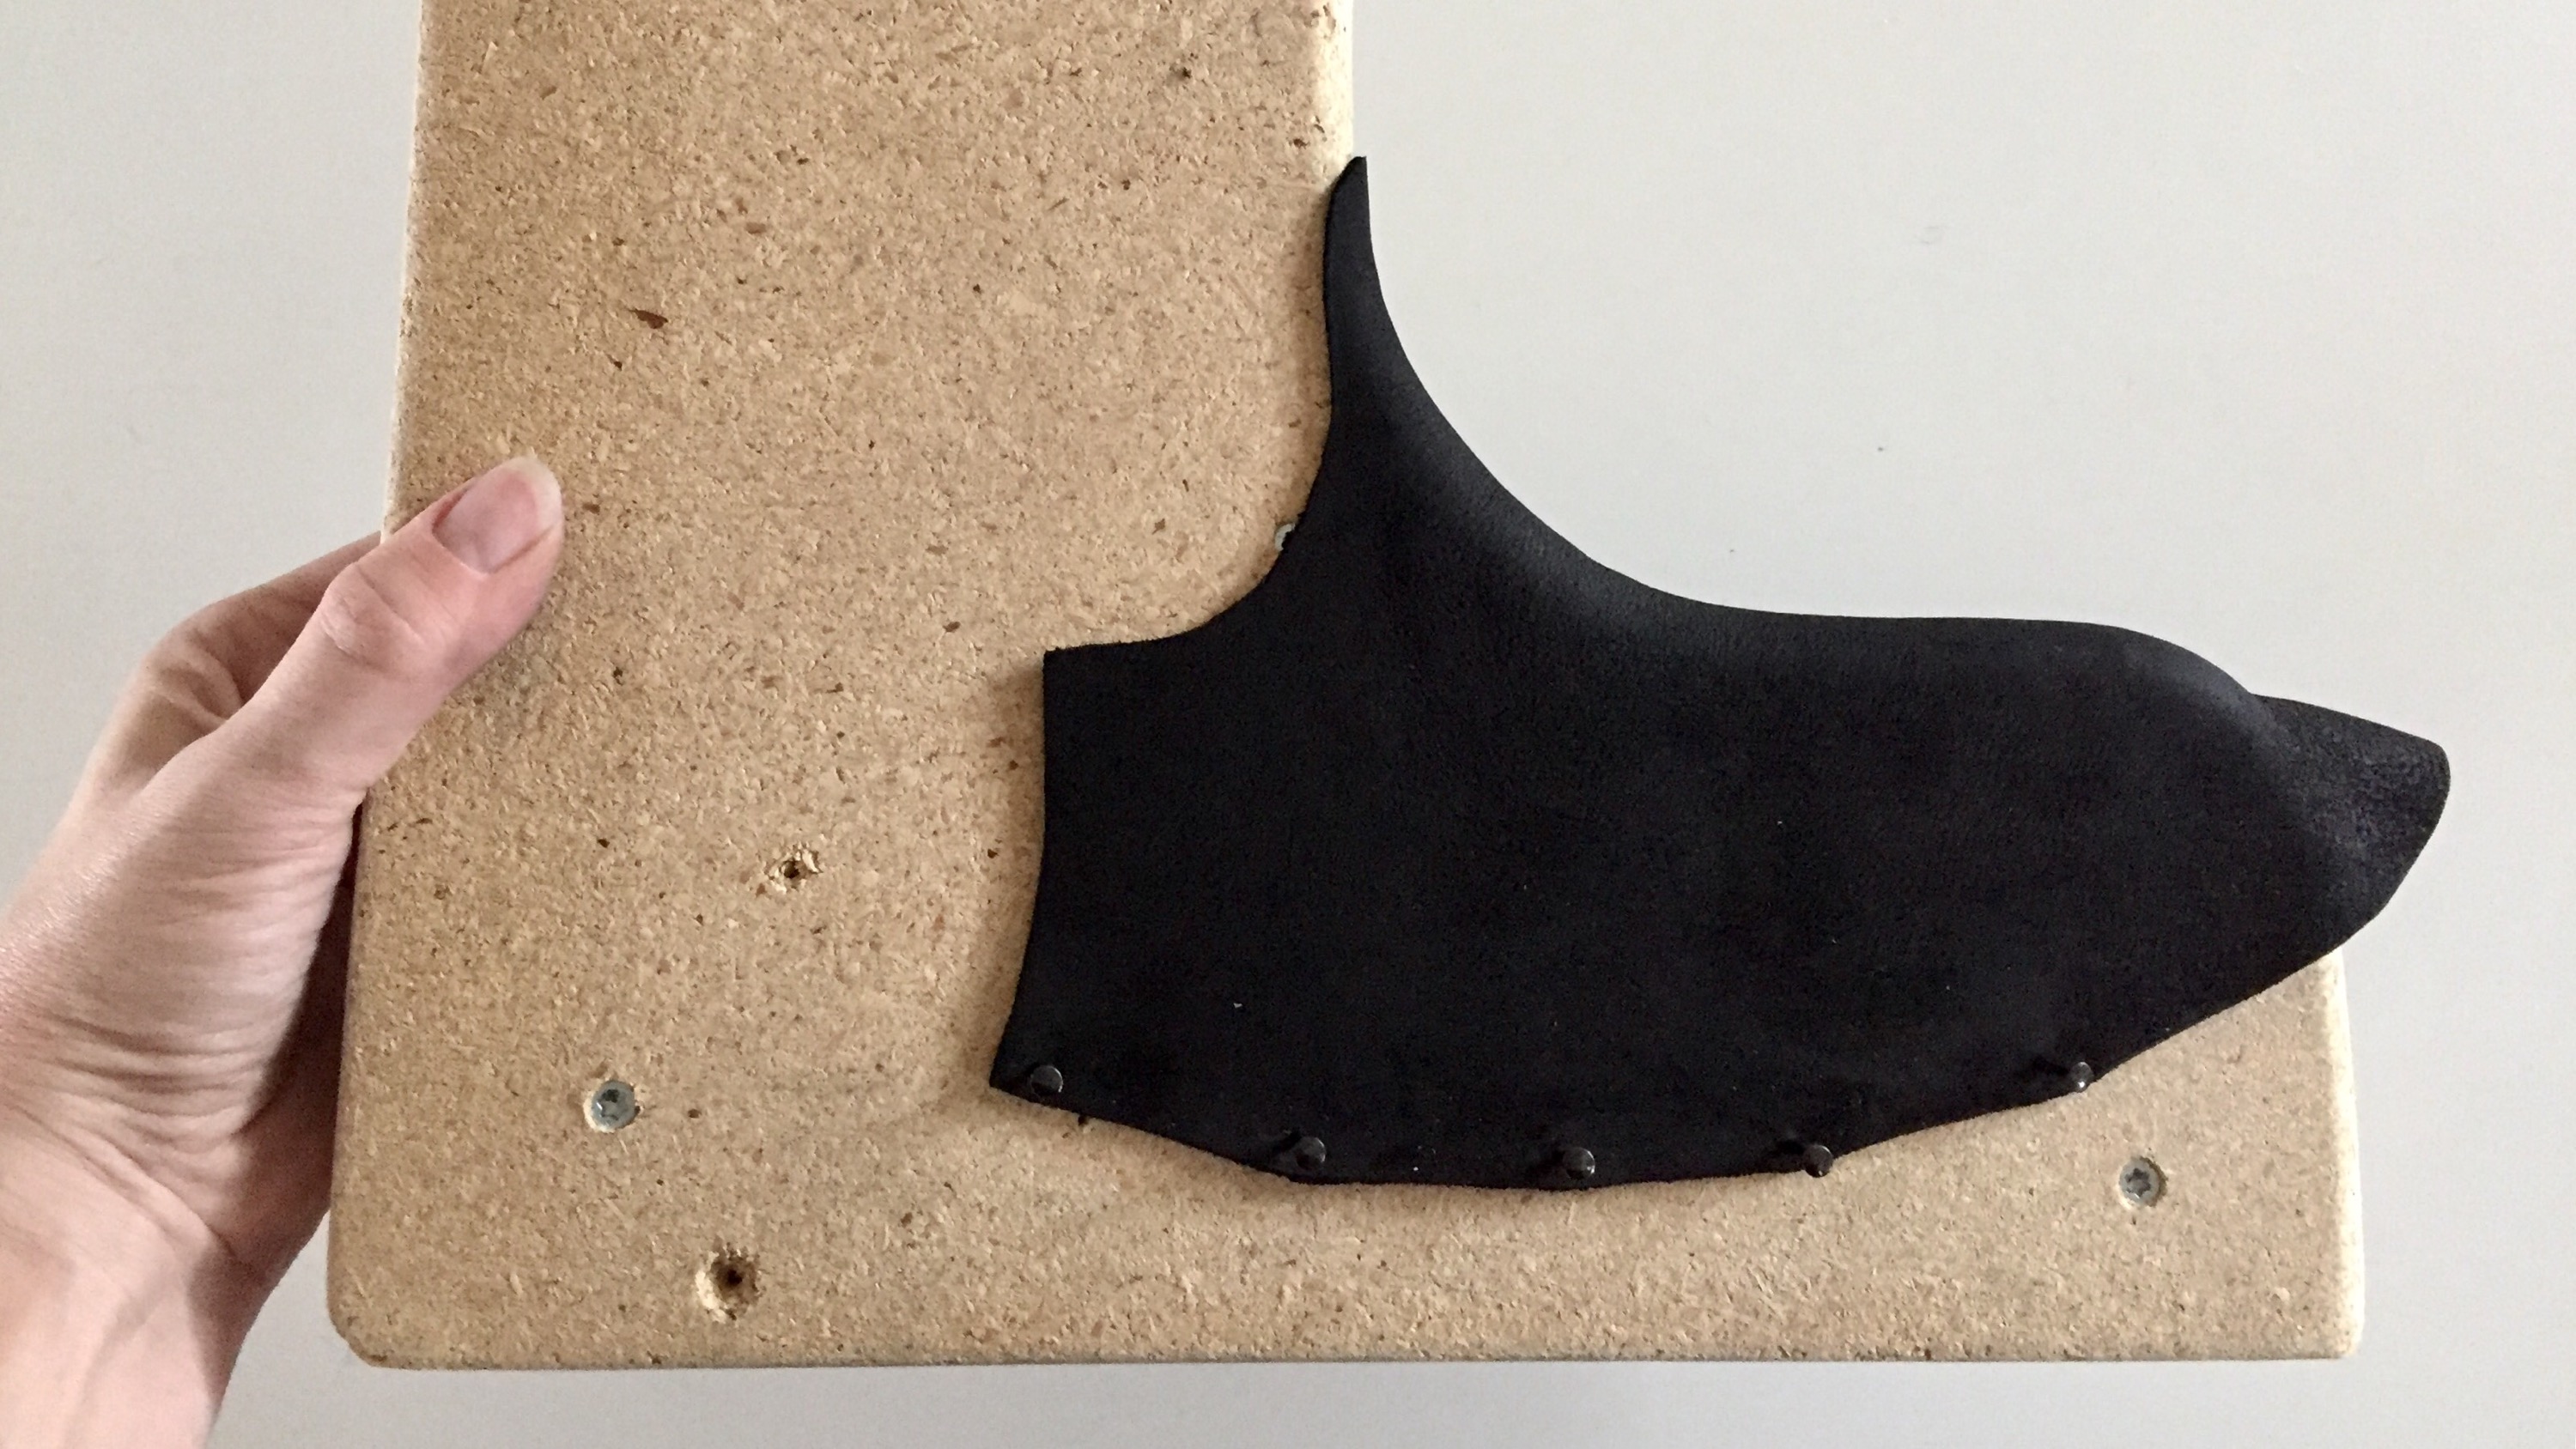
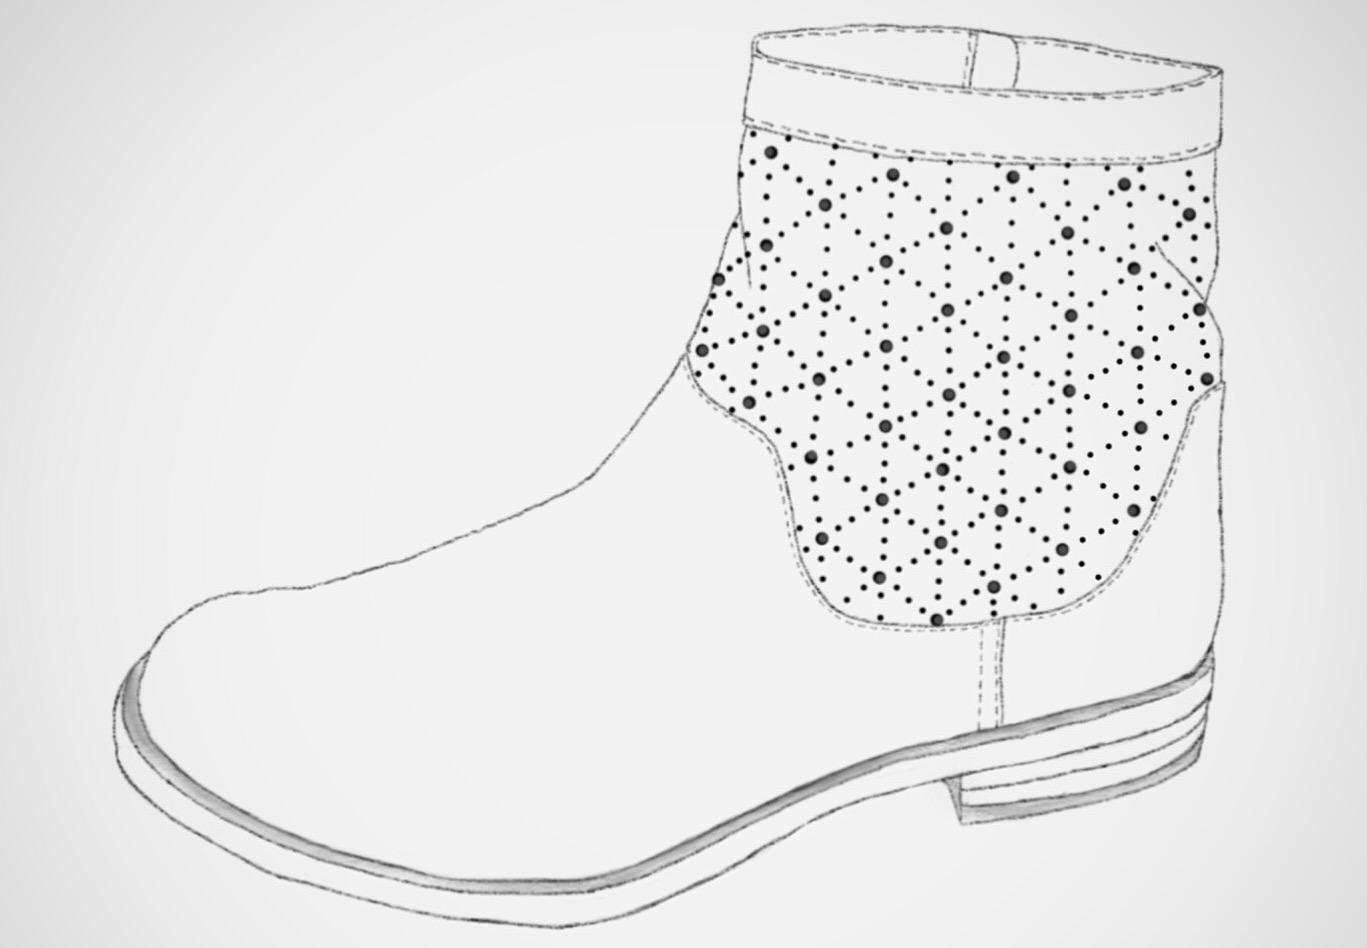
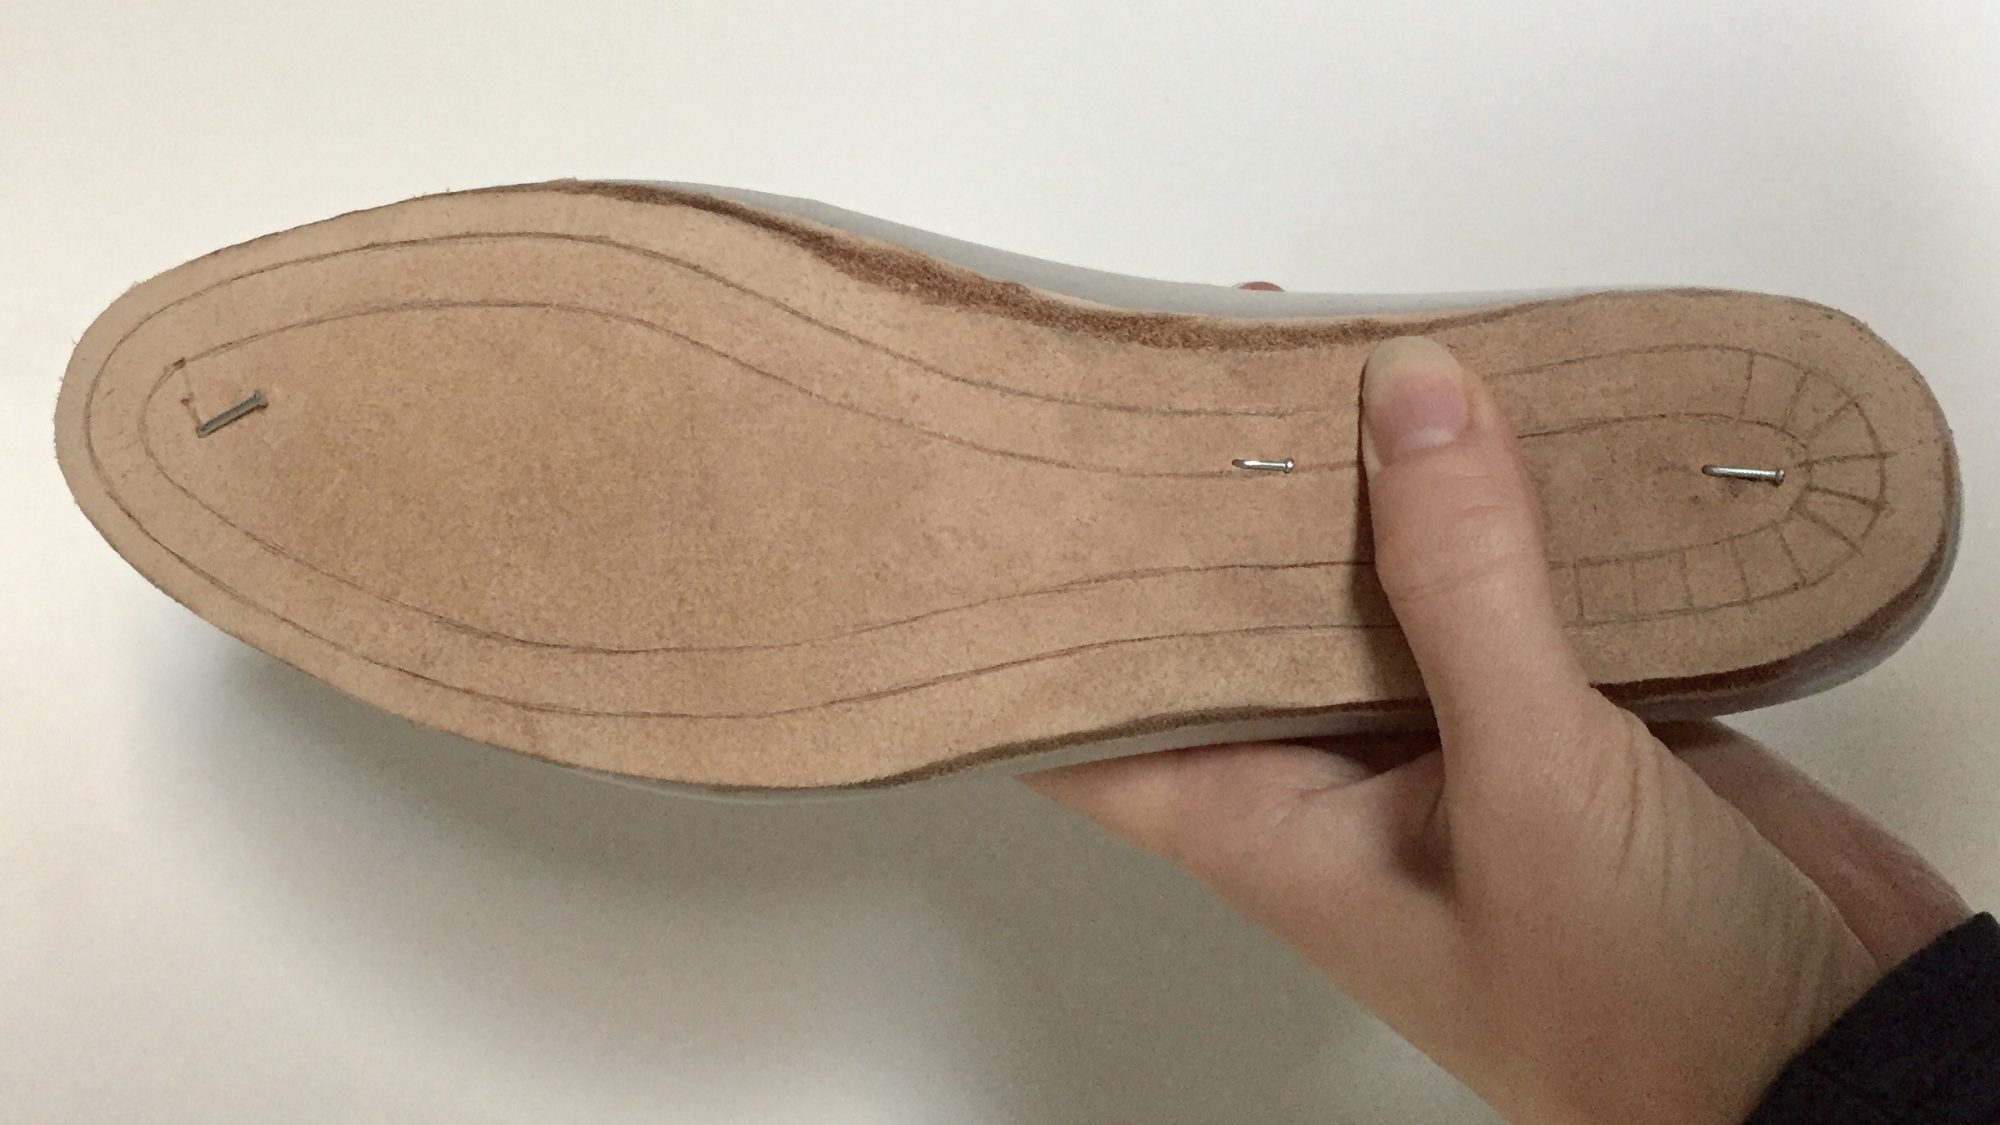 My first pair of shoes were made with a cemented rand tape and sole, which was a fairly big challenge, not having received any kind of introduction to shoemaking. This time I will obviously push my own limits once again, trying out the much more durable welted construction. A template is sketched onto the bottom of the insole. This is cut out as shown in the picture below, leaving an edge for sewing on the upper.
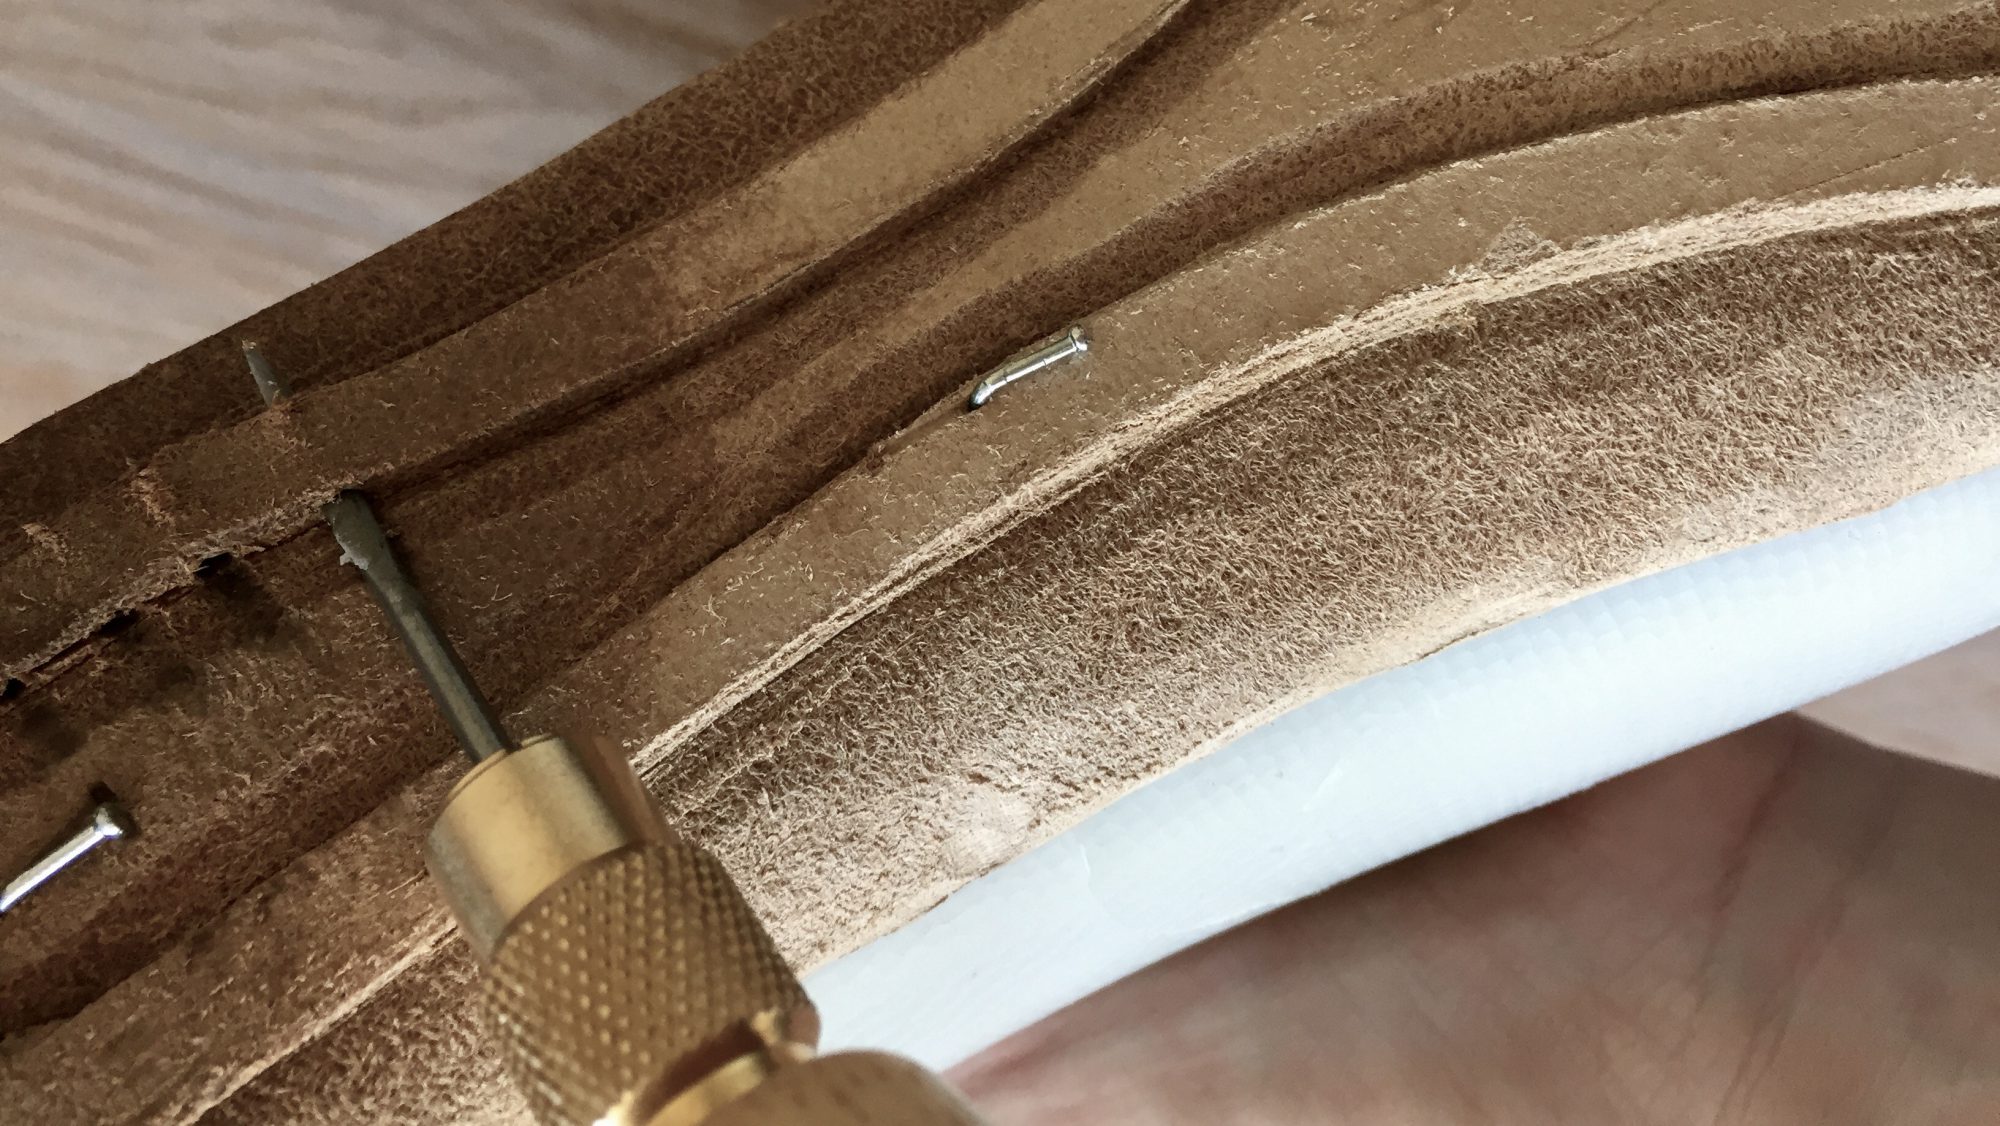

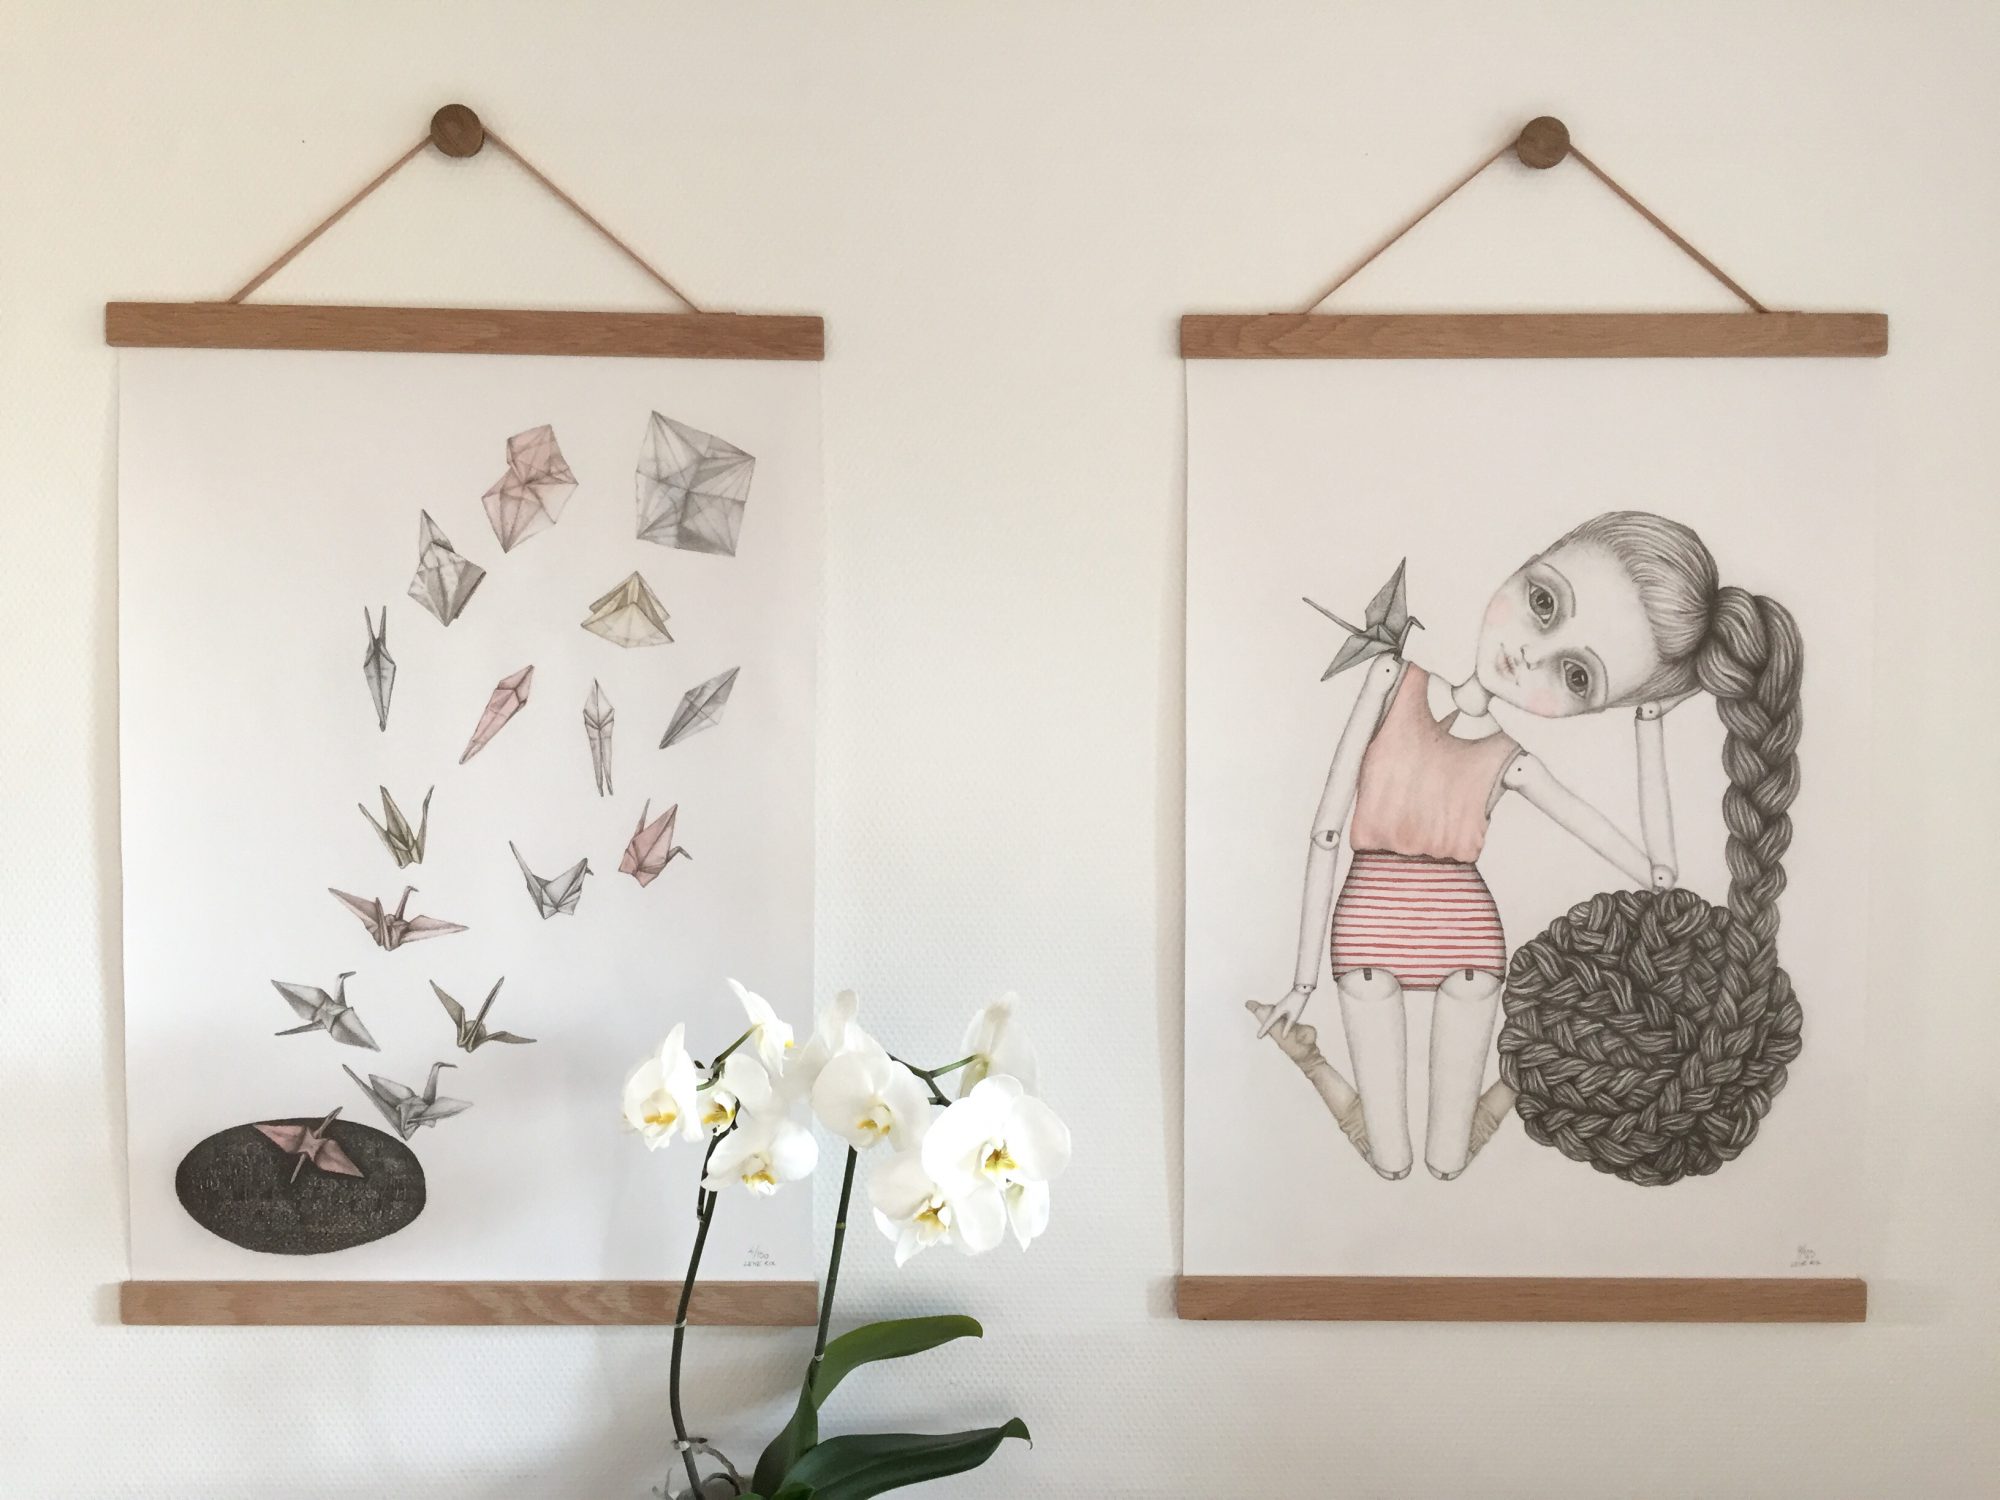
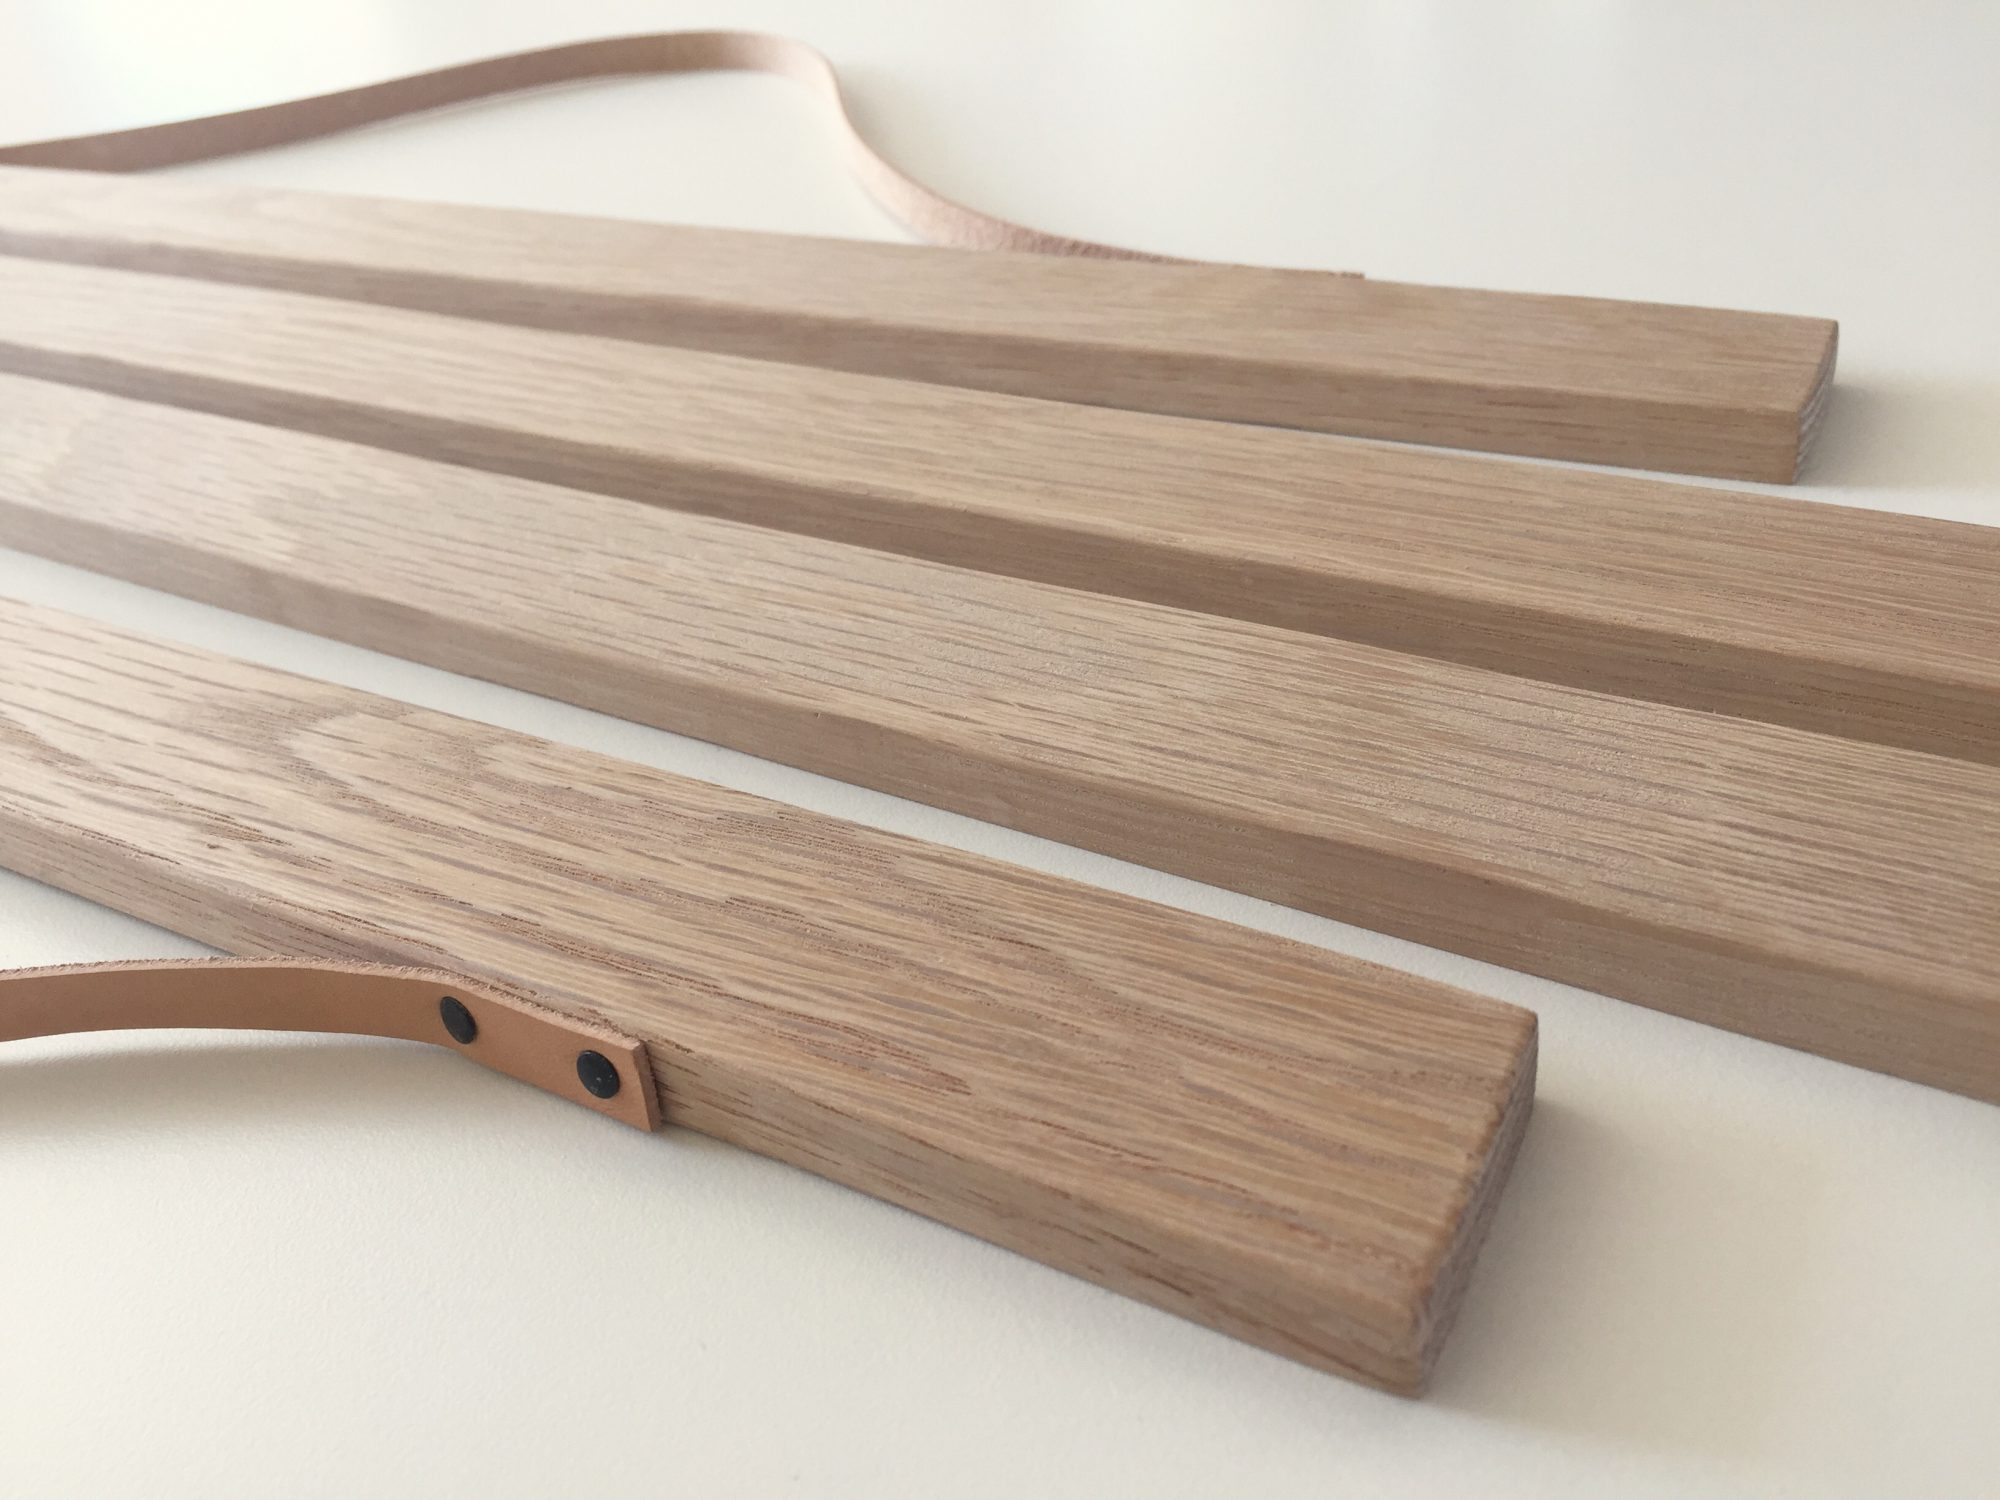 Listerne er savet i illustrationernes bredde plus en centimeter og derefter slebet grundigt med sandpapir. Til ophænget har jeg skåret strimler af kernelæder, som er fæstnet med to søm i hver ende. Endelig har jeg monteret to egetræsknopper på væggen til at hænge dem på. Jeg er meget tilfreds med resultatet og det lette udtryk.