Lace Boots – Toe Cap

Lace Boots - Toe cap
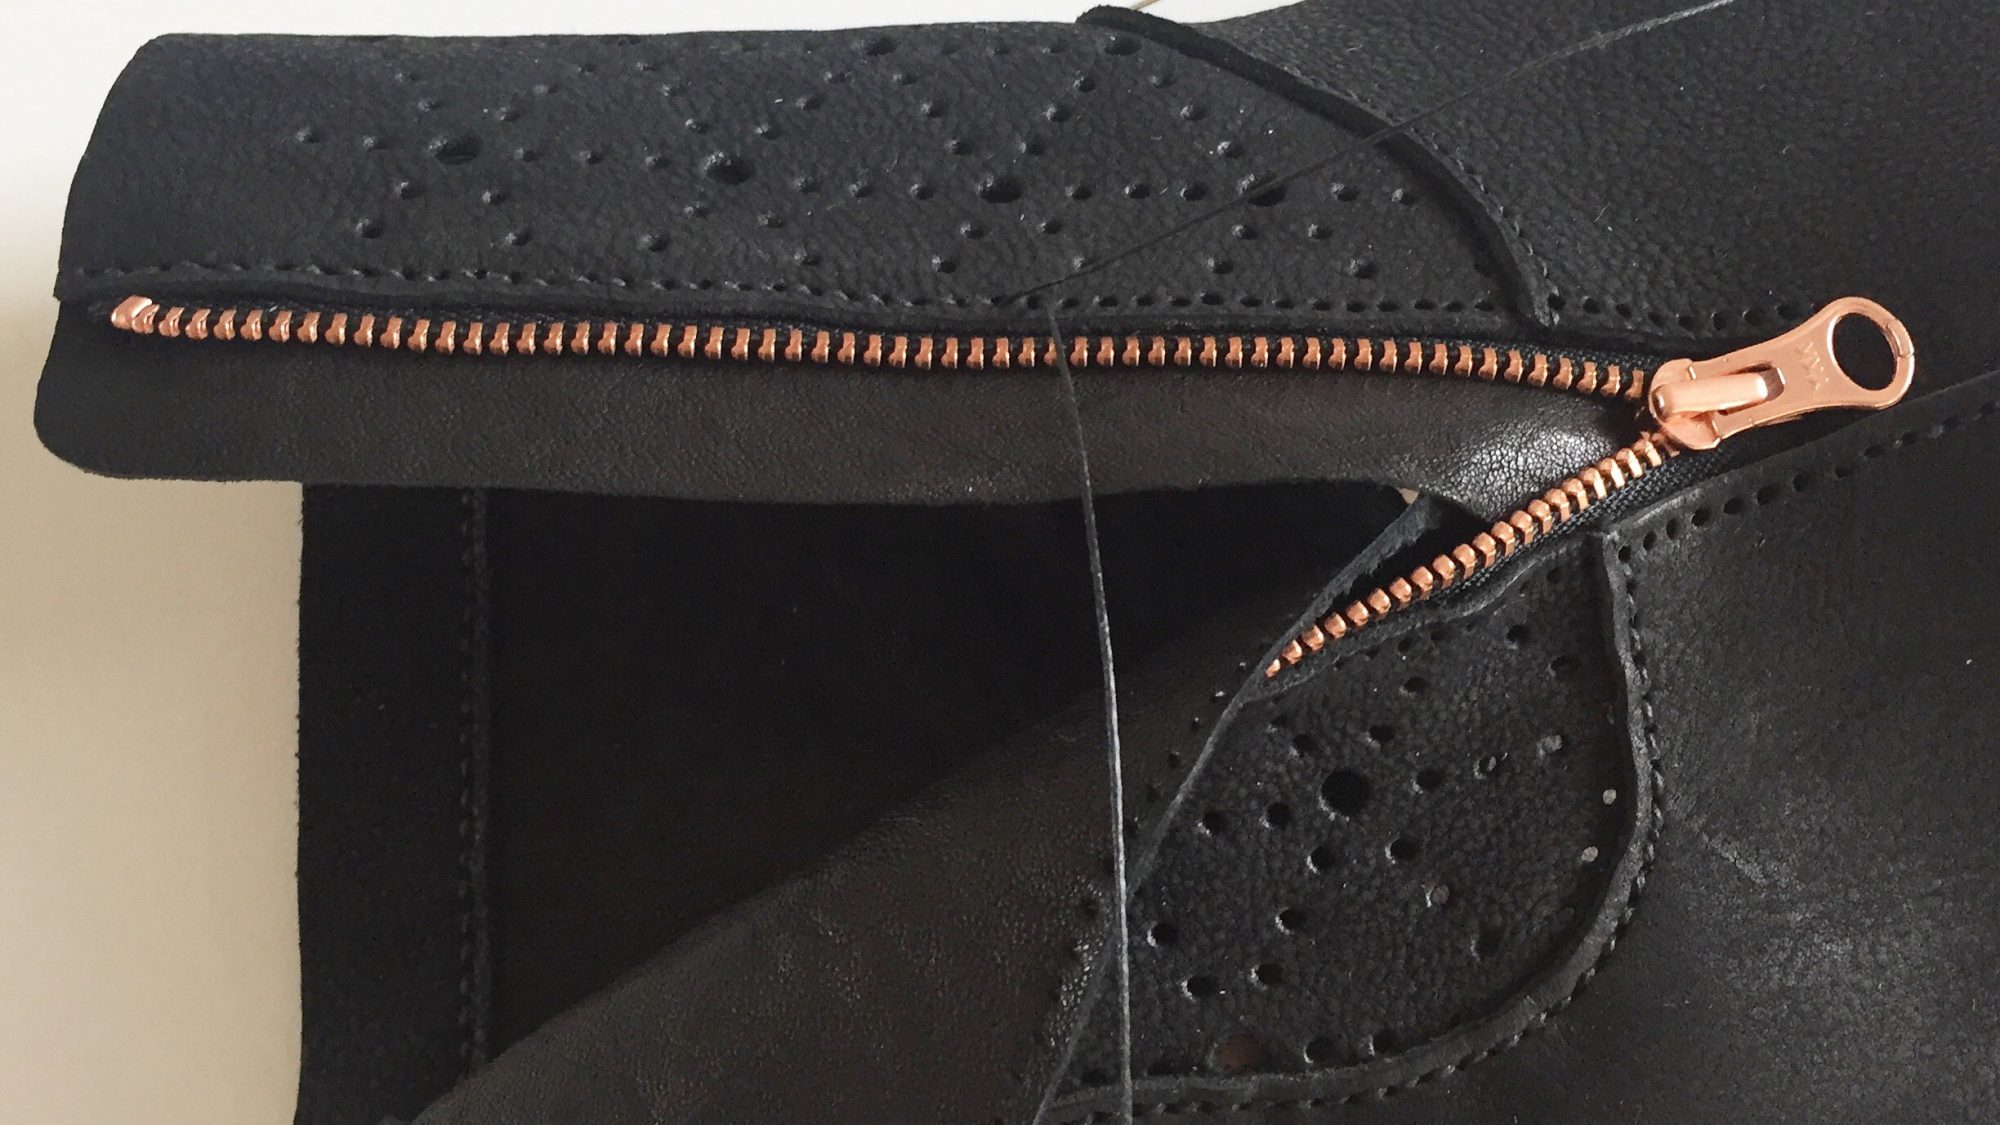
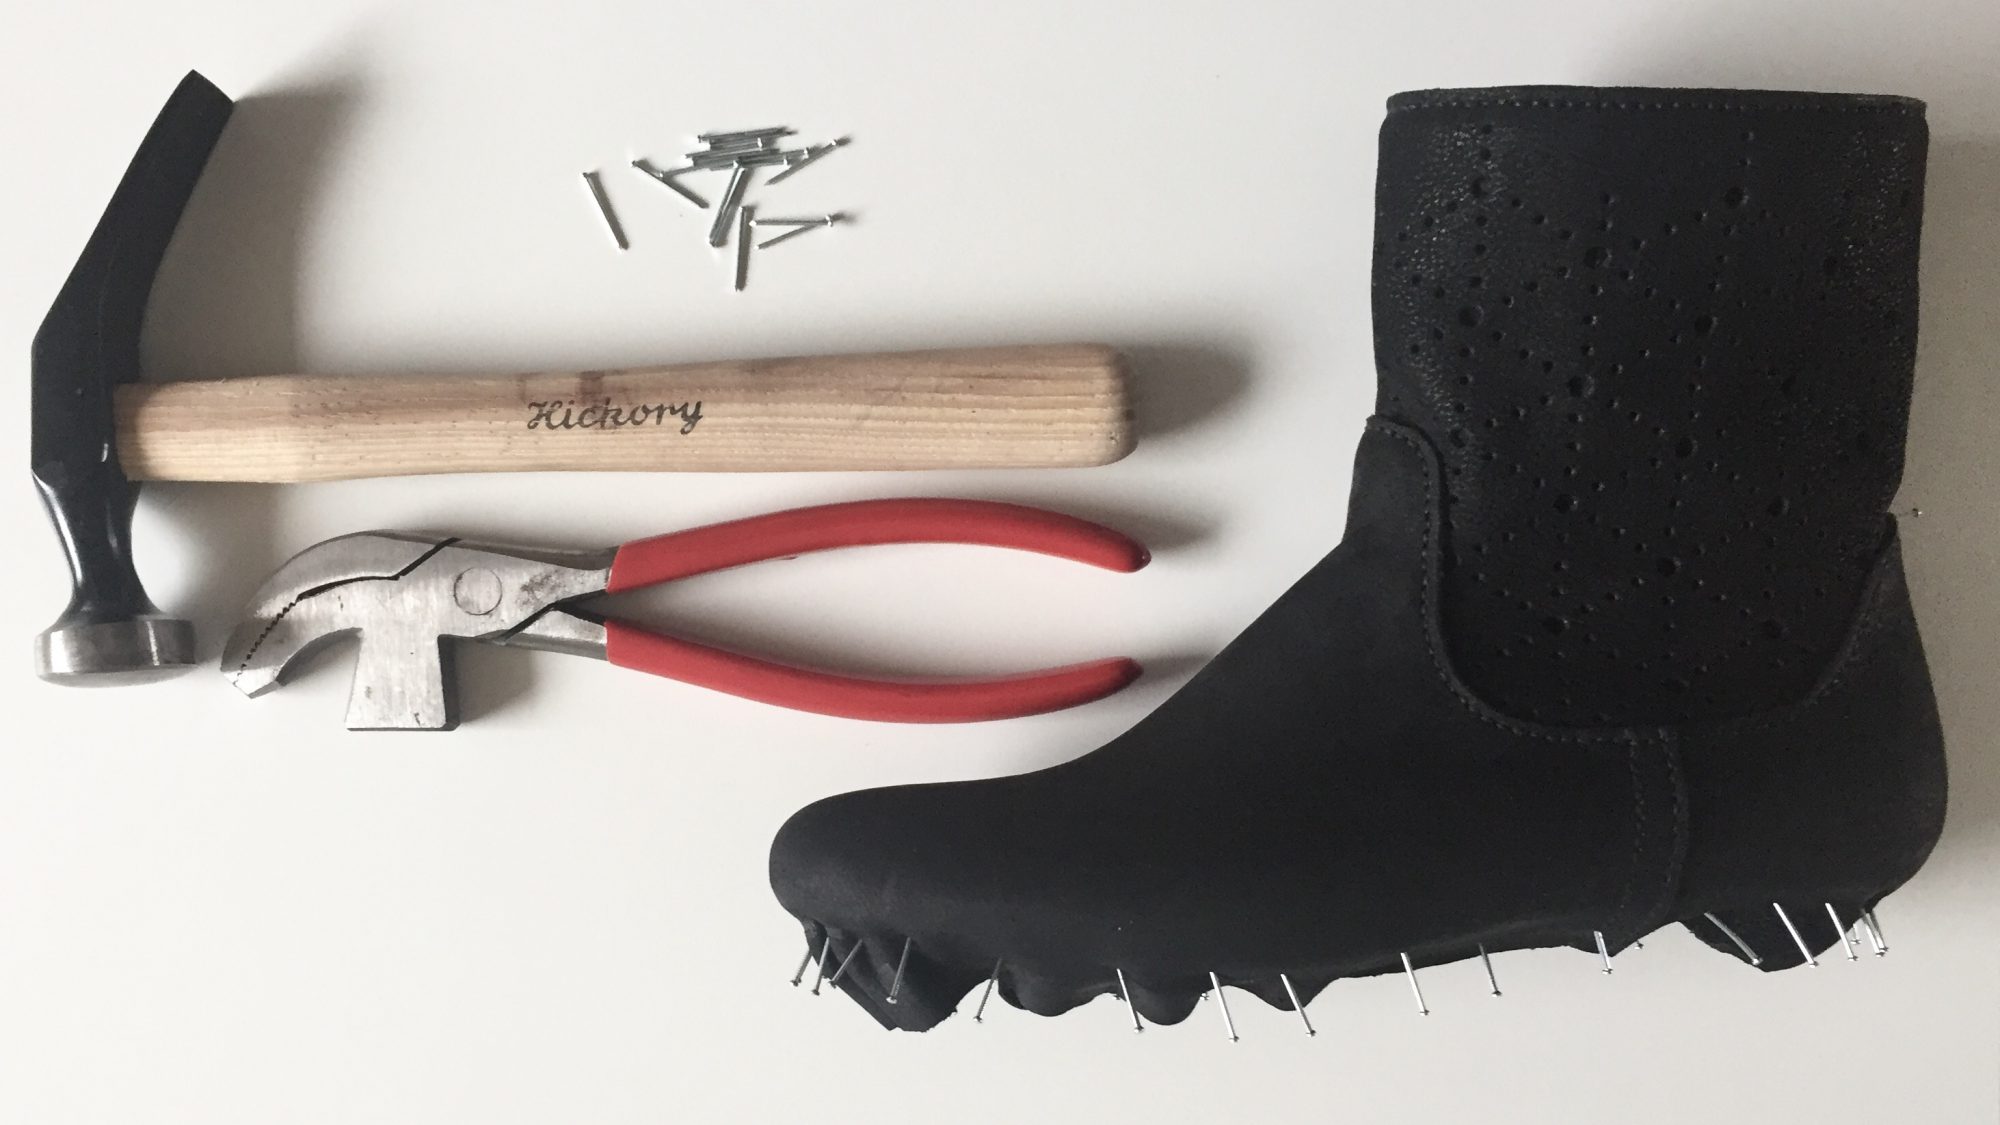
Now that the uppers are sewn and the insoles prepared, it is time for the first lasting. The upper is moistened to make the leather more flexible, and using the shoemakers pliers, it is pulled in shape over the instep, heel and toe. This will be the first and roughest of the lastings, so the nails are placed a little bit further apart than I intend to do on the final. The boots are then left to dry until next day.

Lace Boots - Toe cap
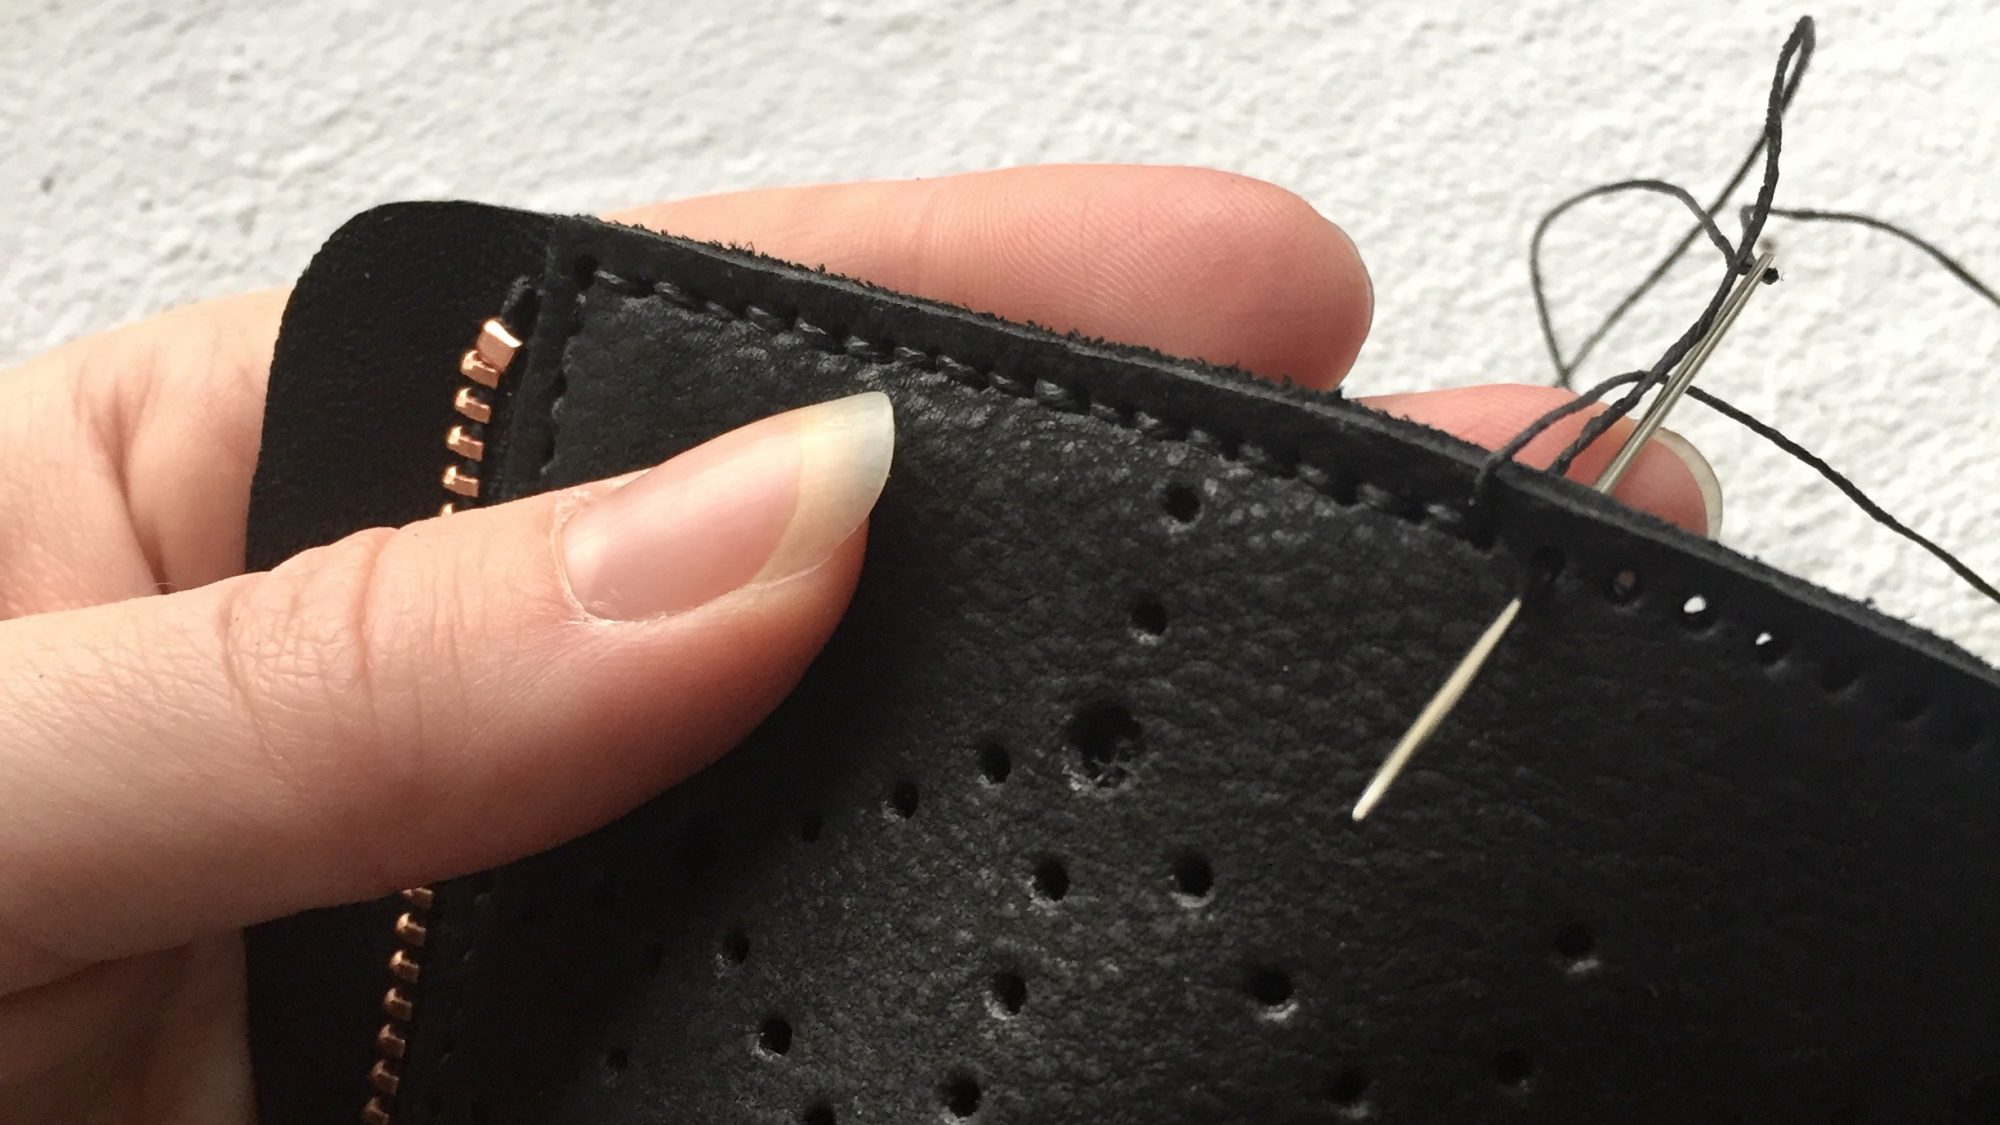
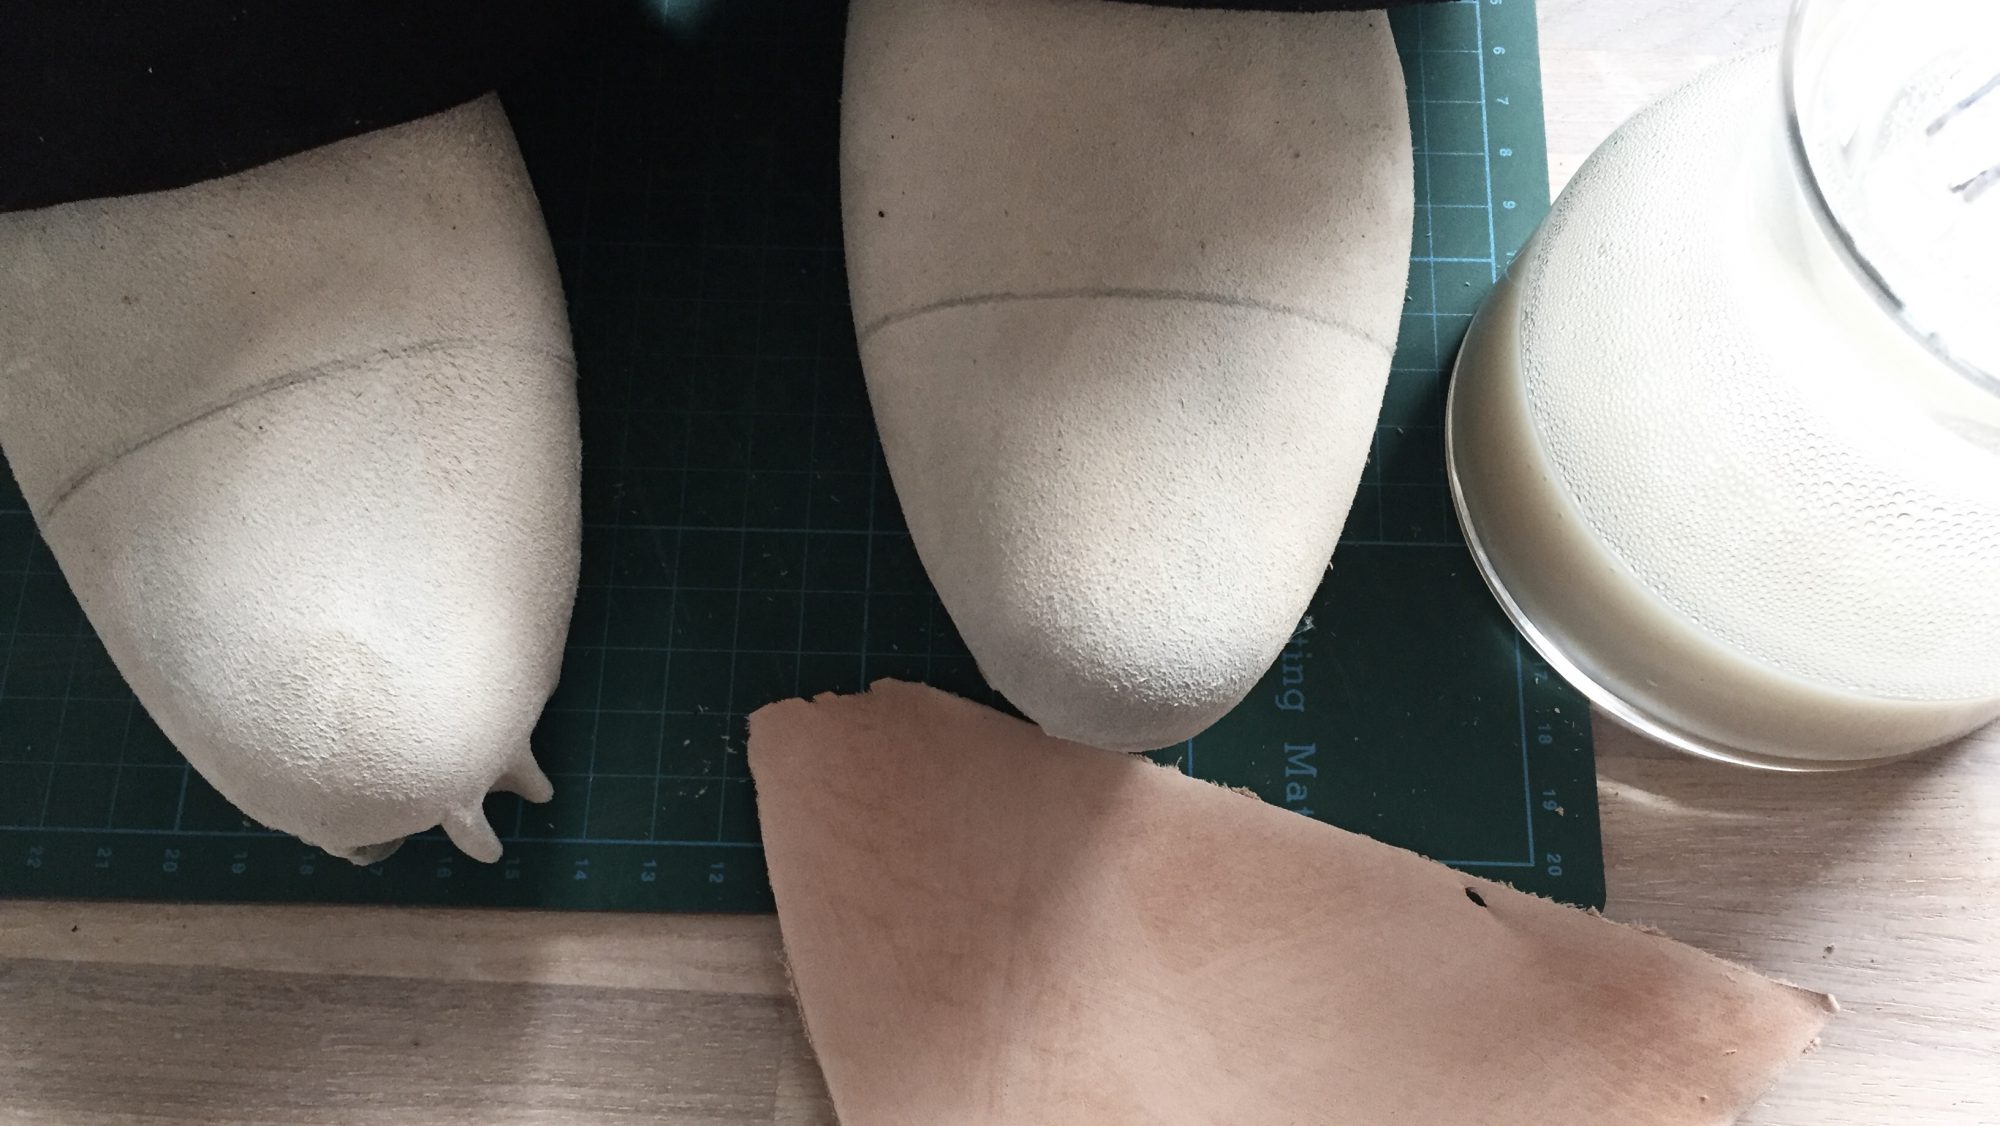
The outer leather is carefully pulled back while the lining stays on the last. Placement marks for the toe caps are made on the lining. The toe cap is made of vegetable tanned leather, skived to nothing at the edges and sanded down with sand paper. It is soaked in homemade shoemakers paste and lasted on the toe. Finally it is compressed with a shoemakers hammer to obtain stability of the leather.

Lace Boots - Toe cap
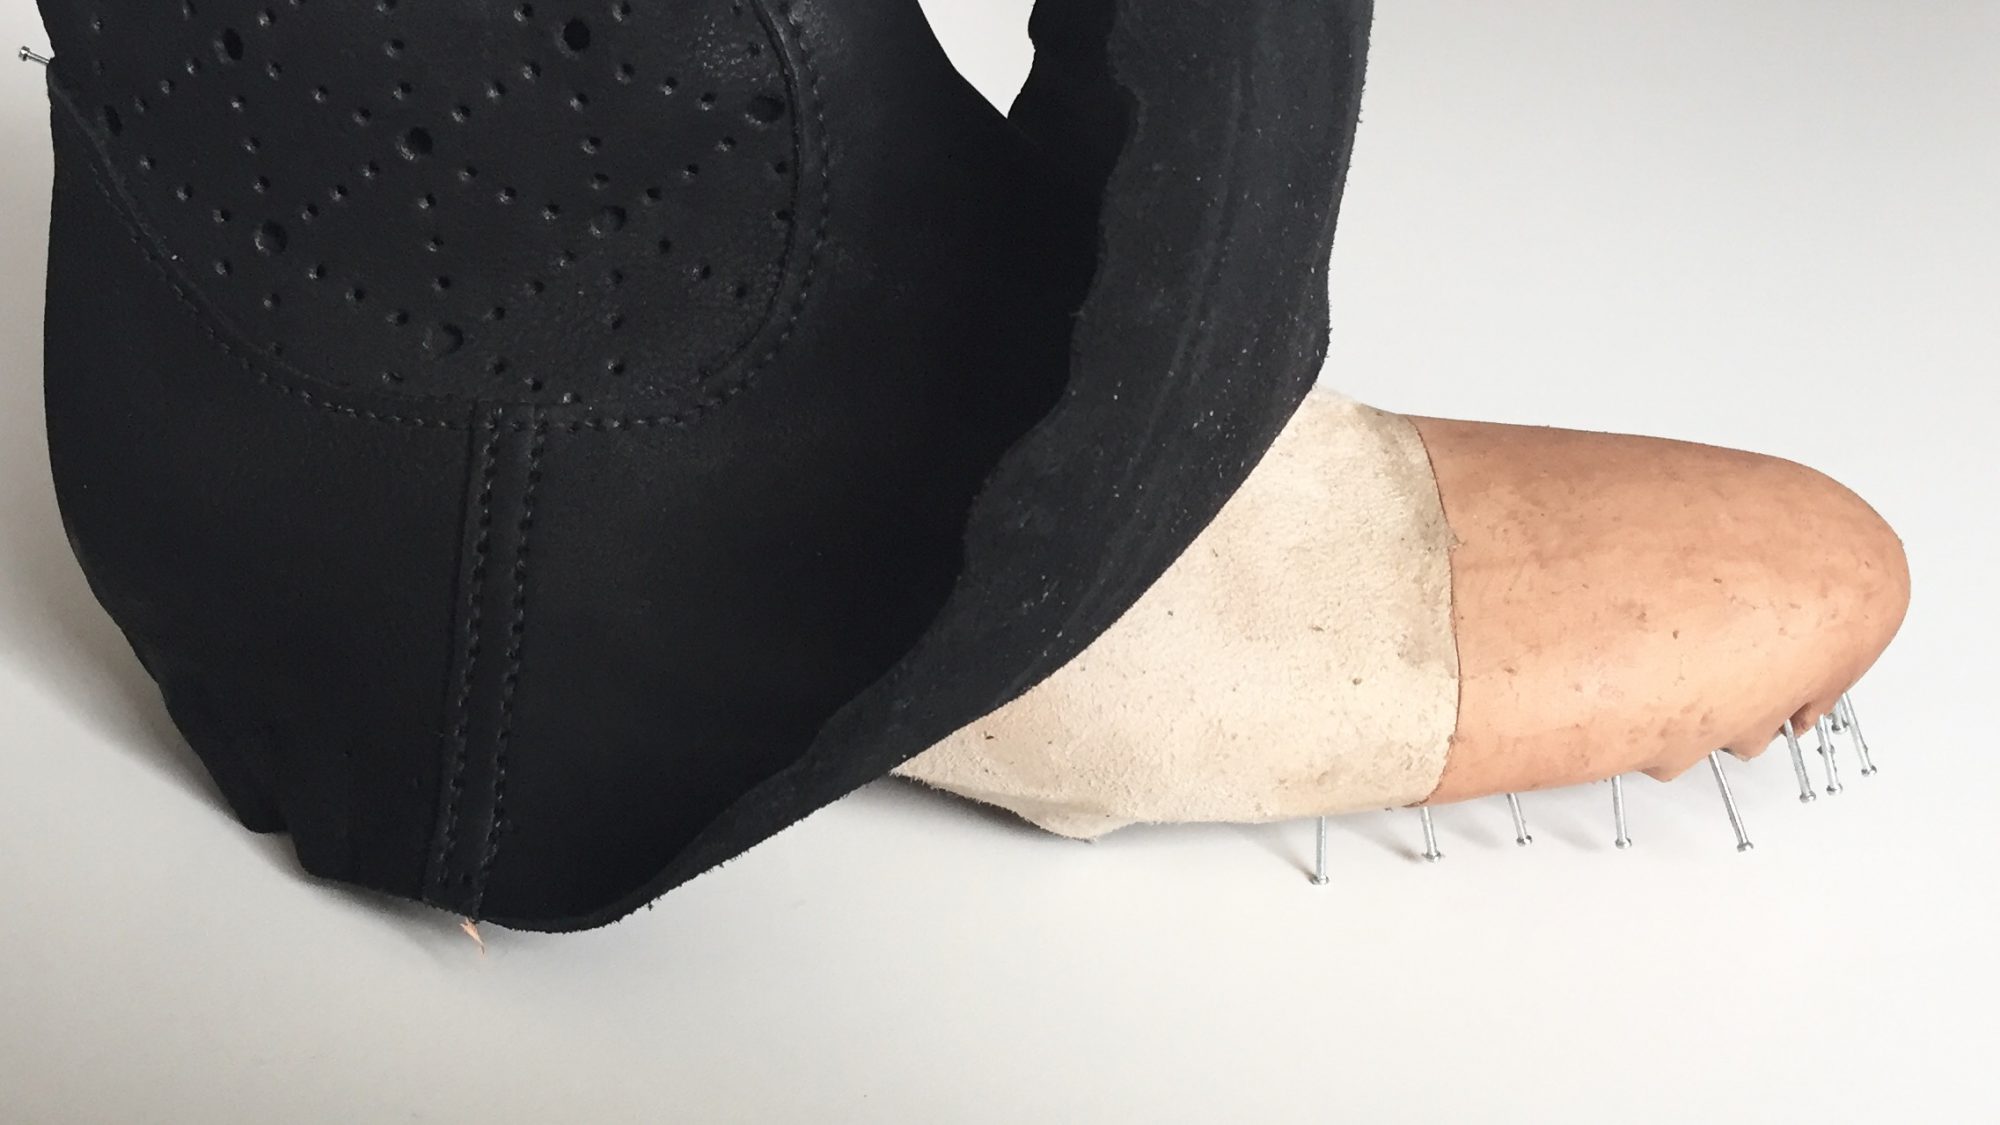
Here is the lasted toe cap, now left to dry before the next process. The heel cap is done in the same way.

Lace Boots – Preparing insole

Lace Boots - Preparing insole
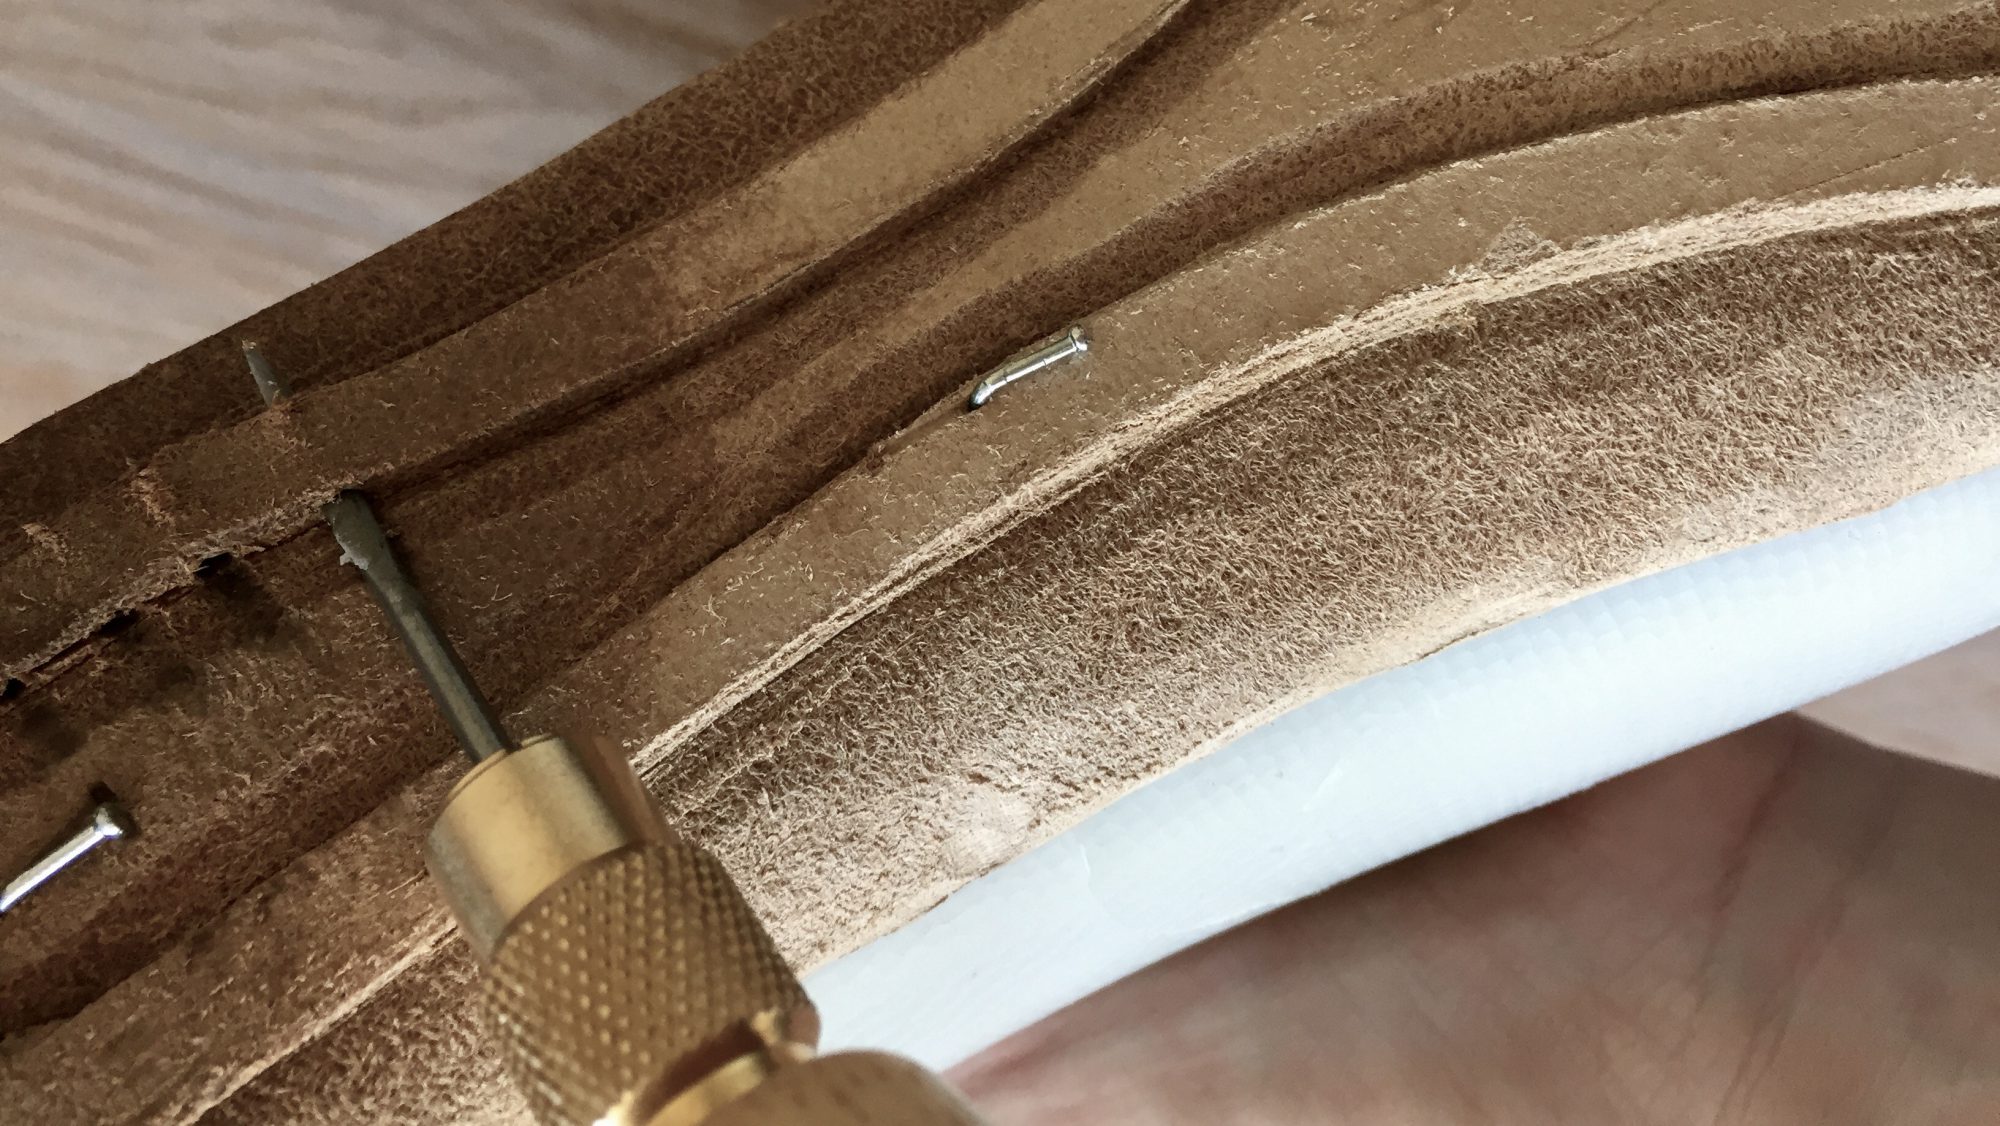
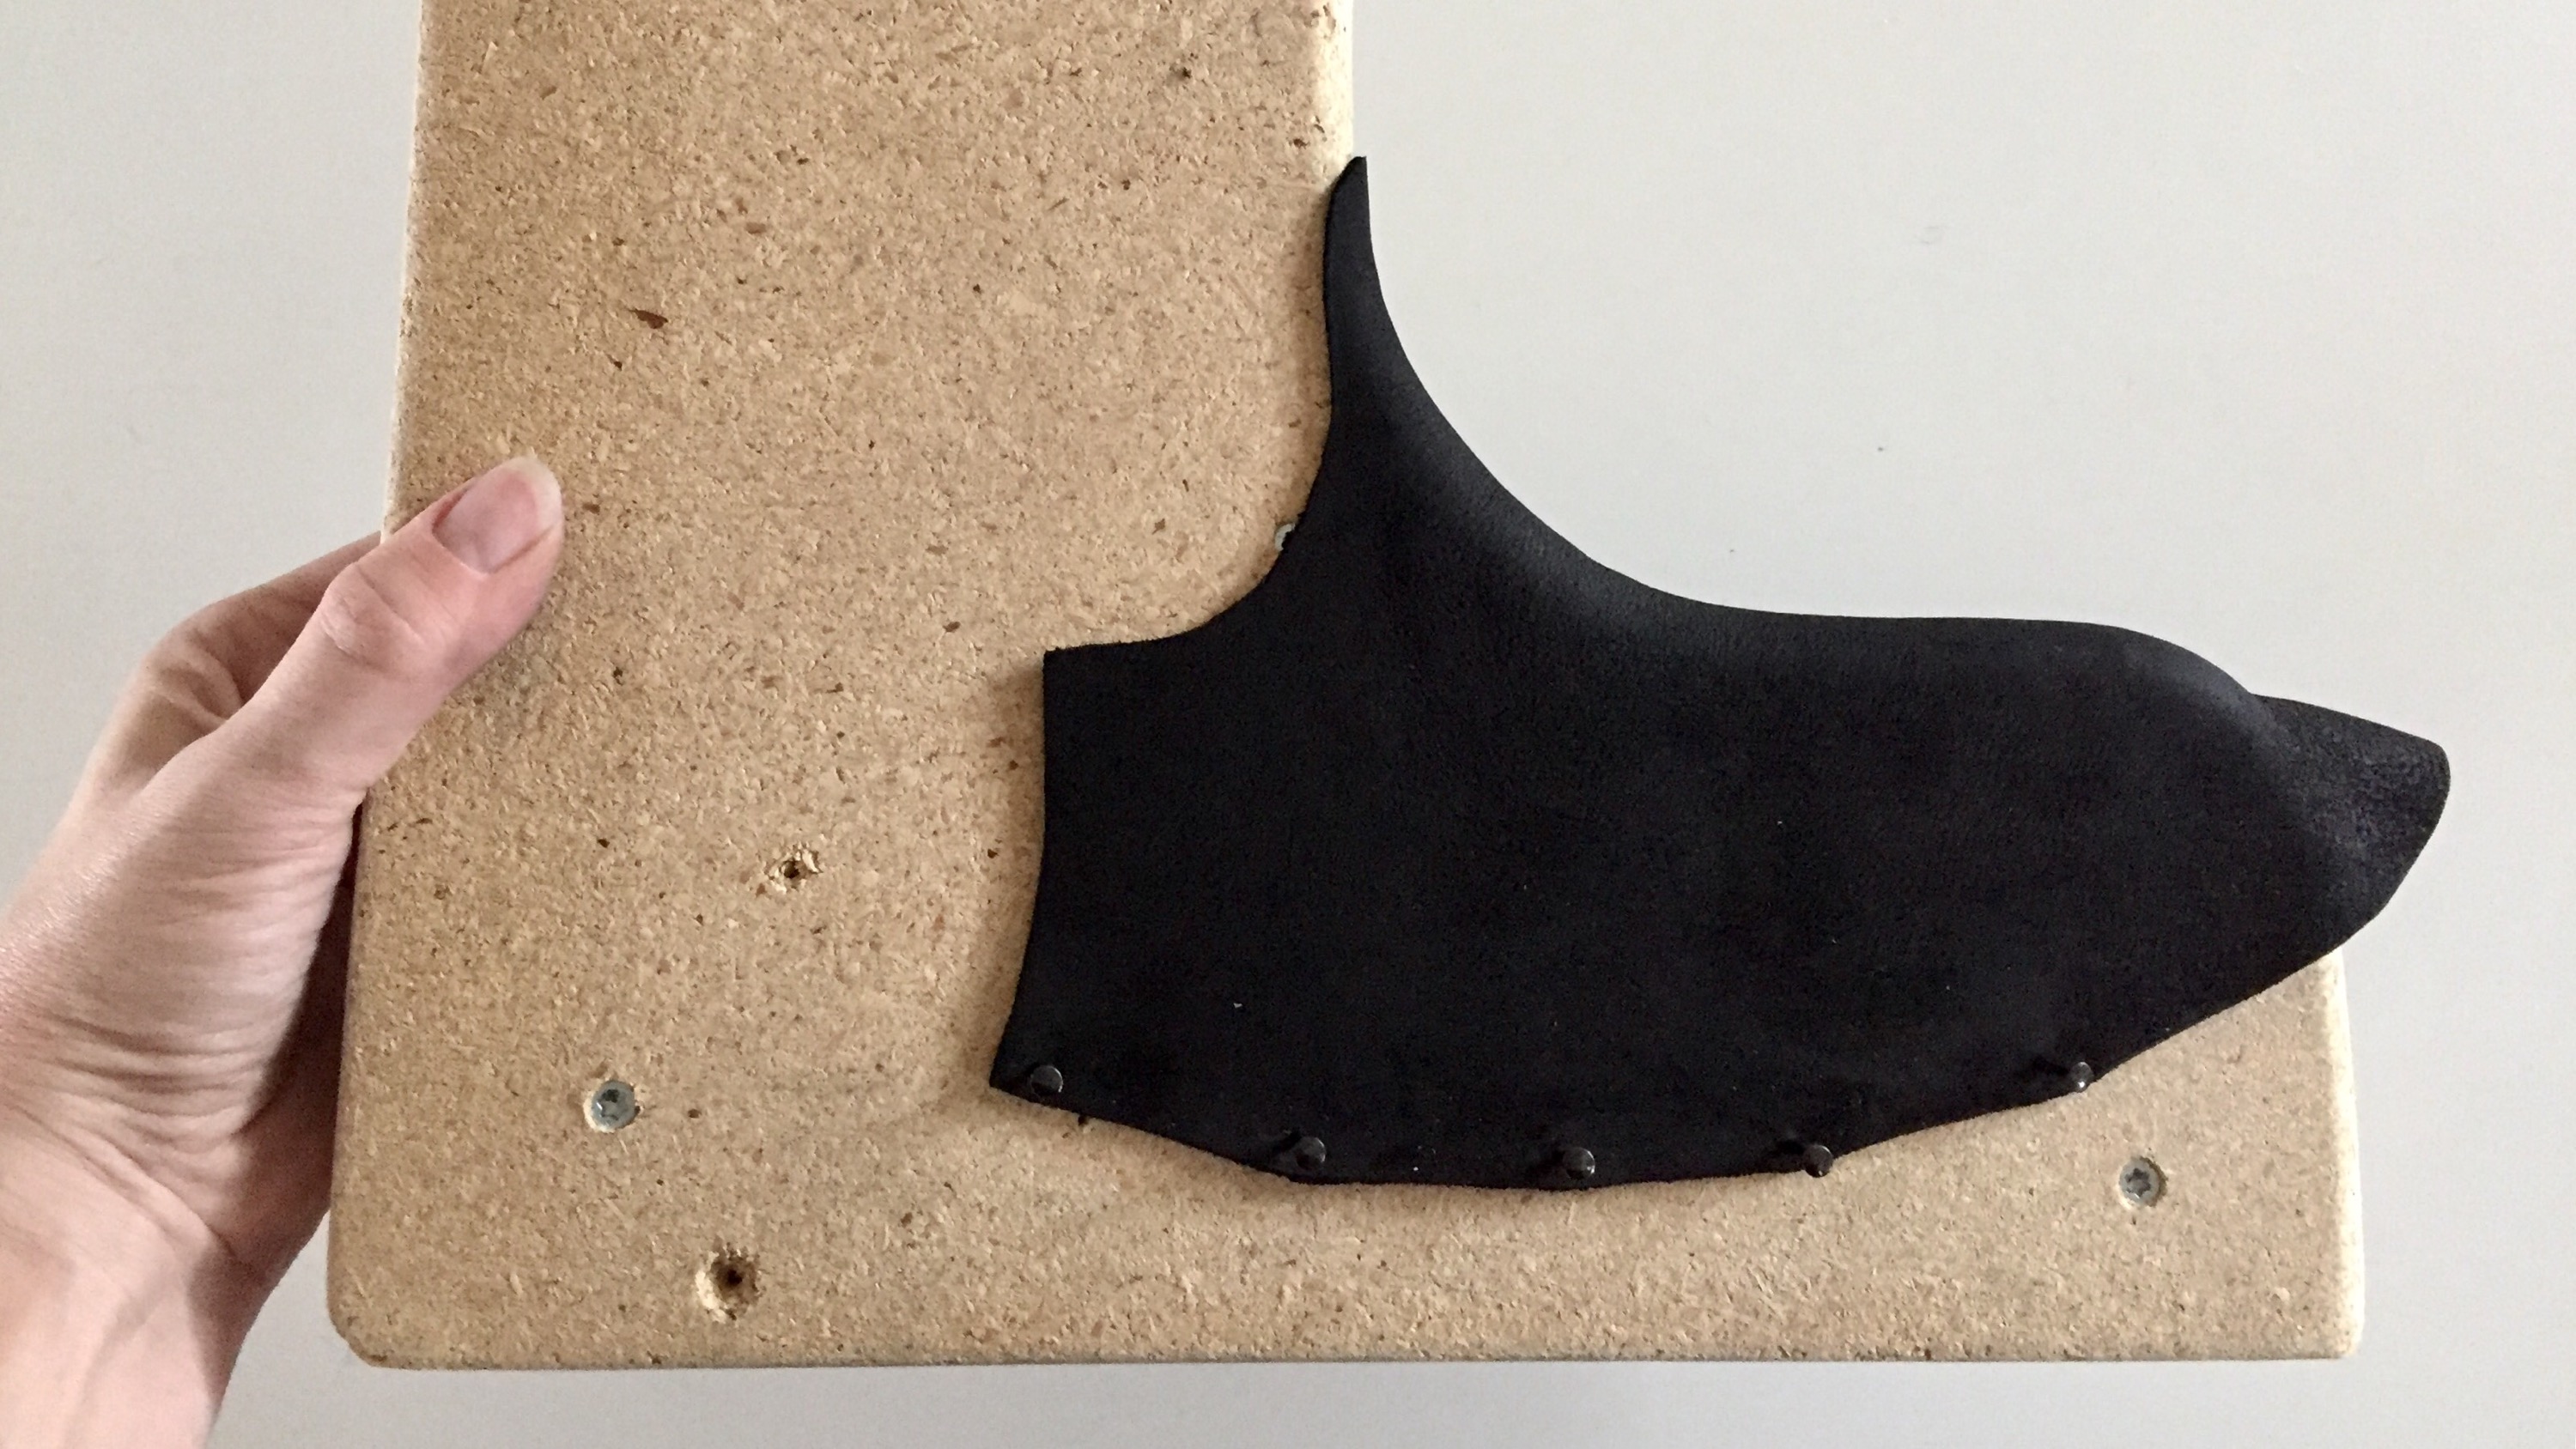
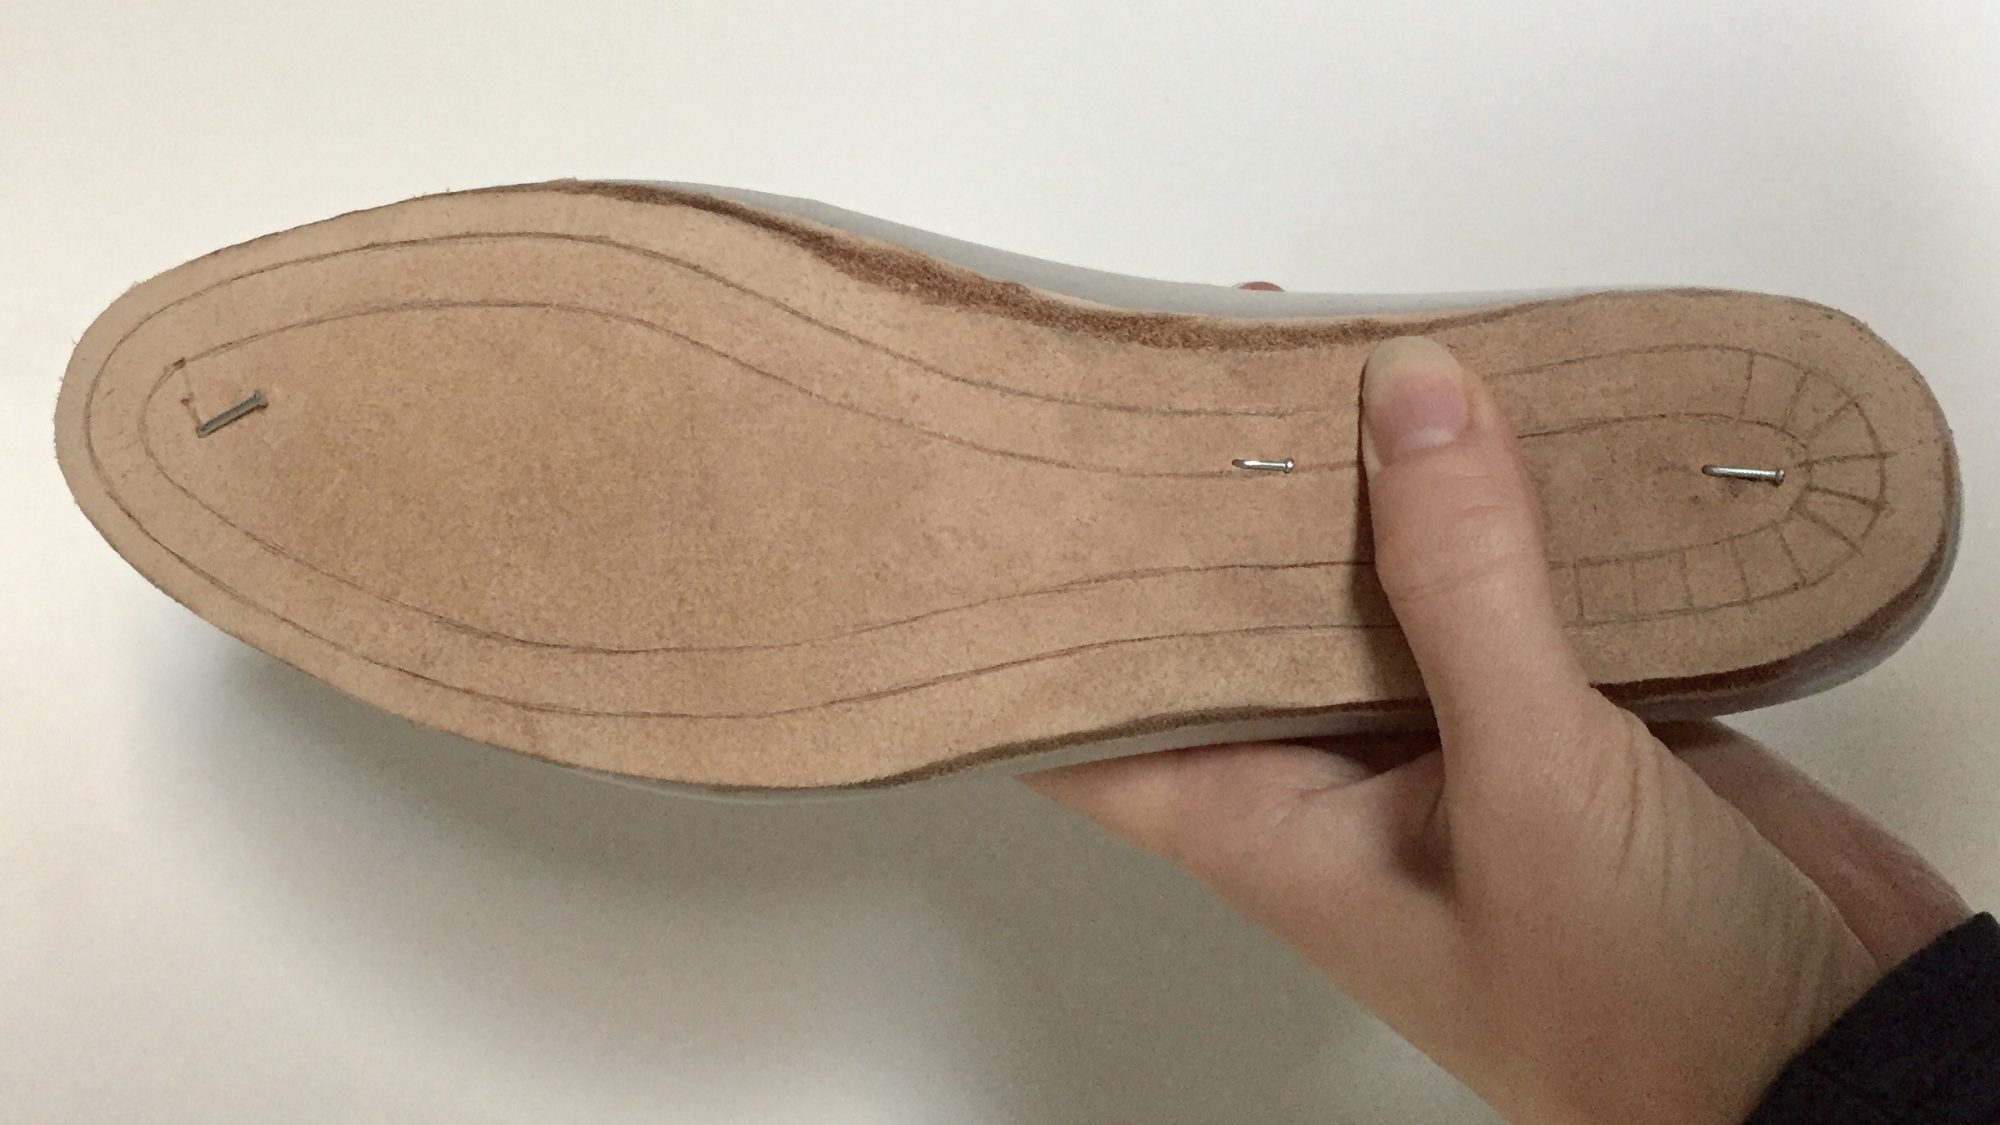
My first pair of shoes were made with a cemented rand tape and sole, which was a fairly big challenge, not having received any kind of introduction to shoemaking. This time I will obviously push my own limits once again, trying out the much more durable welted construction. A template is sketched onto the bottom of the insole. This is cut out as shown in the picture below, leaving an edge for sewing on the upper.

Lace Boots - Preparing insoleThen holes for sewing are made with a curved awl. It takes a very sharp awl, a lot of bees wax and hard work. Halfway through the first sole, I was so unlucky, (read: uncareful) the awl slipped into my own left hand! It gave me a few weeks break from shoemaking and I started thinking of new alternative ways for this task. I just bought a new tool, a Dremel 3000, which I am hoping will do the job of drilling the holes. Besides, it is a very clever tool for many other creative projects on which I promise to make a post or two in the future. First of all, I am hoping it will solve this job for me, maybe in combination with the curved awl…

Lace boots – Stitching upper

Lace boots - Stitching upperInden sammensyning limes delene sammen. Her ligger de og tørrer, holdt sammen med klemmer.


The pieces are glued together before stitching. Here it is left to dry, fixed with clamps.

Lace boots - Stitching upperLynlåsen, yderlæderet, underfald og foer syes sammen med én enkel søm.


The zipper, outer leather, facing and lining are stiched together in one single stitch.

Lace boots - Stitching upperTil sidst syes overkanten sammen med belægning og foer. Støvleoverdelen er nu klar til at blive læstet.


Finally the upper edge is stitched together with the facing and lining. The boot uppers are ready to be lasted.

Lace boots – Crimping

IMG_6519.JPGStøvlemageriet åbner op for en ny udfordring for mig som autodidakt skomagerlærling. Før støvlens overdel sammensyes, er det nødvendigt at udblokke overlæderet for at få den rigtige kurve over vristen. Endnu en gang kunne jeg godt have ønsket mig at der lå en butik med skomagerartikler lige om hjørnet. Men jeg må jo nok erkende at jeg er en af få der leger med denne hobby herhjemme, så markedet er nok ikke så stort. Heldigvis har jeg en meget handy kollega der var så venlig at snedkerere et par “crimping boards” til mig. Overlæderet gennemvædes og trækkes i form henover vristbuen. Det kræver en del tålmodighed og hårdt arbejde, men gradvist giver læderet sig mere og mere og ligger til sidst helt glat. Det skal derefter tørre inden sømmene tages ud og overlæderet kan tages af skabelonerne.


Bootmaking introduces a whole new challenge for me in my autodidact shoemaking apprenticeship. Before stitching together the upper, it is necessary to crimp the vamp to get the right curve at the wrist. Once again, I wish there was a local shoemakers store nearby. But I think I need to realise that there aren’t many hobby shoemakers like me here in Denmark, so I guess the market is a bit too small. Luckily my very handy colleague kindly crafted me a pair of crimping boards. The vamps are soaked in water and then pulled over the curve. It requires some patience and hard work, but gradually the leather begins to take shape and finally lies smoothly at the curve. The leather is left to dry before the nails are pulled out and the vamps can be removed from the boards.

Lace boots – Design

Lace boots - DesignSå har jeg kastet mig ud i et nyt skomagerprojekt. Denne gang et par korte støvler med lynlås. På skaftet vil jeg lave et blondelignende hulmønster. Herover ses en skitse fra min designproces.


I am off to a new shoemaking project. This time it is a pair of short zipper boots. On the shaft I will be making a lacelike brogue pattern. Above is a sketch from my design process.

Lace boots - DesignLæsten er tapet, mønsterdelene optegnet og skåret og her arbejder jeg med placering af hulmønsteret. For en mere detaljeret beskrivelse af udviklingen af et skomønster, kan du se dette tidligere indlæg.


The last has been taped, the pattern is drawn on and cut out. Here I am working on the placement of the hole pattern. For a more detailed description on the development of a shoe pattern, see this former post.

Lace boots - DesignMønsterdelene lægges på skindet og skæres ud. Jeg har valgt et lækkert, kraftigt men blødt sort koskind med masser af struktur og charmerende uregelmæssigheder.


The pieces are placed on the hide and cut out. For these boots I have chosen a nice, heavy yet soft black cow leather with lots of grain structure and charming irregularities.

Lace boots - DesignHulmønsteret udstanses… et noget langvarigt projekt, men jeg tror det bliver anstrengelserne værd.


Lace broguing… a somewhat time consuming task, but I believe it will be worth my while.